-
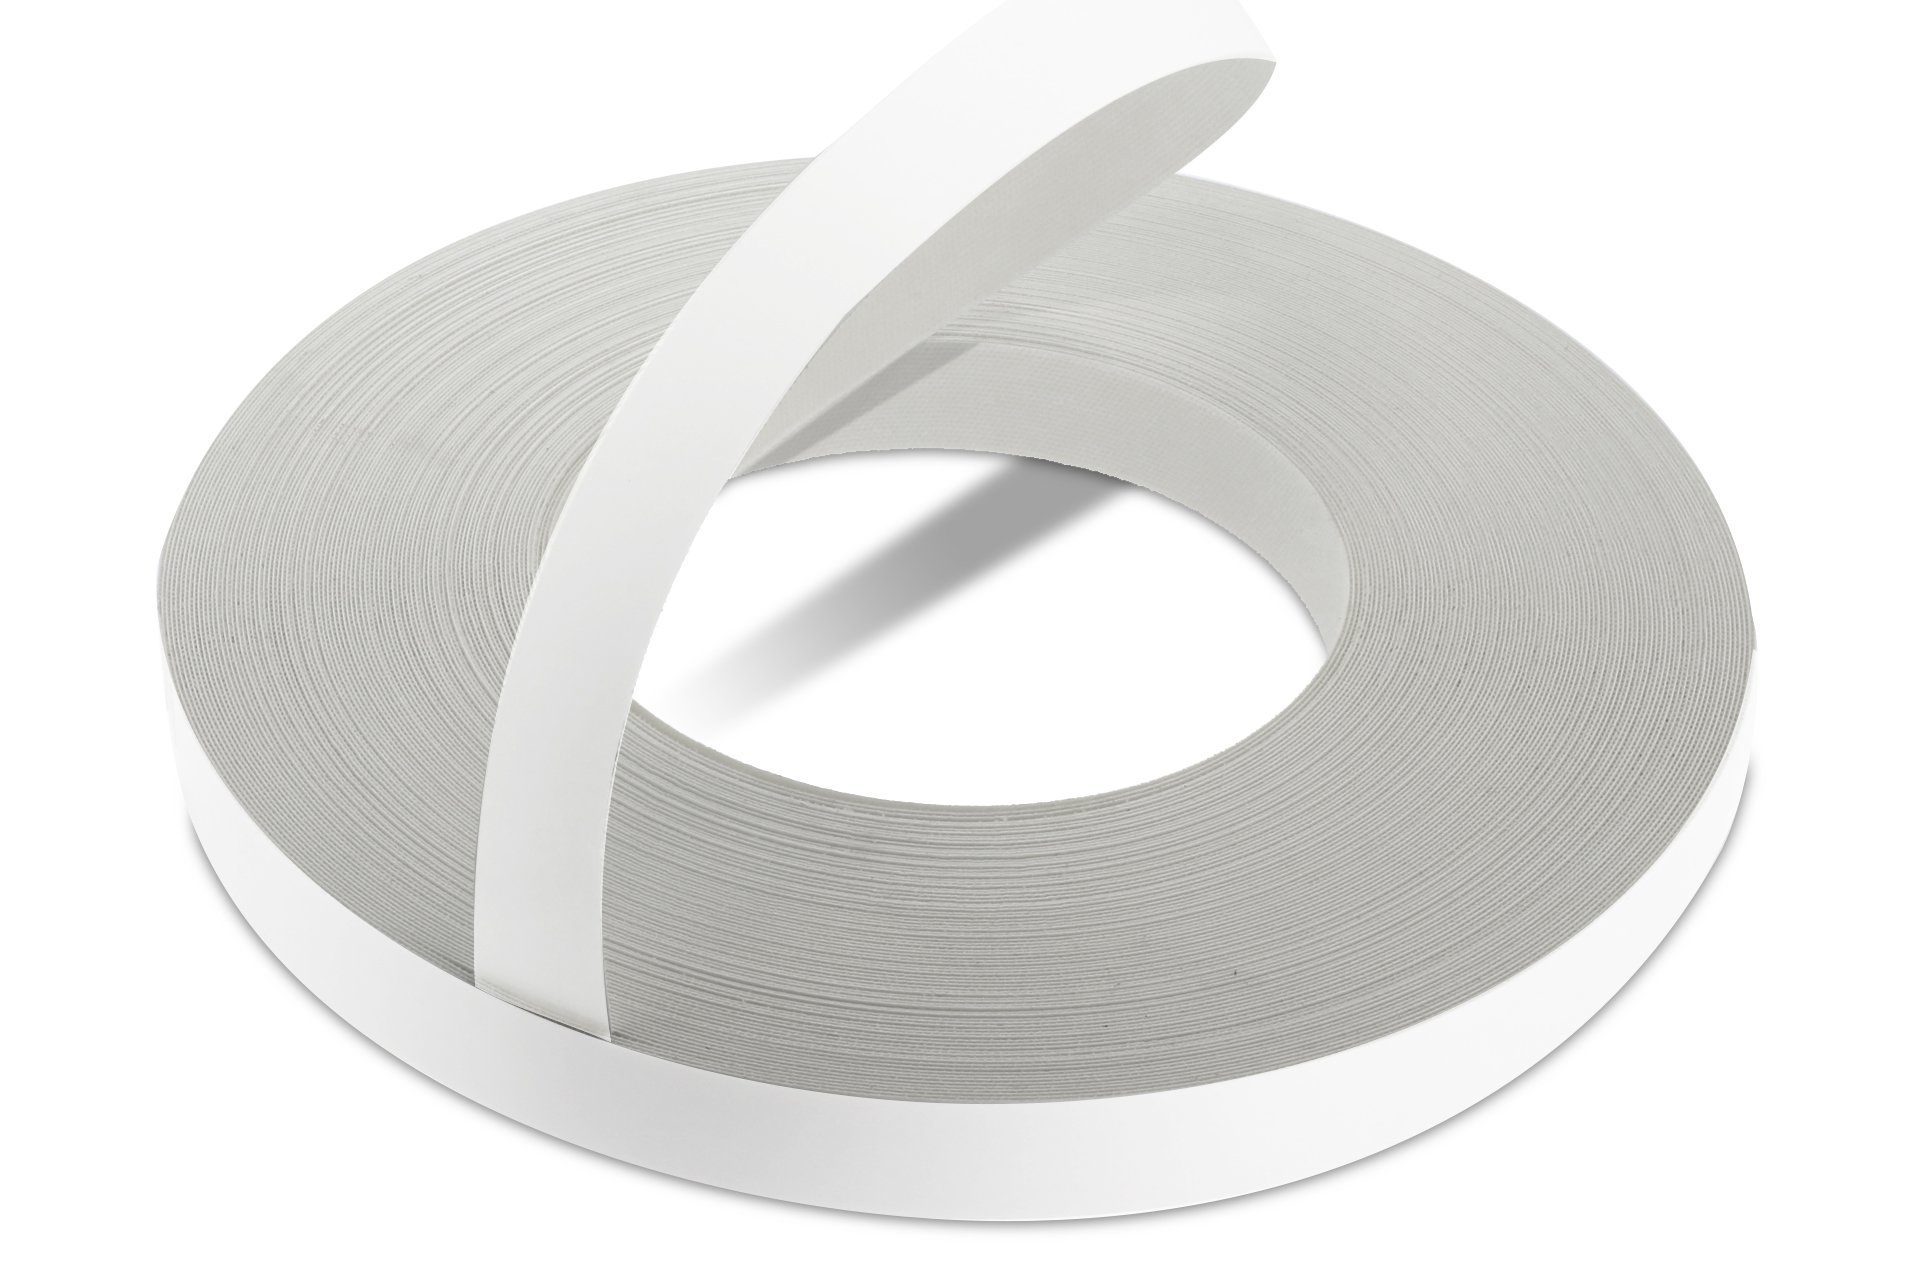 WoodPress® White Matt Melamine Edge Banding - Pre-Glued Iron-On Tape - 50m Length Roll
£14.96 – £24.96 + VAT (£17.95 - £29.95 inc. VAT)
WoodPress® White Matt Melamine Edge Banding - Pre-Glued Iron-On Tape - 50m Length Roll
£14.96 – £24.96 + VAT (£17.95 - £29.95 inc. VAT) -
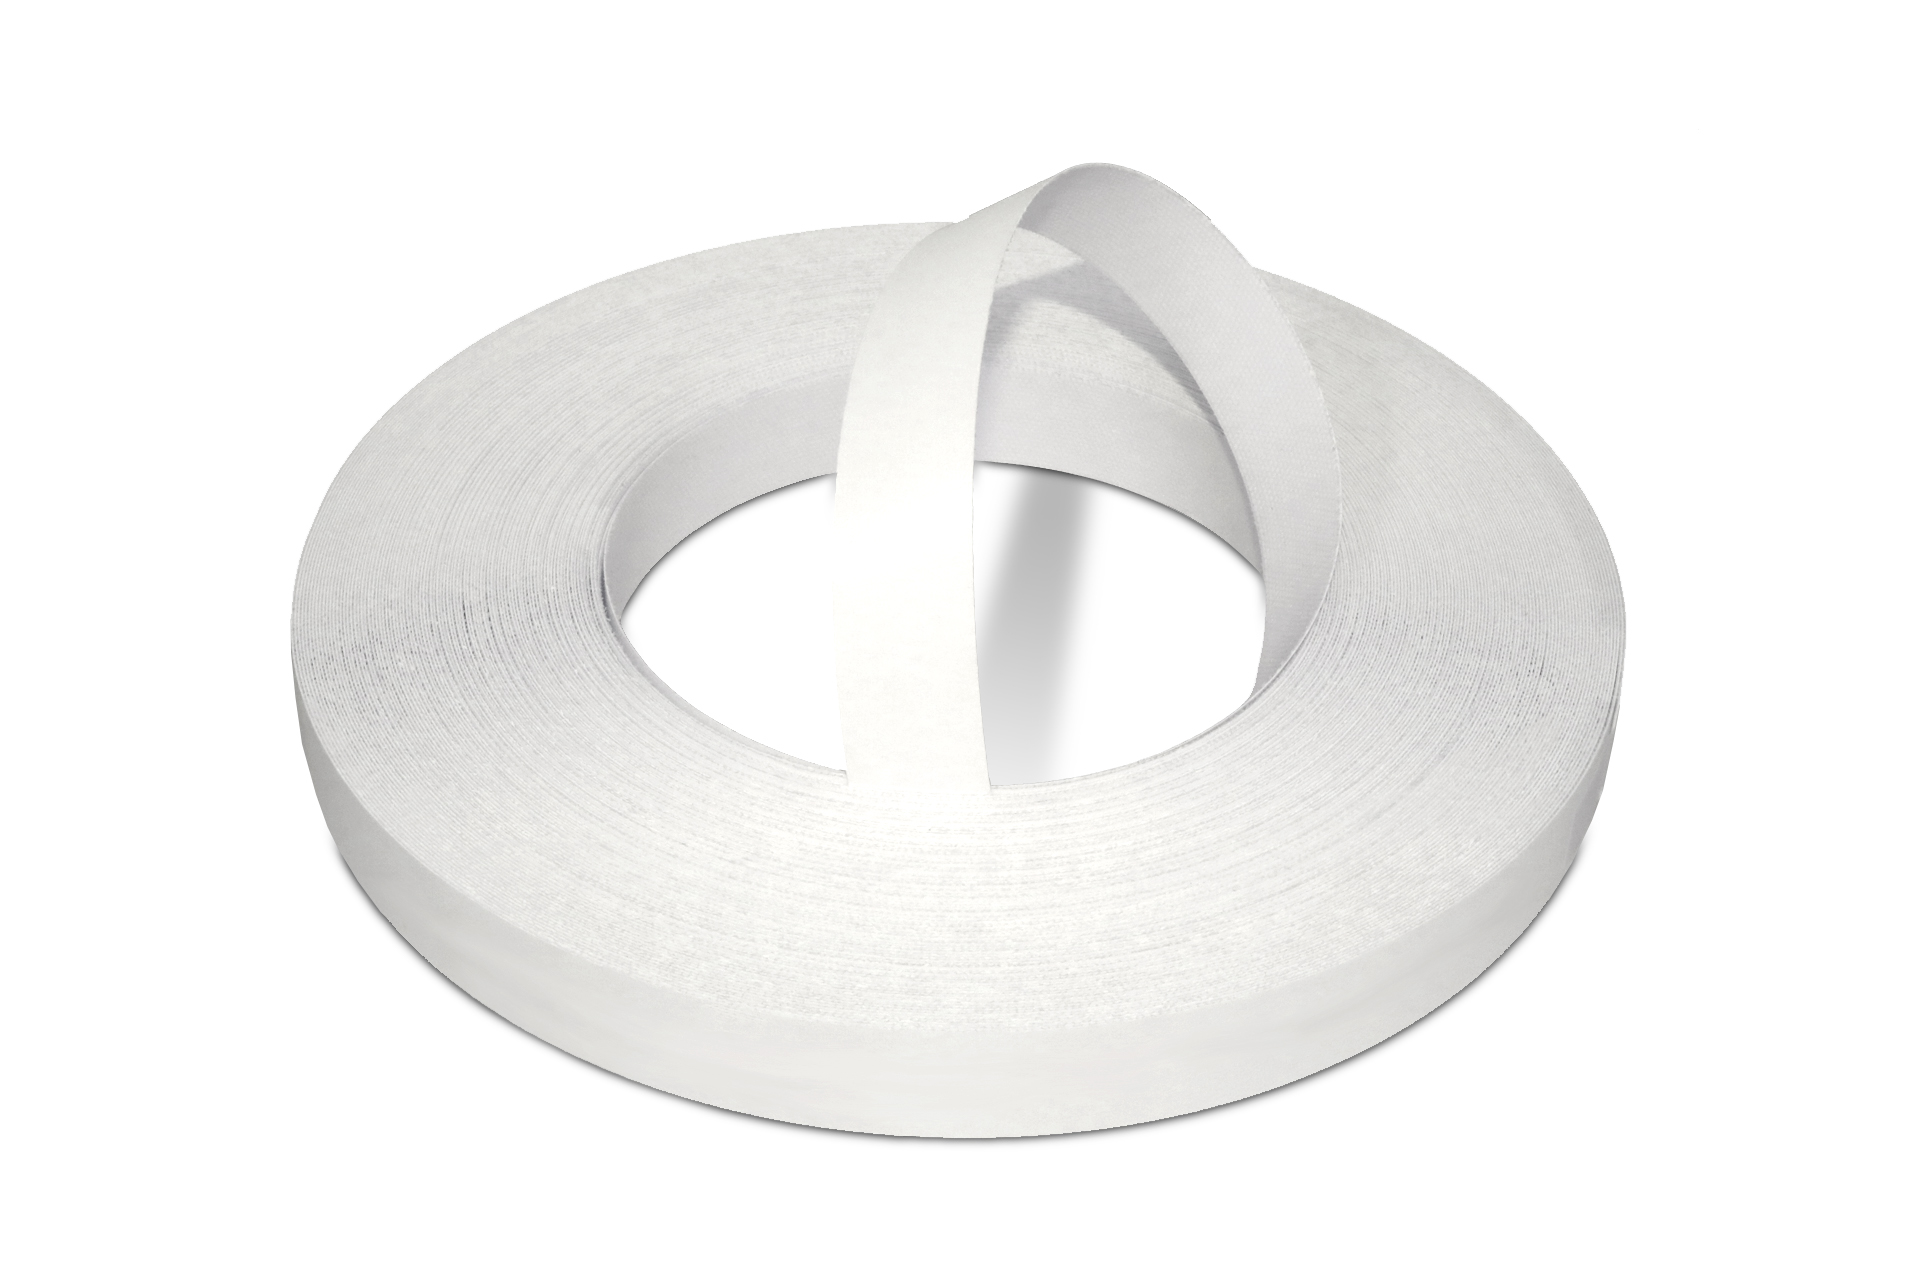 WoodPress® White Pearl Melamine Edge Banding - Pre-Glued Iron-On Tape 50m Length Roll
£14.96 – £24.96 + VAT (£17.95 - £29.95 inc. VAT)
WoodPress® White Pearl Melamine Edge Banding - Pre-Glued Iron-On Tape 50m Length Roll
£14.96 – £24.96 + VAT (£17.95 - £29.95 inc. VAT) -
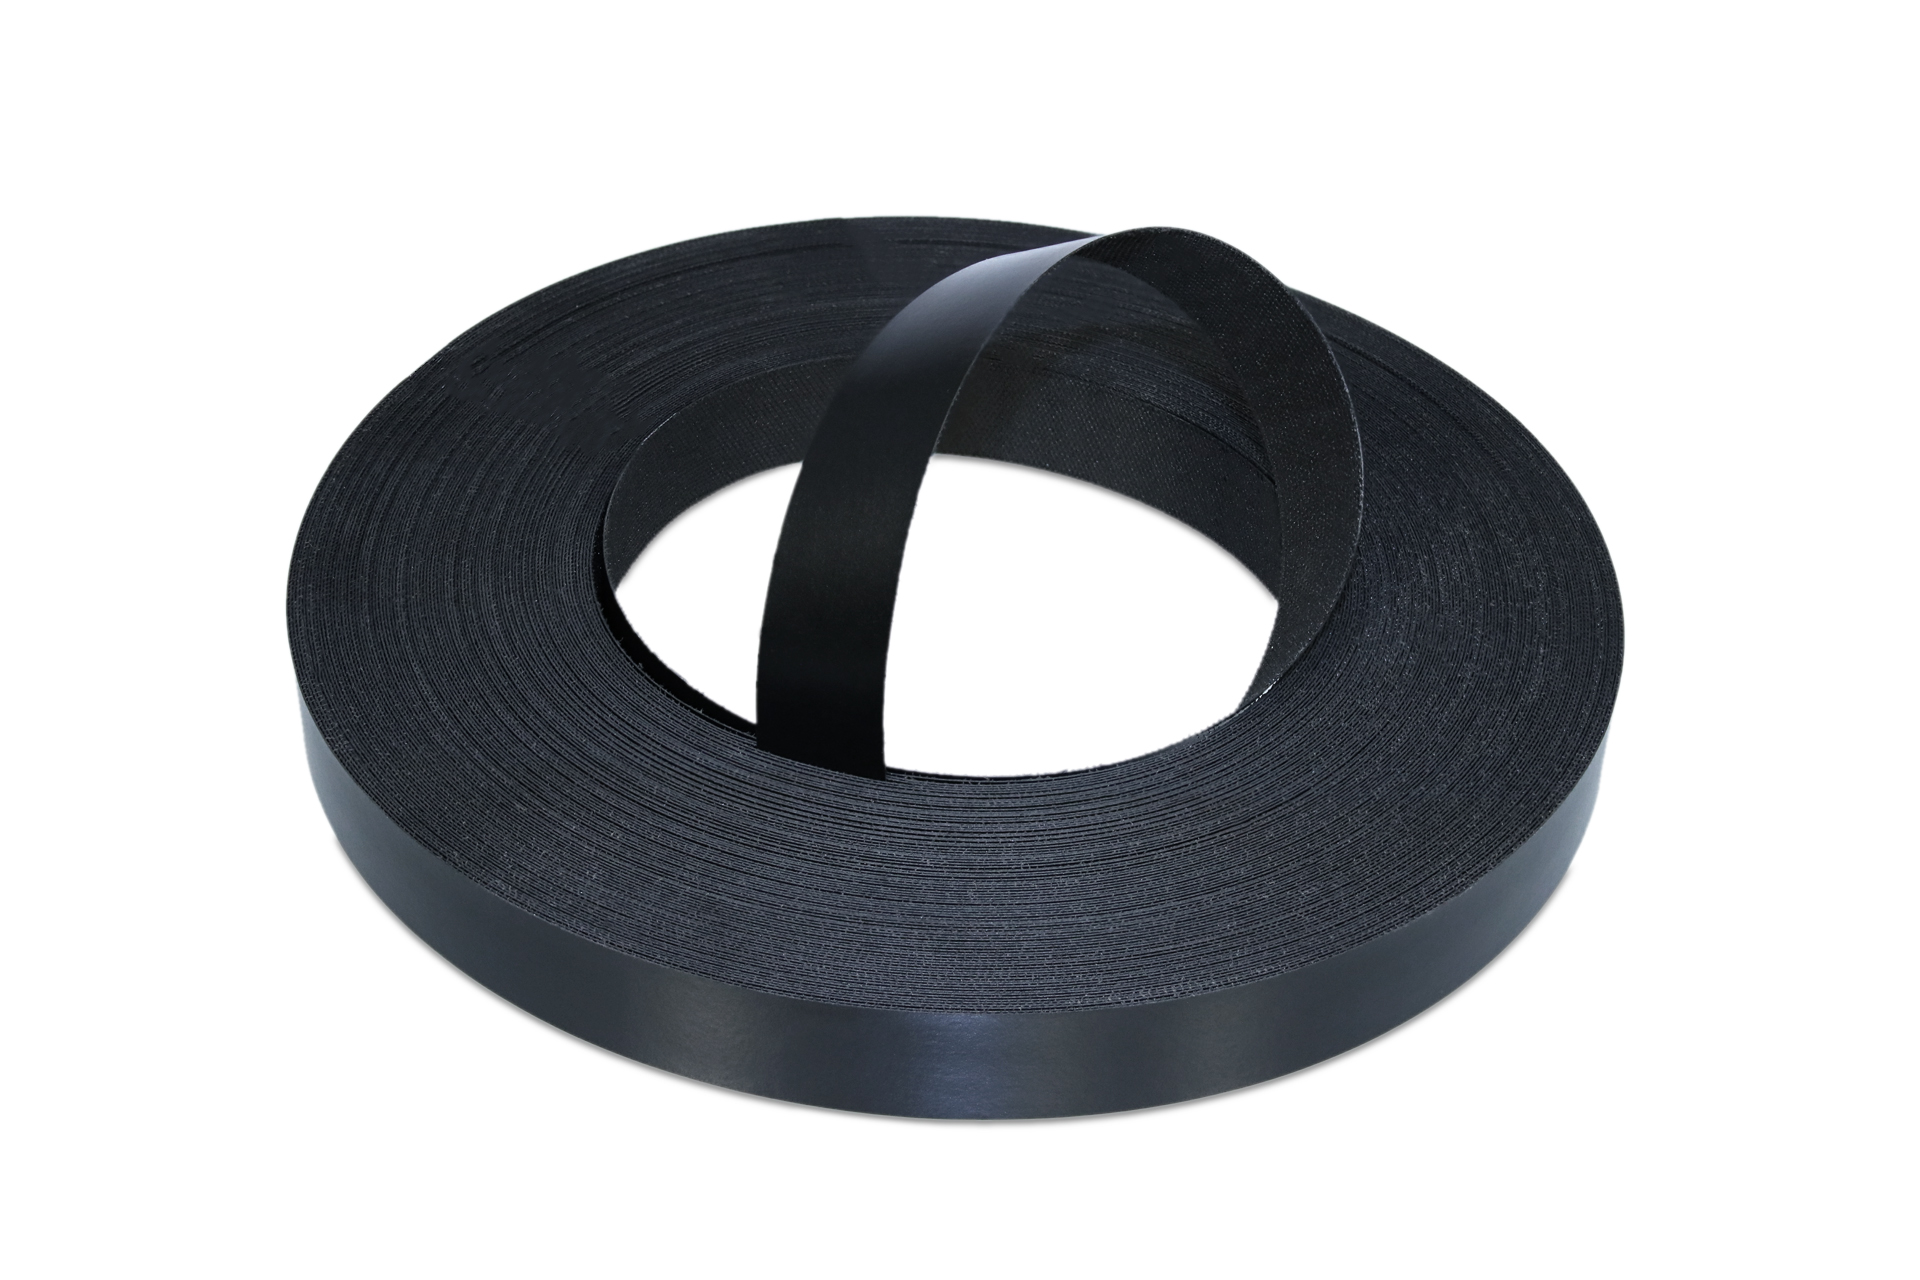 WoodPress® Black Matt Melamine Edge Banding - Pre-Glued Iron-On Tape - 50m Length Roll
£14.96 – £24.96 + VAT (£17.95 - £29.95 inc. VAT)
WoodPress® Black Matt Melamine Edge Banding - Pre-Glued Iron-On Tape - 50m Length Roll
£14.96 – £24.96 + VAT (£17.95 - £29.95 inc. VAT)
Veneering large surfaces can be tricky; read these 5 tips for veneering large surfaces, and get your veneering done…
Tip 1 – Planning & Patience
Before starting your project, take the time to plan the process carefully; this helps ensure a smooth and successful outcome.
When veneering large surfaces, patience is your best tool. While the task can be intricate, it is also an opportunity to enjoy the craftsmanship and take pride in your work. Choose a pleasant day, play some calming music, and embrace the time spent on the project as part of the creative journey.
Remember, investing a little extra time upfront can save materials and effort, leading to a more satisfying and cost-effective result. It’s also better for your mental health.
Tip 2 – Choosing the Right Substrate
Choosing the right substrate for your project is key; the two best substrates for veneering are MDF boards and plywood. MDF offers a smooth, even surface, making it an excellent choice for large-scale veneering projects, as it negates the need for spotting and smoothing out imperfections.
Do take extra care if cutting and sanding MDF edges, as the dust is an irritant, so adequate goggles and masks are a must.
On the other hand, if your project requires enhanced moisture resistance, plywood is a fantastic alternative, providing both durability and reliability. For our purposes, we will focus on using MDF.

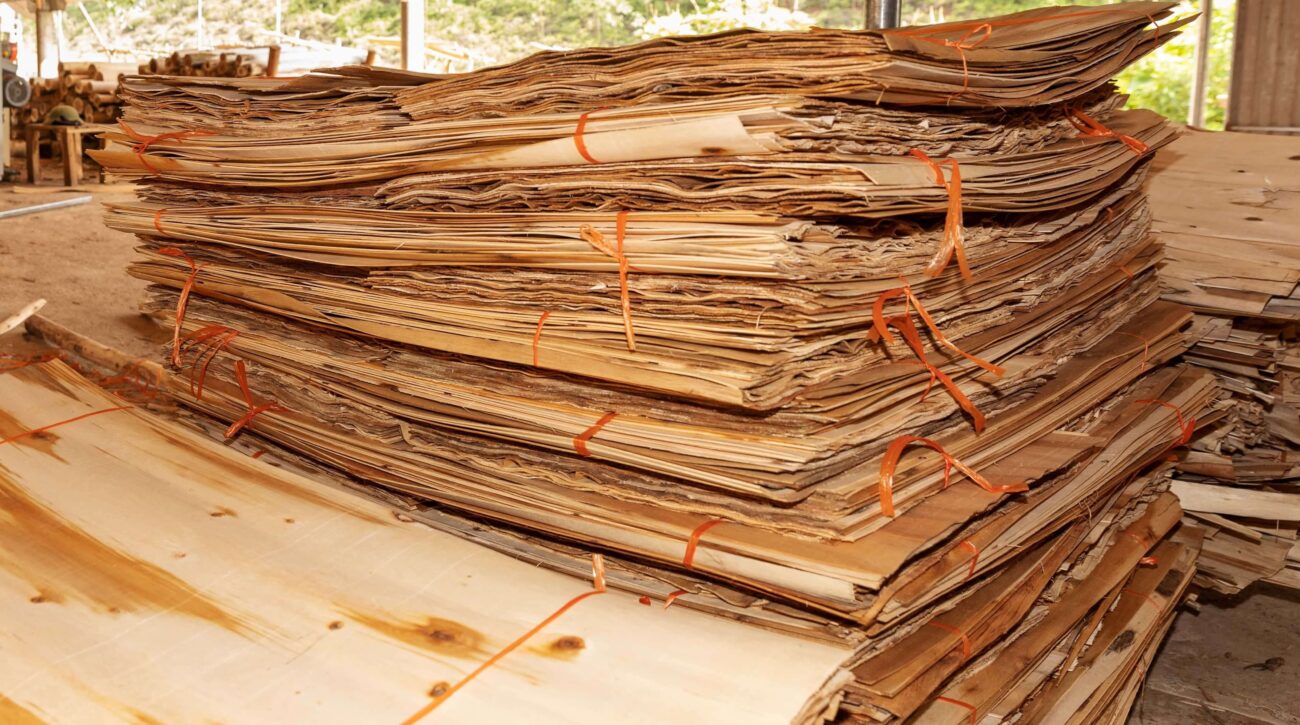
Tip 3 – Flatten the Wood Veneers
For a wood veneer sheet to bond evenly with a surface, it is essential that the veneer is flat. Since wood veneer sheets are a natural product, they often come wrinkled or concave. Further, the production process for wood veneer often involves boiling the wood, resulting in a warped sheet.
However, by flattening the veneer before gluing it to a board, following the simple steps below, you will ensure the veneer lays perfectly flat for a great result.
- Wet the veneer slightly with either a spray bottle filled with water or a veneer softener.
- Lay the veneer on a flat surface.
- Lay an absorbent material over the veneer, for example, a thin towel or blotting paper.
- Place a plastic sheet over the towel/paper.
- Place an equally sized board over the veneer and stack weights around the edges and at intervals in the center to apply even downward pressure. Books can be used if no professional flat-surfaced weights are available. Please see step 5 about purchasing and using a platen board for this.
- Let the veneer sheet dry for 24-48 hours while changing the towel periodically as necessary.
- Check the veneer at intervals while drying/being pressed. If warping or kinks are still present, damp again, ensuring specific weight is applied to this area.
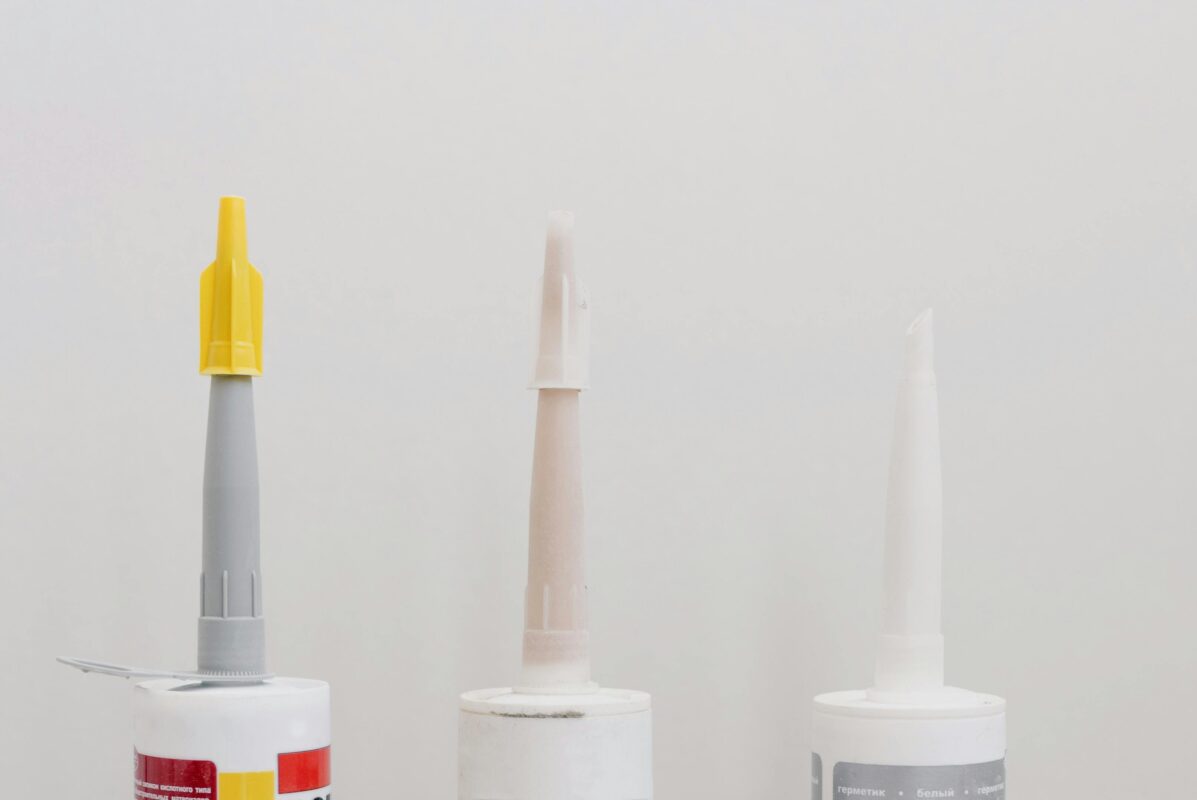
Tip 4 – Choosing the Right Adhesive
While contact cement is the recommended adhesive for bonding veneer sheets to MDF, its drying time is short, which leaves little wiggle room for non-professionals. With large surfaces you may need extra time to remove and reposition the veneer, which is why PVA wood glue is the better choice for novices.
Use a glue applicator to speed up the process and ensure the adhesive is distributed evenly across the board.
Pro Tip: With MDF and plywood, if you apply glue to one side of the board, you must do the same on the other side to prevent warping.
Tip 5 – Drying without a Vacuum Bag
Professionals and joiners will use a vacuum bag press system to press the veneer tight while drying.
If you are interested in investing in one for your workshop we recommend: https://www.airpress.co.uk/68-portable-vacuum-presses/
While this is recommended, we do not expect DIY-ers to have such equipment or know-how. However, it is possible to achieve comparable results with the use of much less costly platen board, which is worth the small investment.
Choose a platen board to the same approximate size as the MDF board you are veneering and place it on top. Stack weights on top of the board; the platen board will distribute the weight evenly over the veneer.

Conclusion
Veneering large surfaces may seem challenging at first, but with the right approach, tools, and techniques, it can become a rewarding experience that results in a professional, quality finish. By planning carefully, selecting the right substrate and adhesive, ensuring your veneer is perfectly flat, and using simple yet effective methods like platen boards for even drying, you will set yourself up for success.
Remember, patience and preparation are your greatest allies; take your time, enjoy the process, and watch your project transform into beautifully finished furniture or cabinetry. Happy veneering!


