-
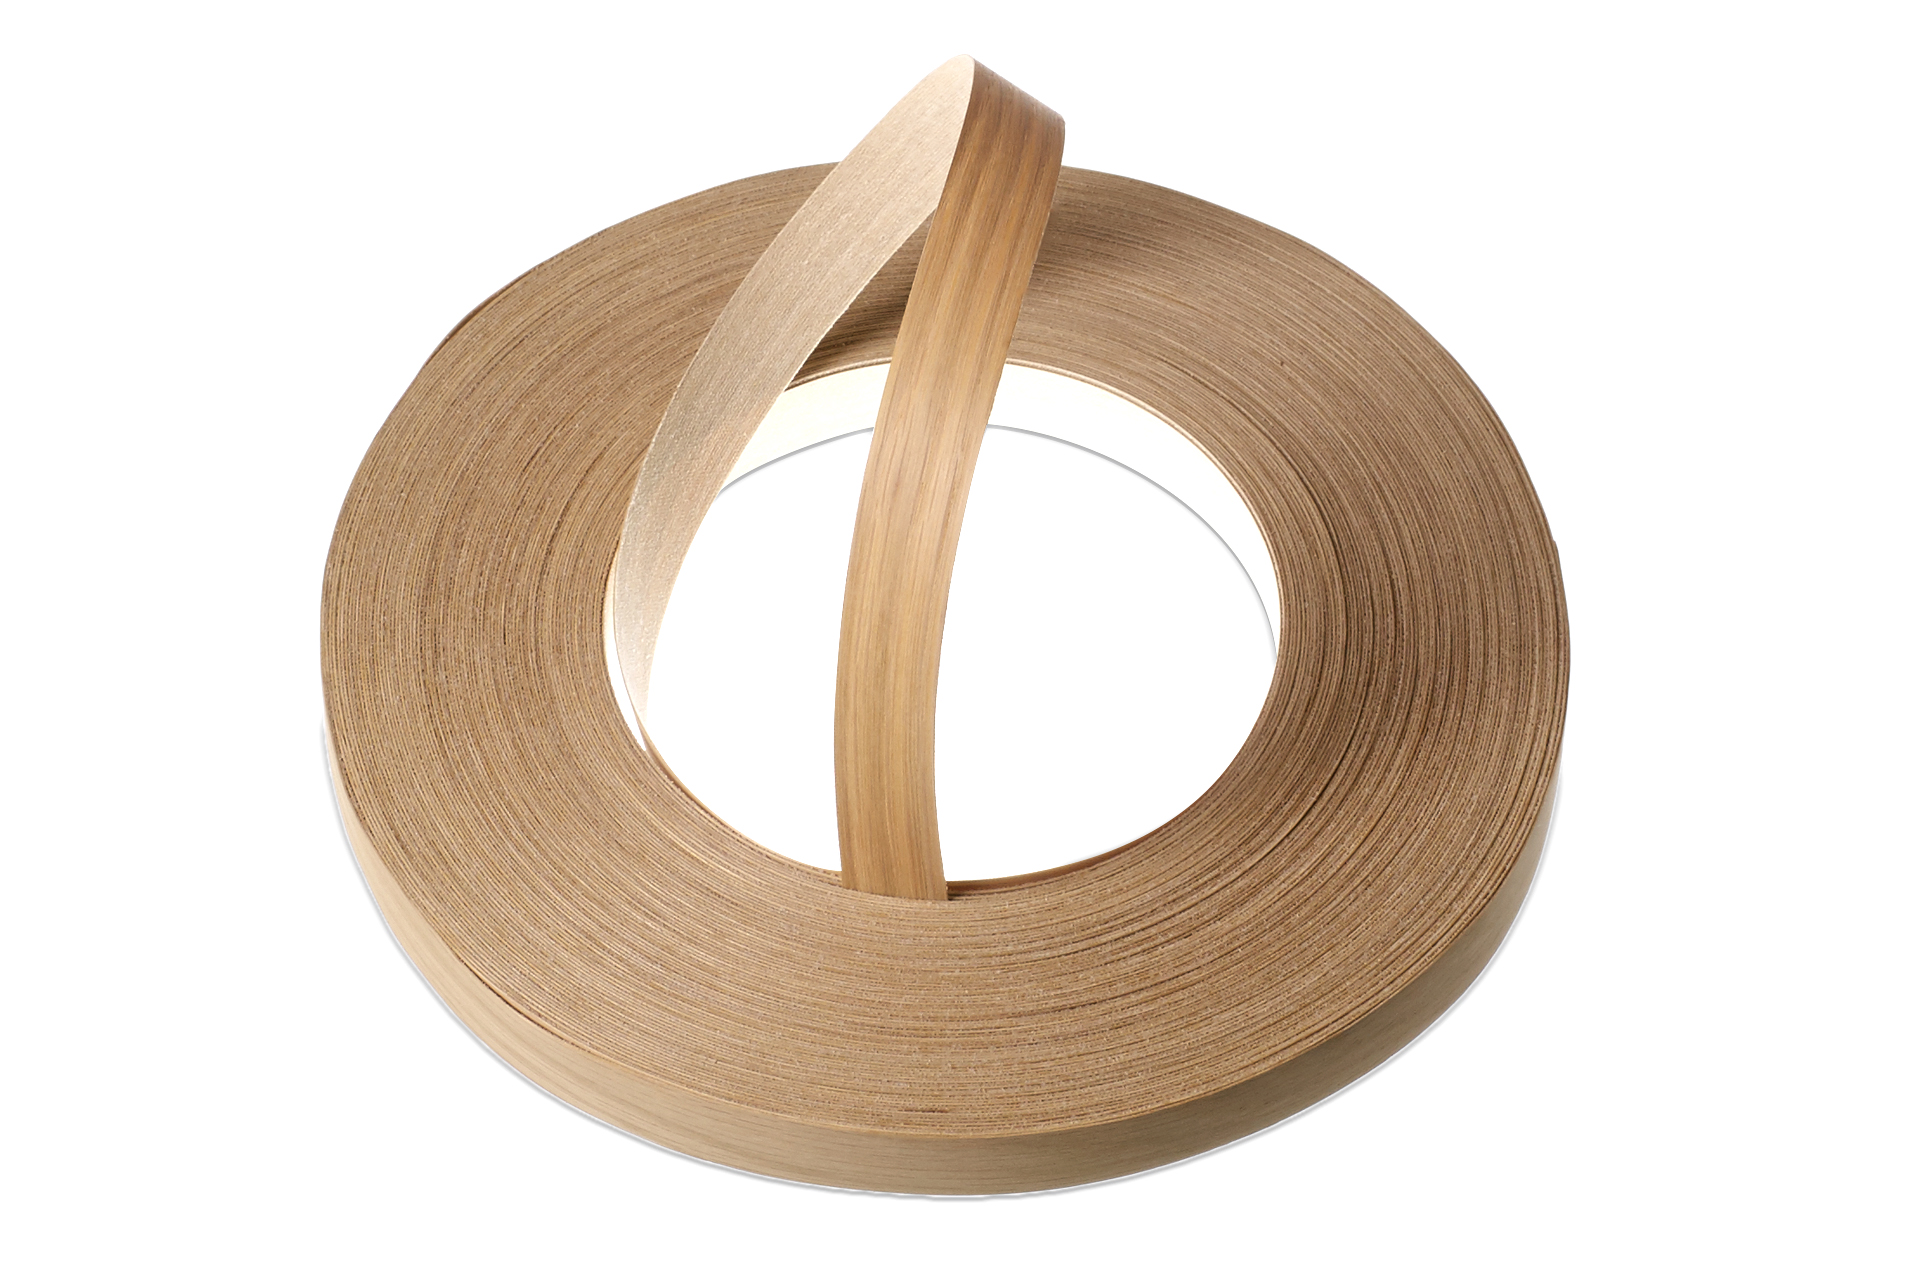
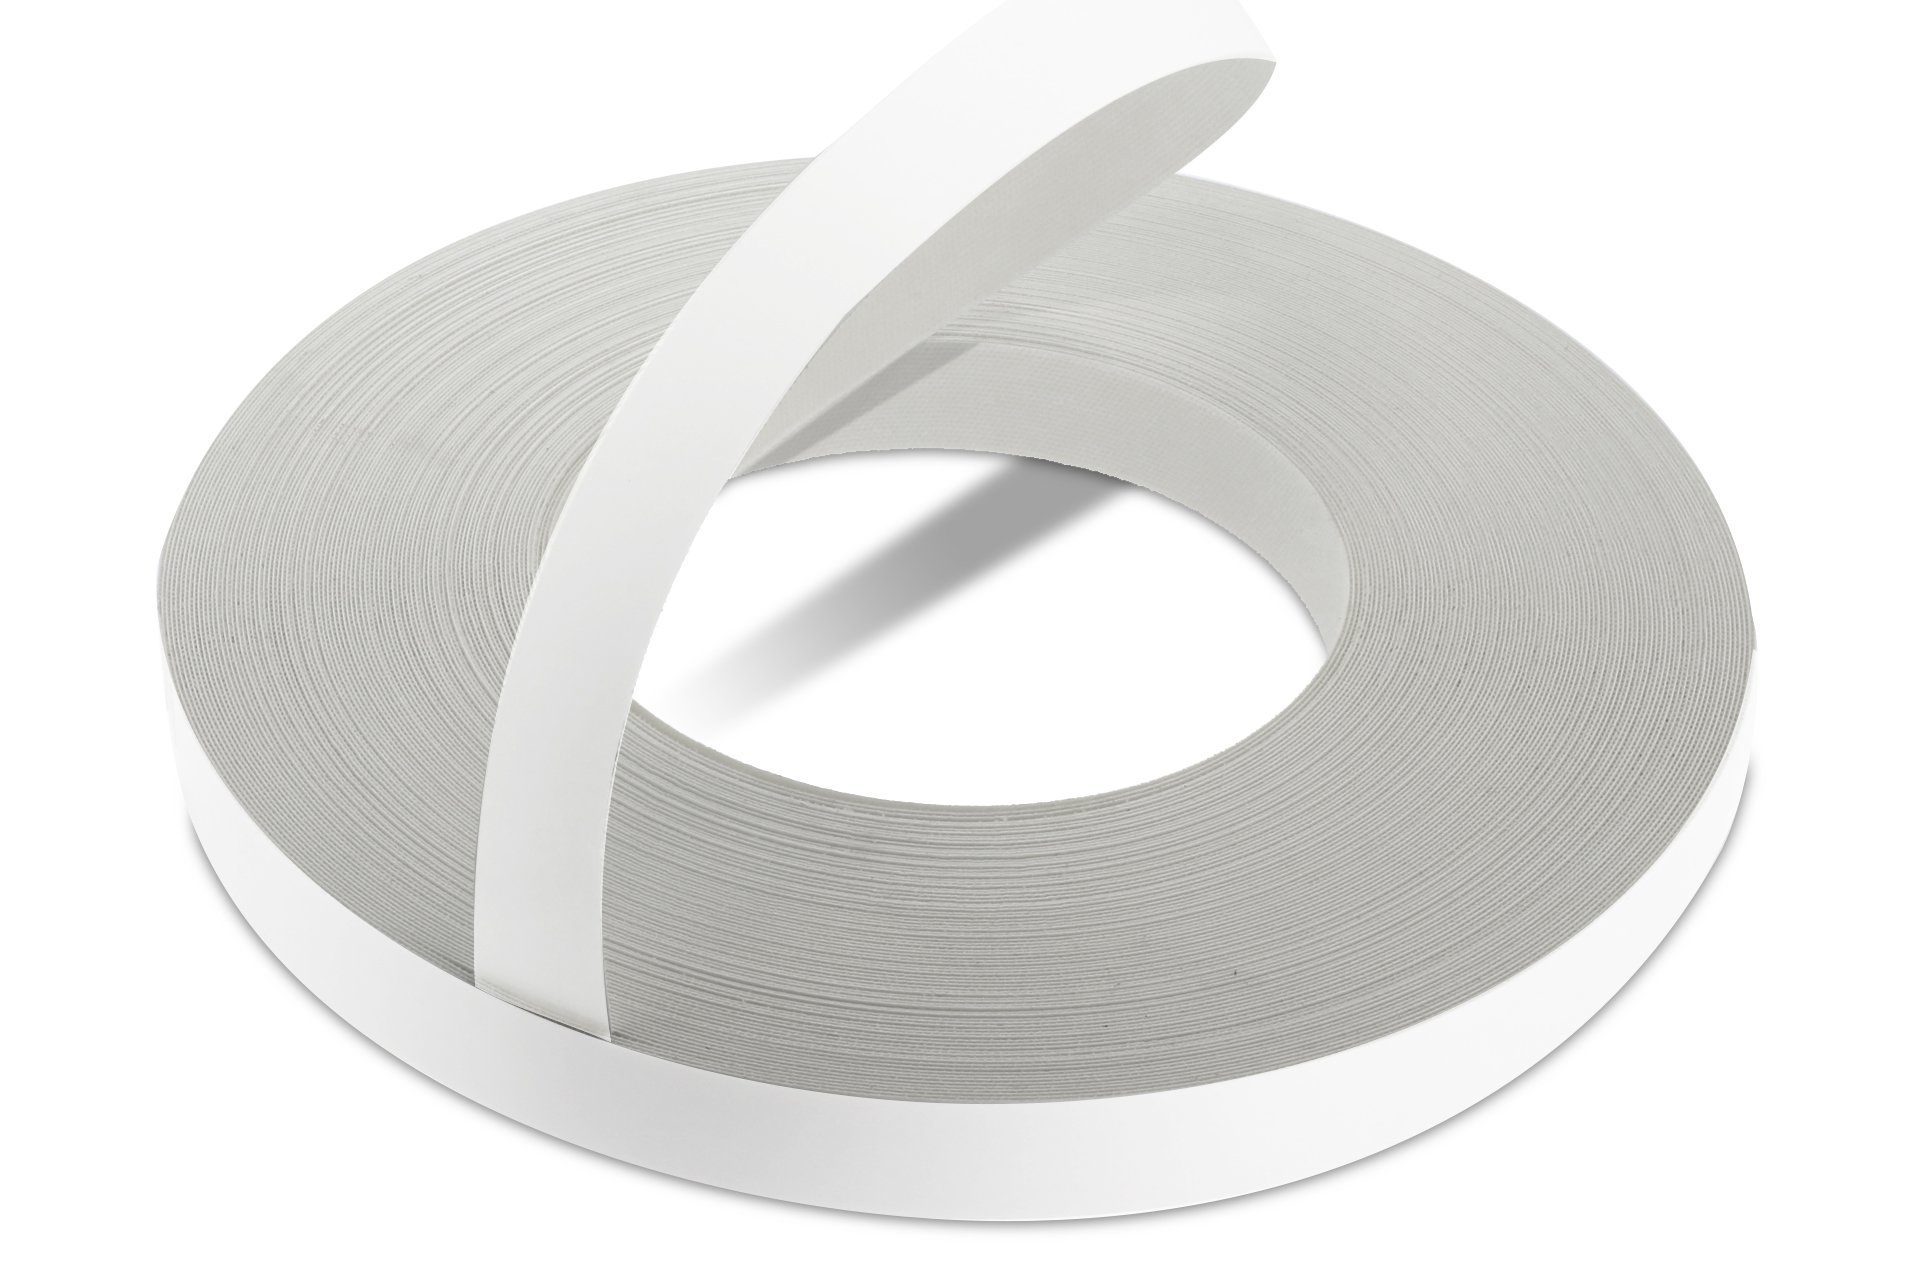 WoodPress® White Matt Melamine Edge Banding - Pre-Glued Iron-On Tape - 50m Length Roll
£14.96 – £24.96 + VAT (£17.95 - £29.95 inc. VAT)
 -
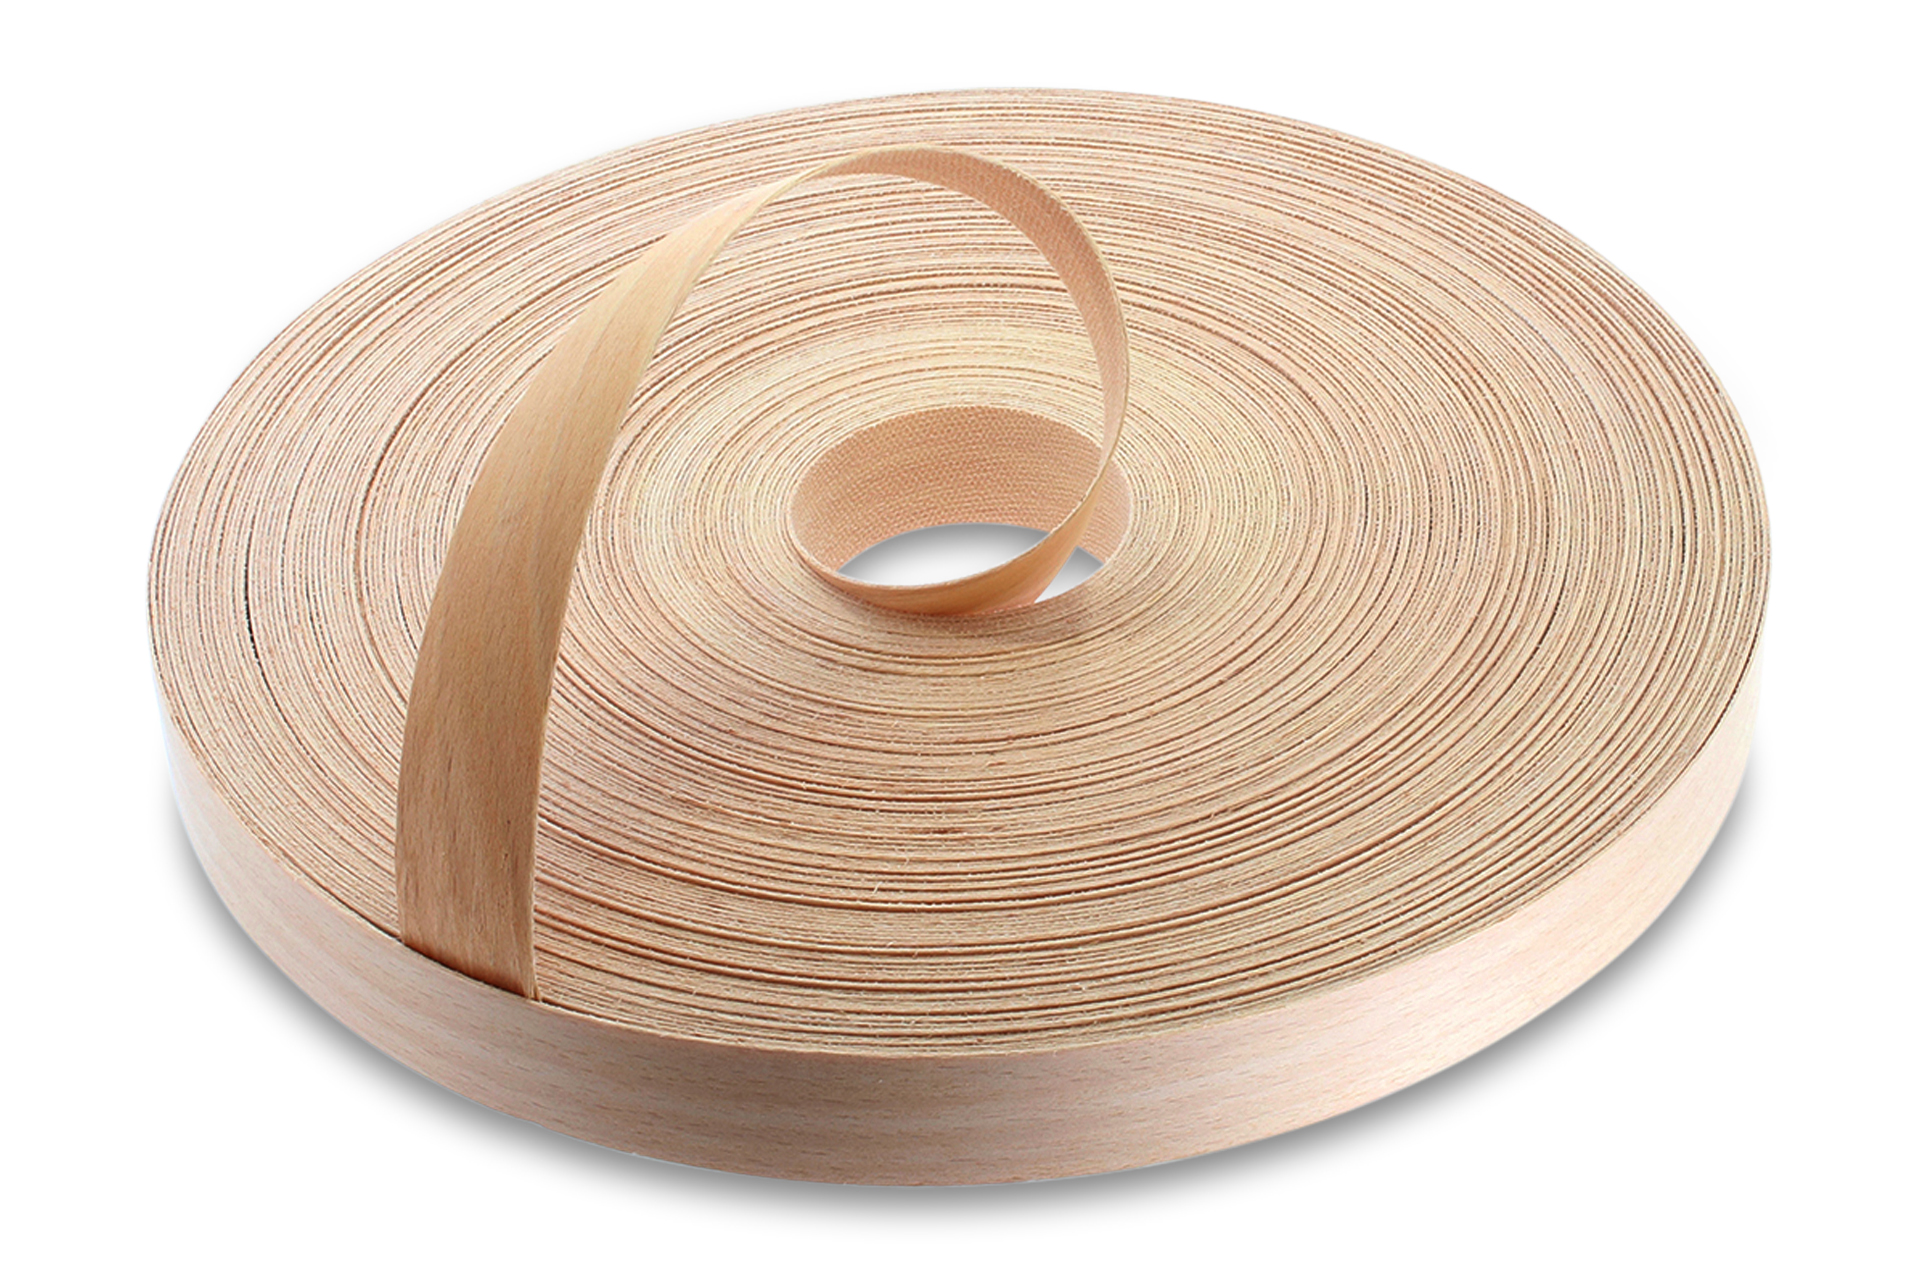
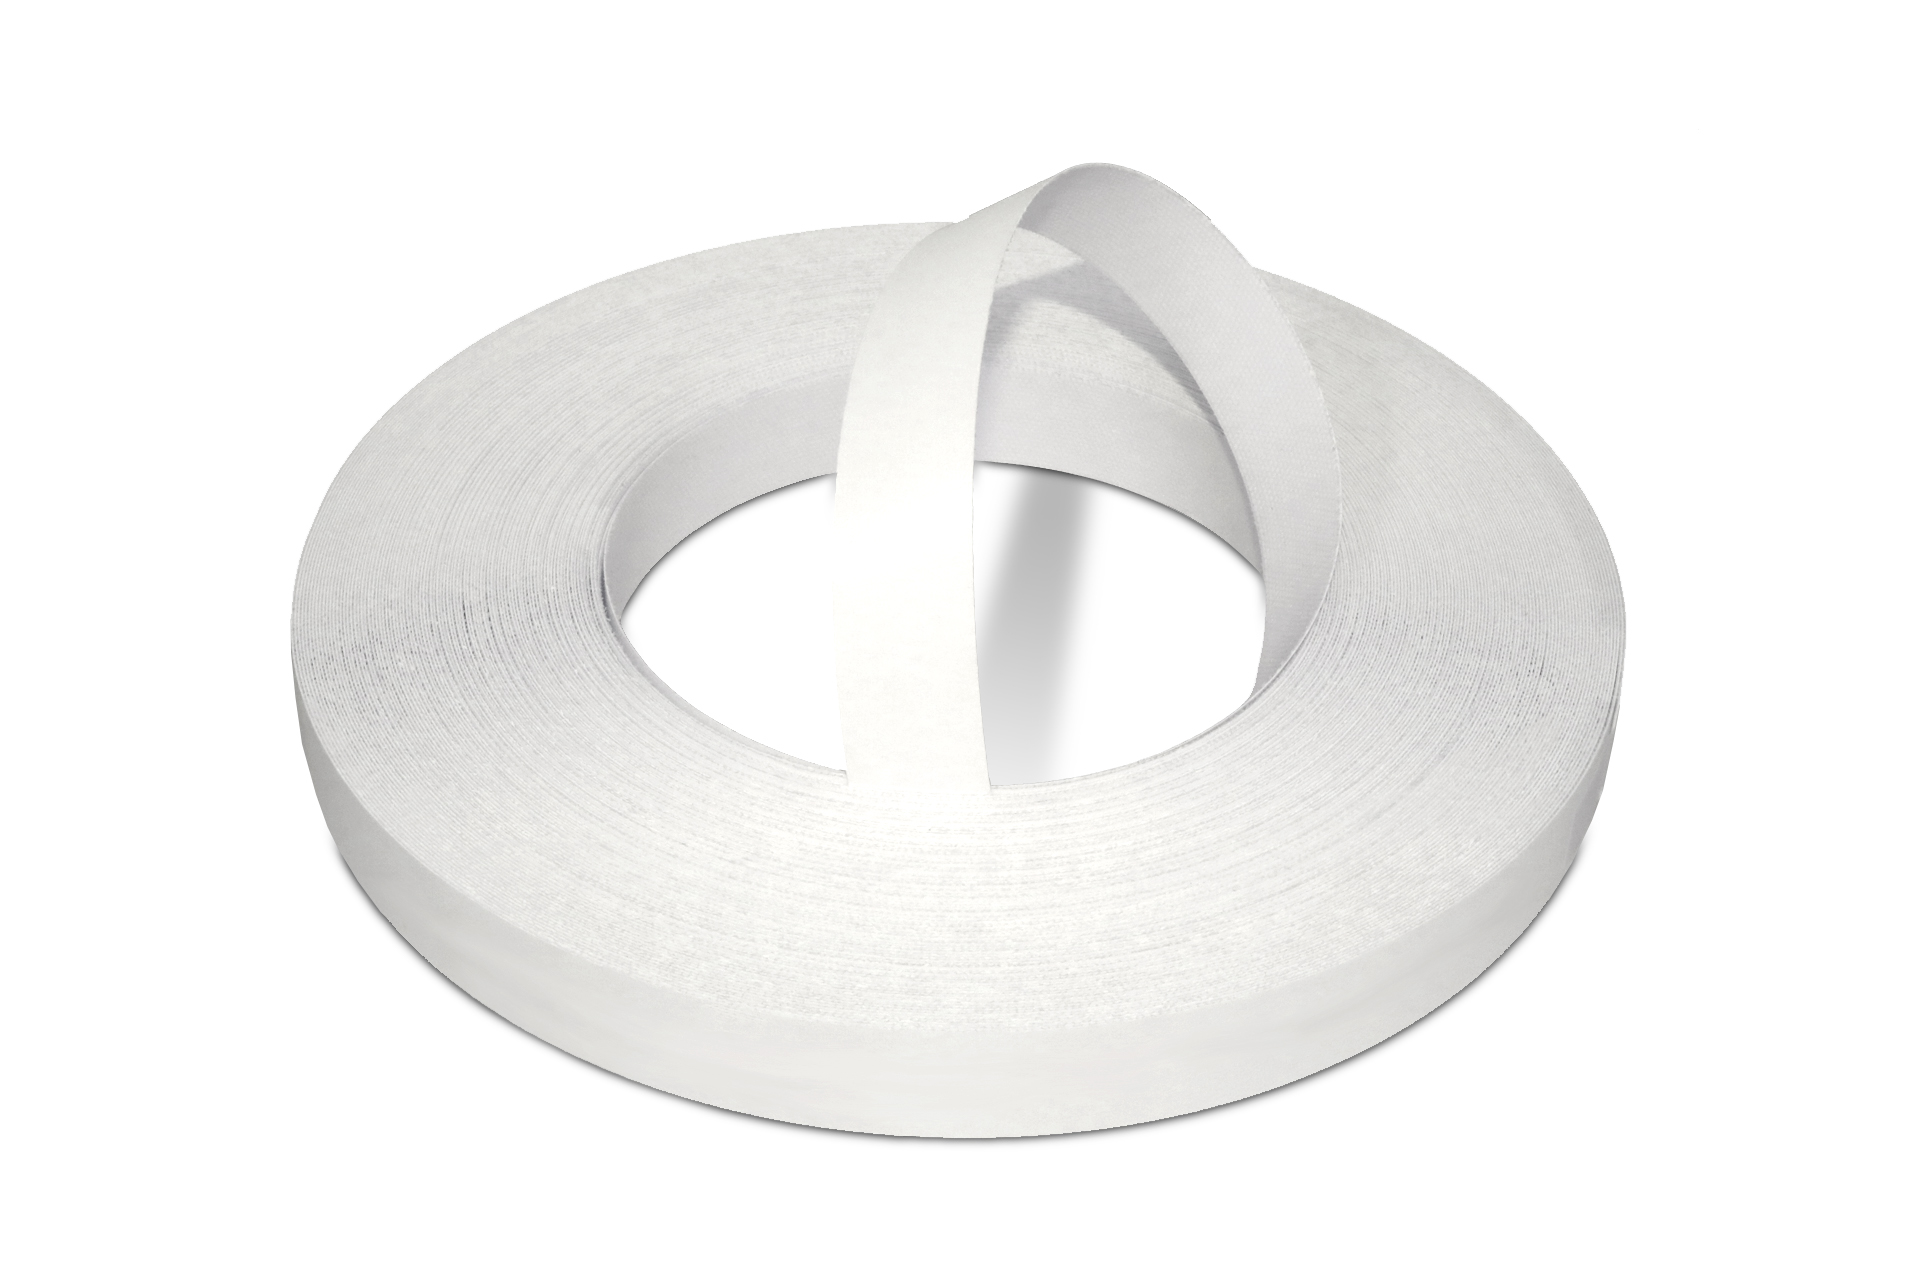 WoodPress® White Pearl Melamine Edge Banding - Pre-Glued Iron-On Tape 50m Length Roll
£14.96 – £24.96 + VAT (£17.95 - £29.95 inc. VAT)
 -
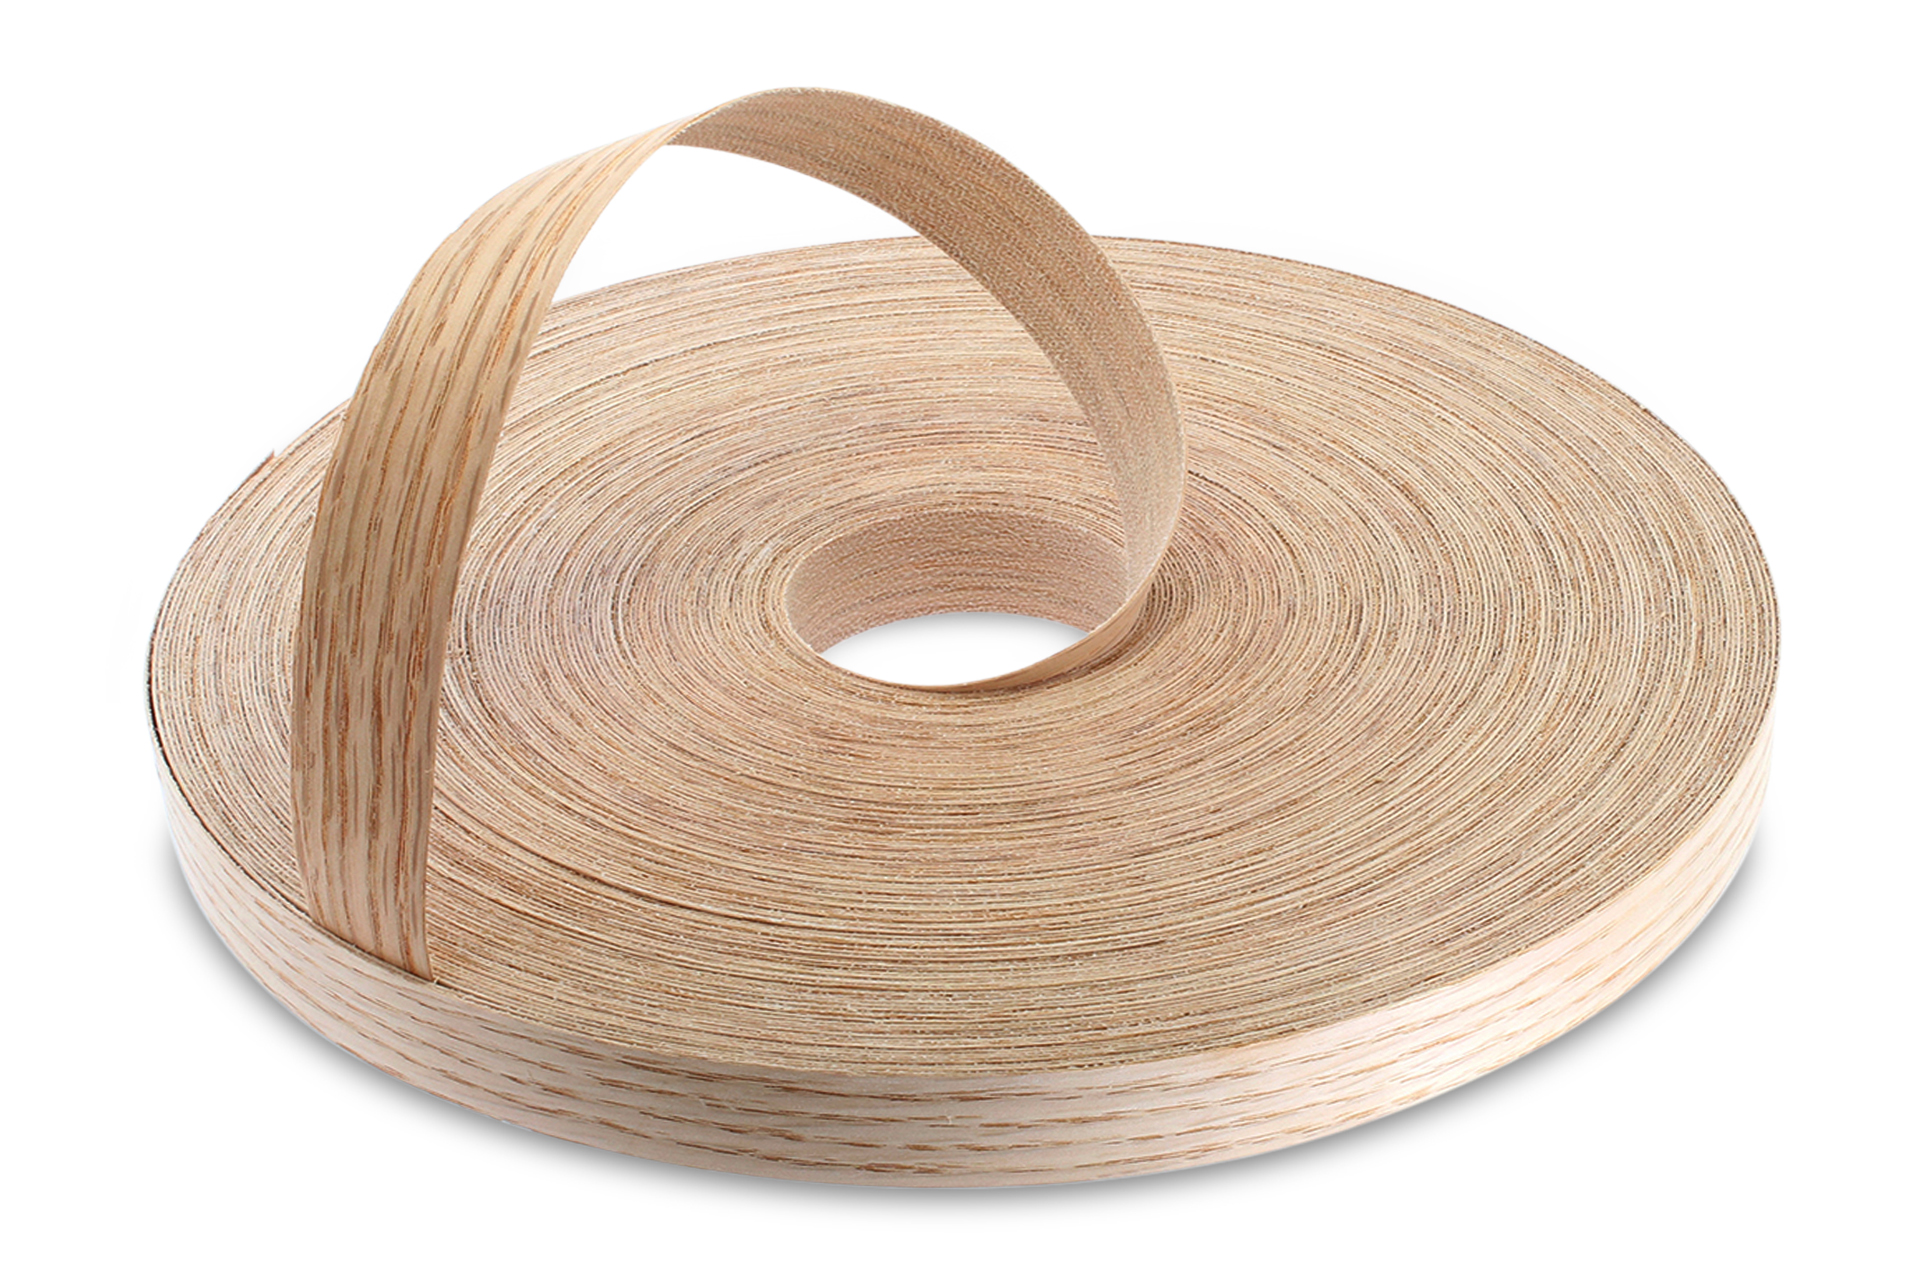
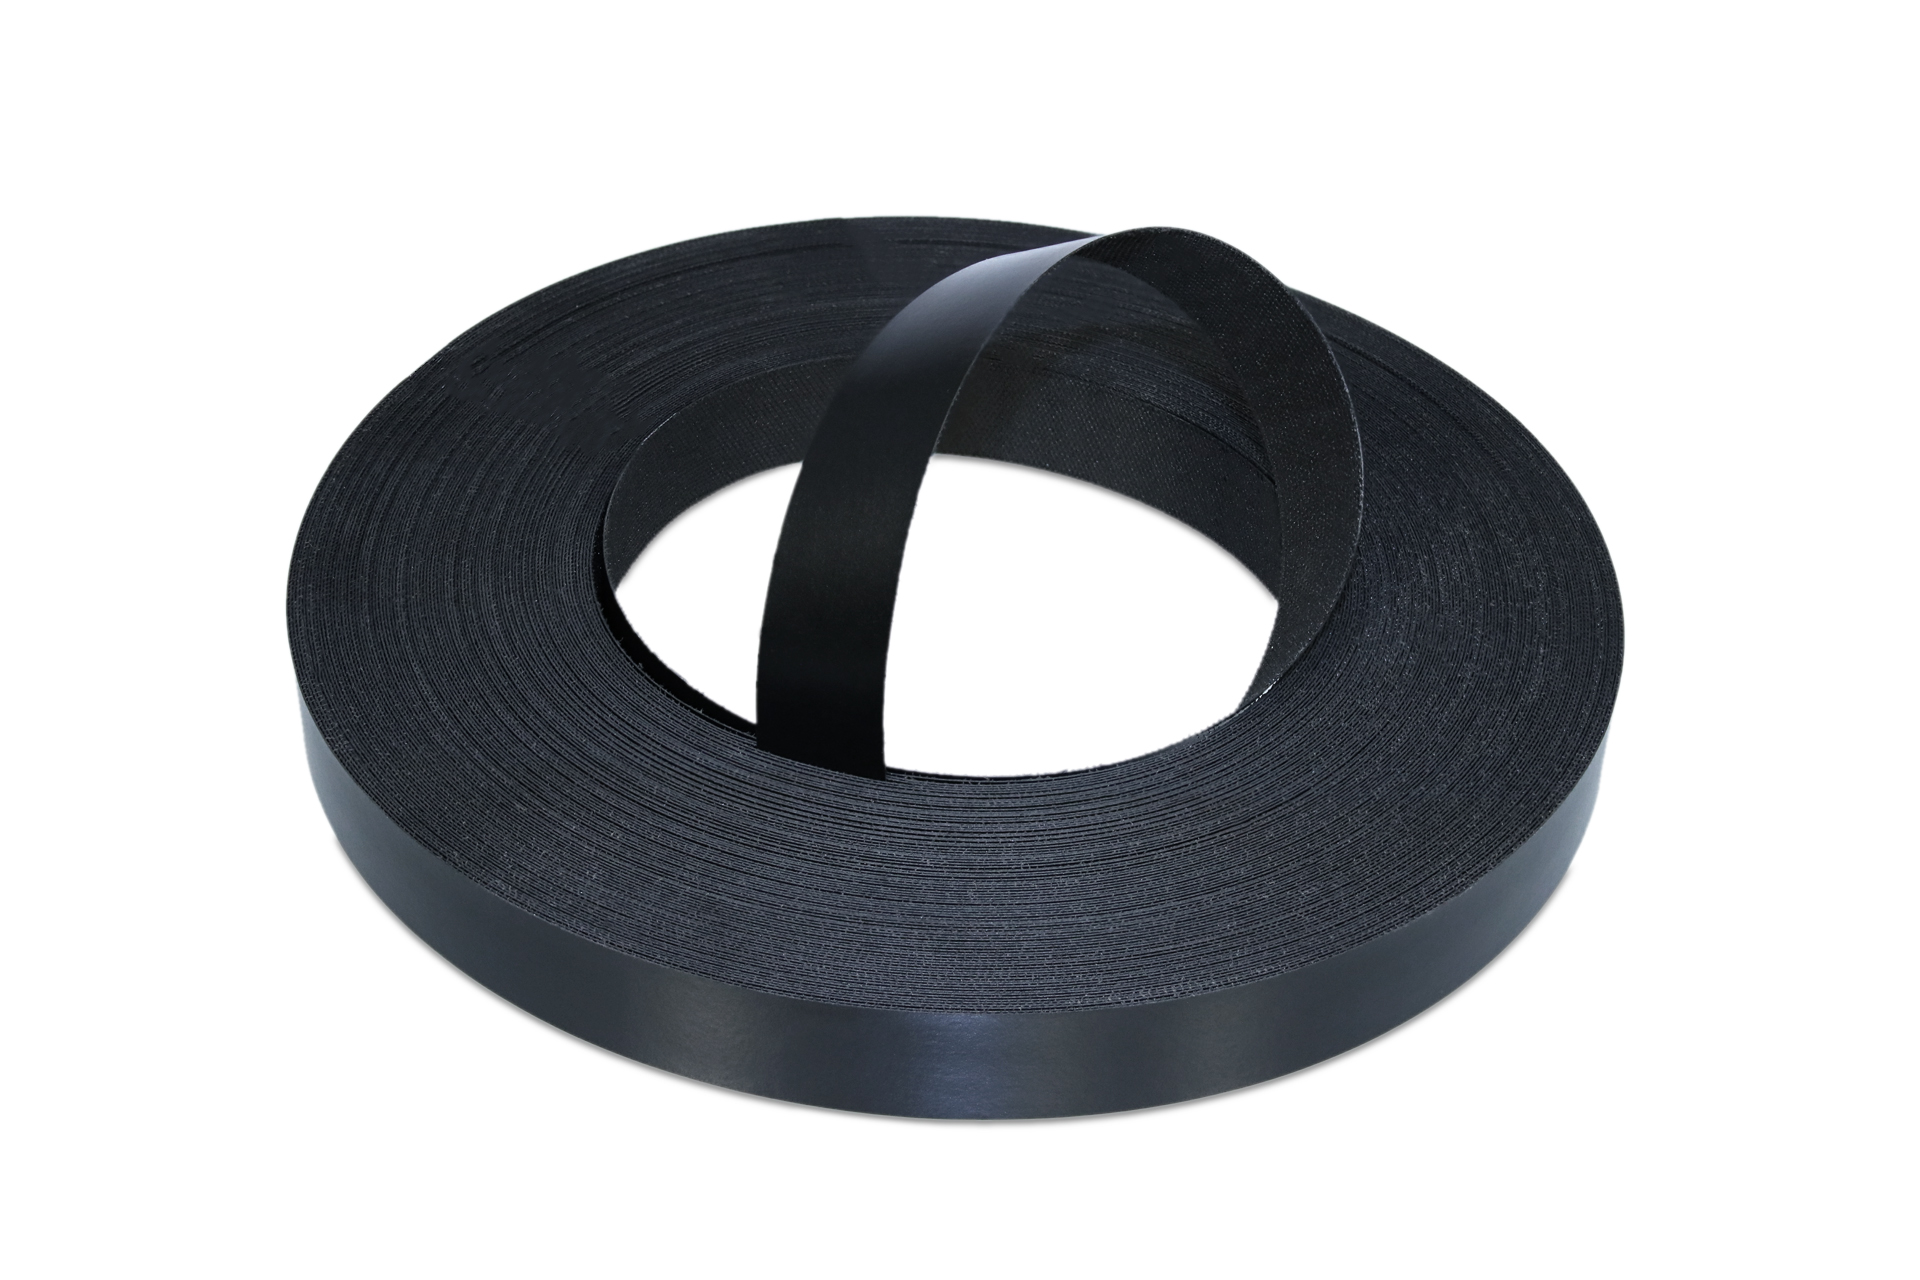 WoodPress® Black Matt Melamine Edge Banding - Pre-Glued Iron-On Tape - 50m Length Roll
£14.96 – £24.96 + VAT (£17.95 - £29.95 inc. VAT)
Japanese Joinery: A Beginner’s Guide
From essential tools and recommended types of wood to beginner-friendly joint recommendations, this guide will help you get started with Japanese joinery…
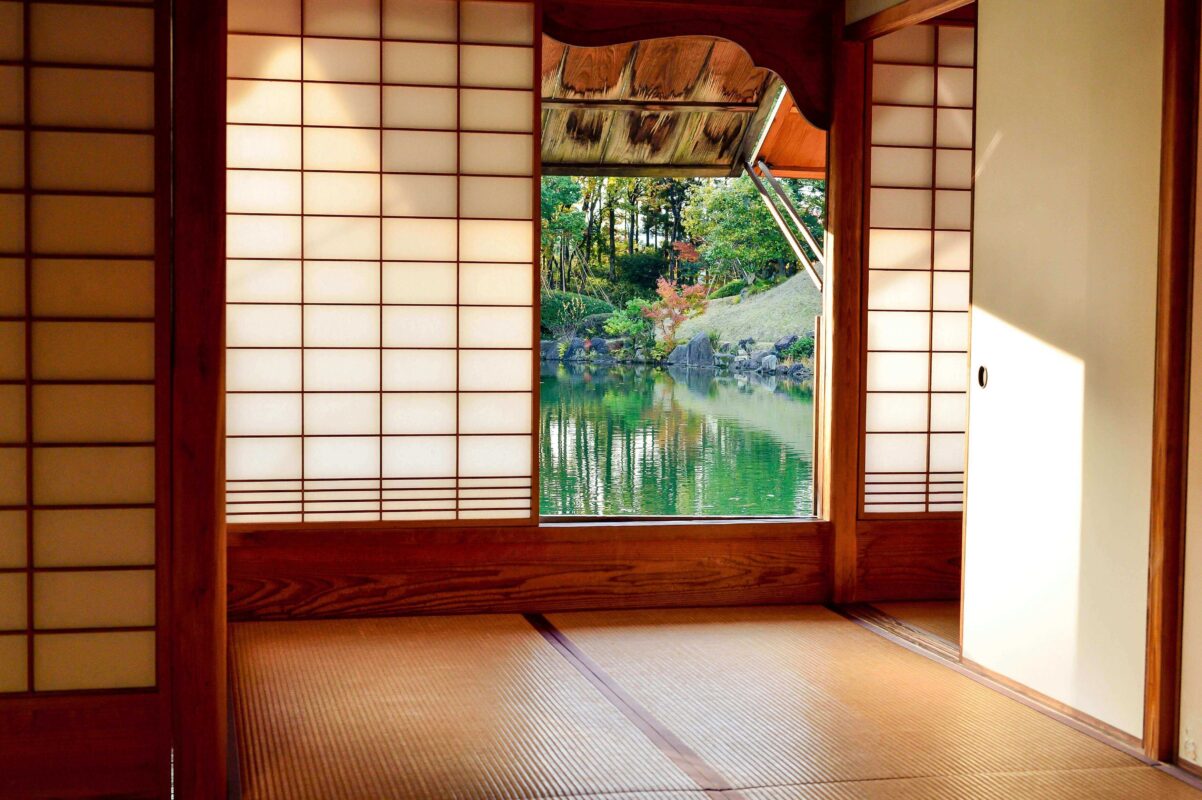
Japanese joinery is an ancient art form designed to create structures capable of withstanding earthquakes. The joints are carefully crafted to bend and move slightly under stress, preventing them from snapping. Instead of fasteners or adhesives, they rely on friction and tension created by intricate cuts and precisely measured shapes that fit together seamlessly.
While Japanese joinery is a traditional art form that many dedicate their lives to mastering, it is still possible for beginners to try their hand at it. If you are interested in starting your own Japanese joinery journey, here is a list of tools you should consider purchasing—or may already have in your workshop:
Saws
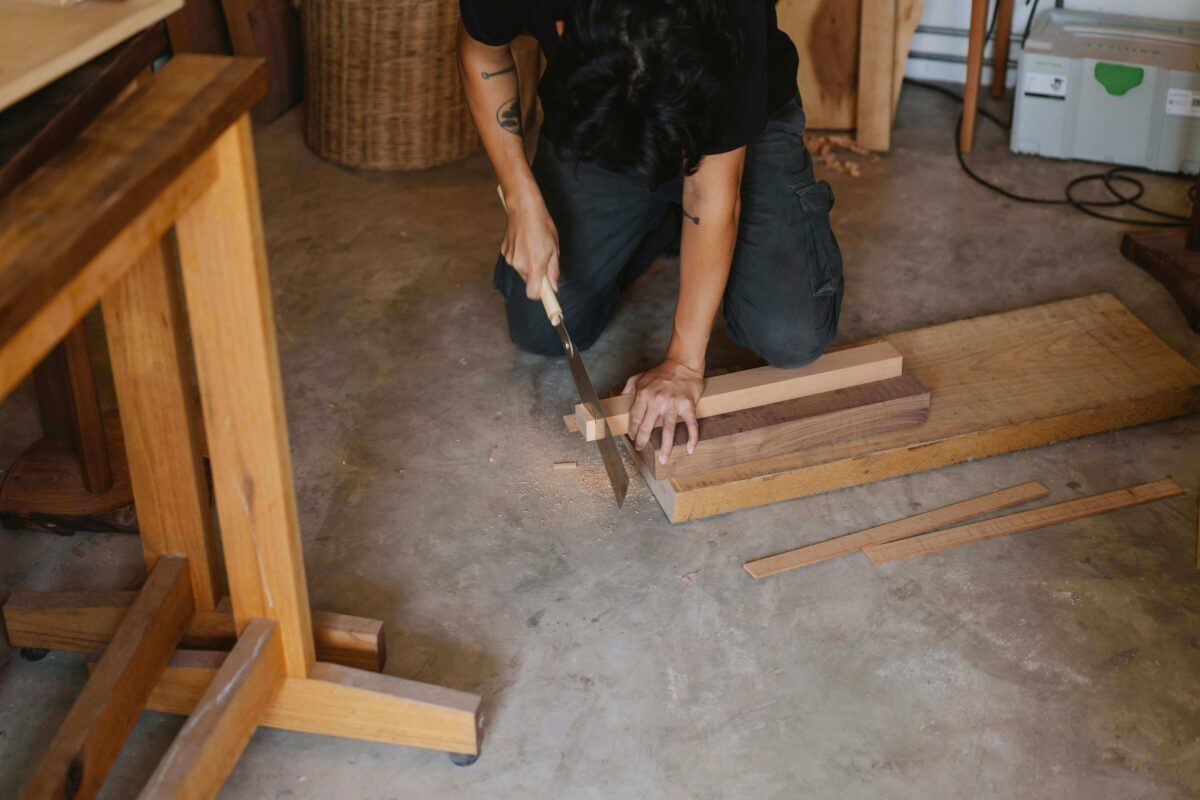
The ryoba, a Japanese double-sided saw, is an excellent first saw for beginners due to its versatility. If you are looking to expand your toolkit, the kataba is a great addition for more detailed and precise cuts.
Chisels
The most common type of chisel used in Japanese woodworking is the oire nomi, which is used to make dovetail joints (a great joint for beginners); therefore, this chisel is recommended in small, large, and medium sizes for the first addition to a toolbox.
Planes
As a beginner, the only plane you will need is a 60 mm (about 2.36 in) hira kanna (regular plane). Hira kanna is used to smooth down wood and add a finishing touch to your work.
Fun Fact: Once you are skilled with the hira kanna, you can use it to make your own patterned wood veneers!
Hammers
The hammer you need to begin Japanese joinery is the gennou hammer, which is flat on one side and slightly rounded on the other. This hammer is used for striking chisels and planes.
Now that you have your toolbox, it is time to look at the best wood to use. For Japanese joinery, softwoods are recommended, although it is possible to use hardwood. If you are just beginning, it is recommended to get yellow cedar, as it is very accessible and versatile in its uses in Japanese joinery.
Best Joints for Beginners
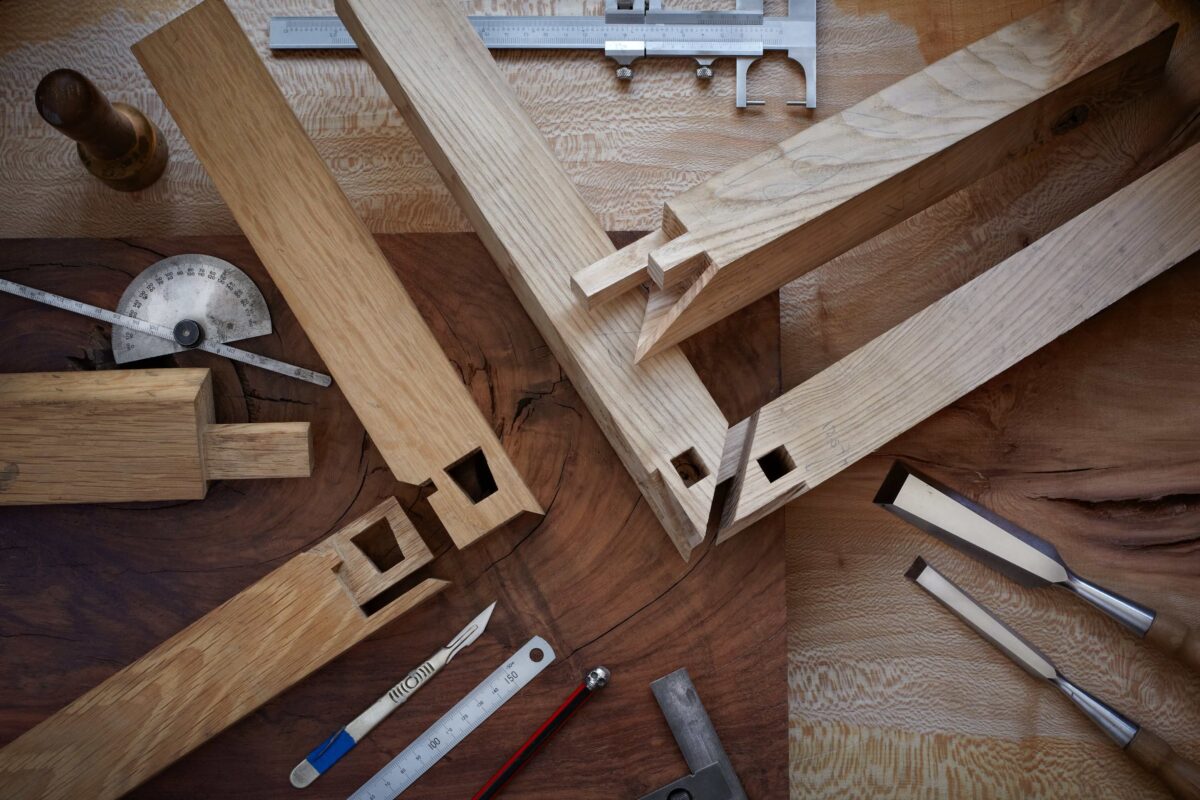
Mortise and tenon joint:
This joint is created by a hole in one piece of wood and a tab in another piece. They are then connected to create a secure joint.
Dovetail Joint:
This joint connects two pieces of wood using interlocking, flared connectors that provide strong mechanical resistance. Its design makes it particularly durable and reliable. Dovetail joint is a commonly used joint in all types of woodworking, and is popular amongst beginners.
Half Lap Joint:
This joint is made by removing half the thickness of each piece of wood at the area where they will intersect. The two pieces are then joined together, forming a crisscross shape where they overlap.
Before you begin your first project, try practice these joints. Once your joints are effective it might be time to start building!
Visual Reference Guides
Woodworking joints can be hard to picture from just descriptions which is why i have selected my favourite visual guides for a better understanding of japanese joinery.
- https://www.core77.com/posts/43001/Reference-The-Ultimate-Wood-Joint-Visual-Reference-Guide
- https://architizer.com/blog/inspiration/industry/japanese-art-of-wood-joinery/
Conclusion
Japanese joinery is a timeless craft that blends precision, artistry, and functionality. While mastering it takes dedication, beginners can still appreciate and practice its fundamental techniques. By starting with the right tools, wood selection, and beginner-friendly joints, you can begin your journey into this fascinating woodworking tradition. With patience and persistence, you’ll develop the skills needed to create stunning, durable structures that embody the essence of Japanese craftsmanship. So pick up your tools, start practicing, and embrace the beauty of this ancient art form!


