-
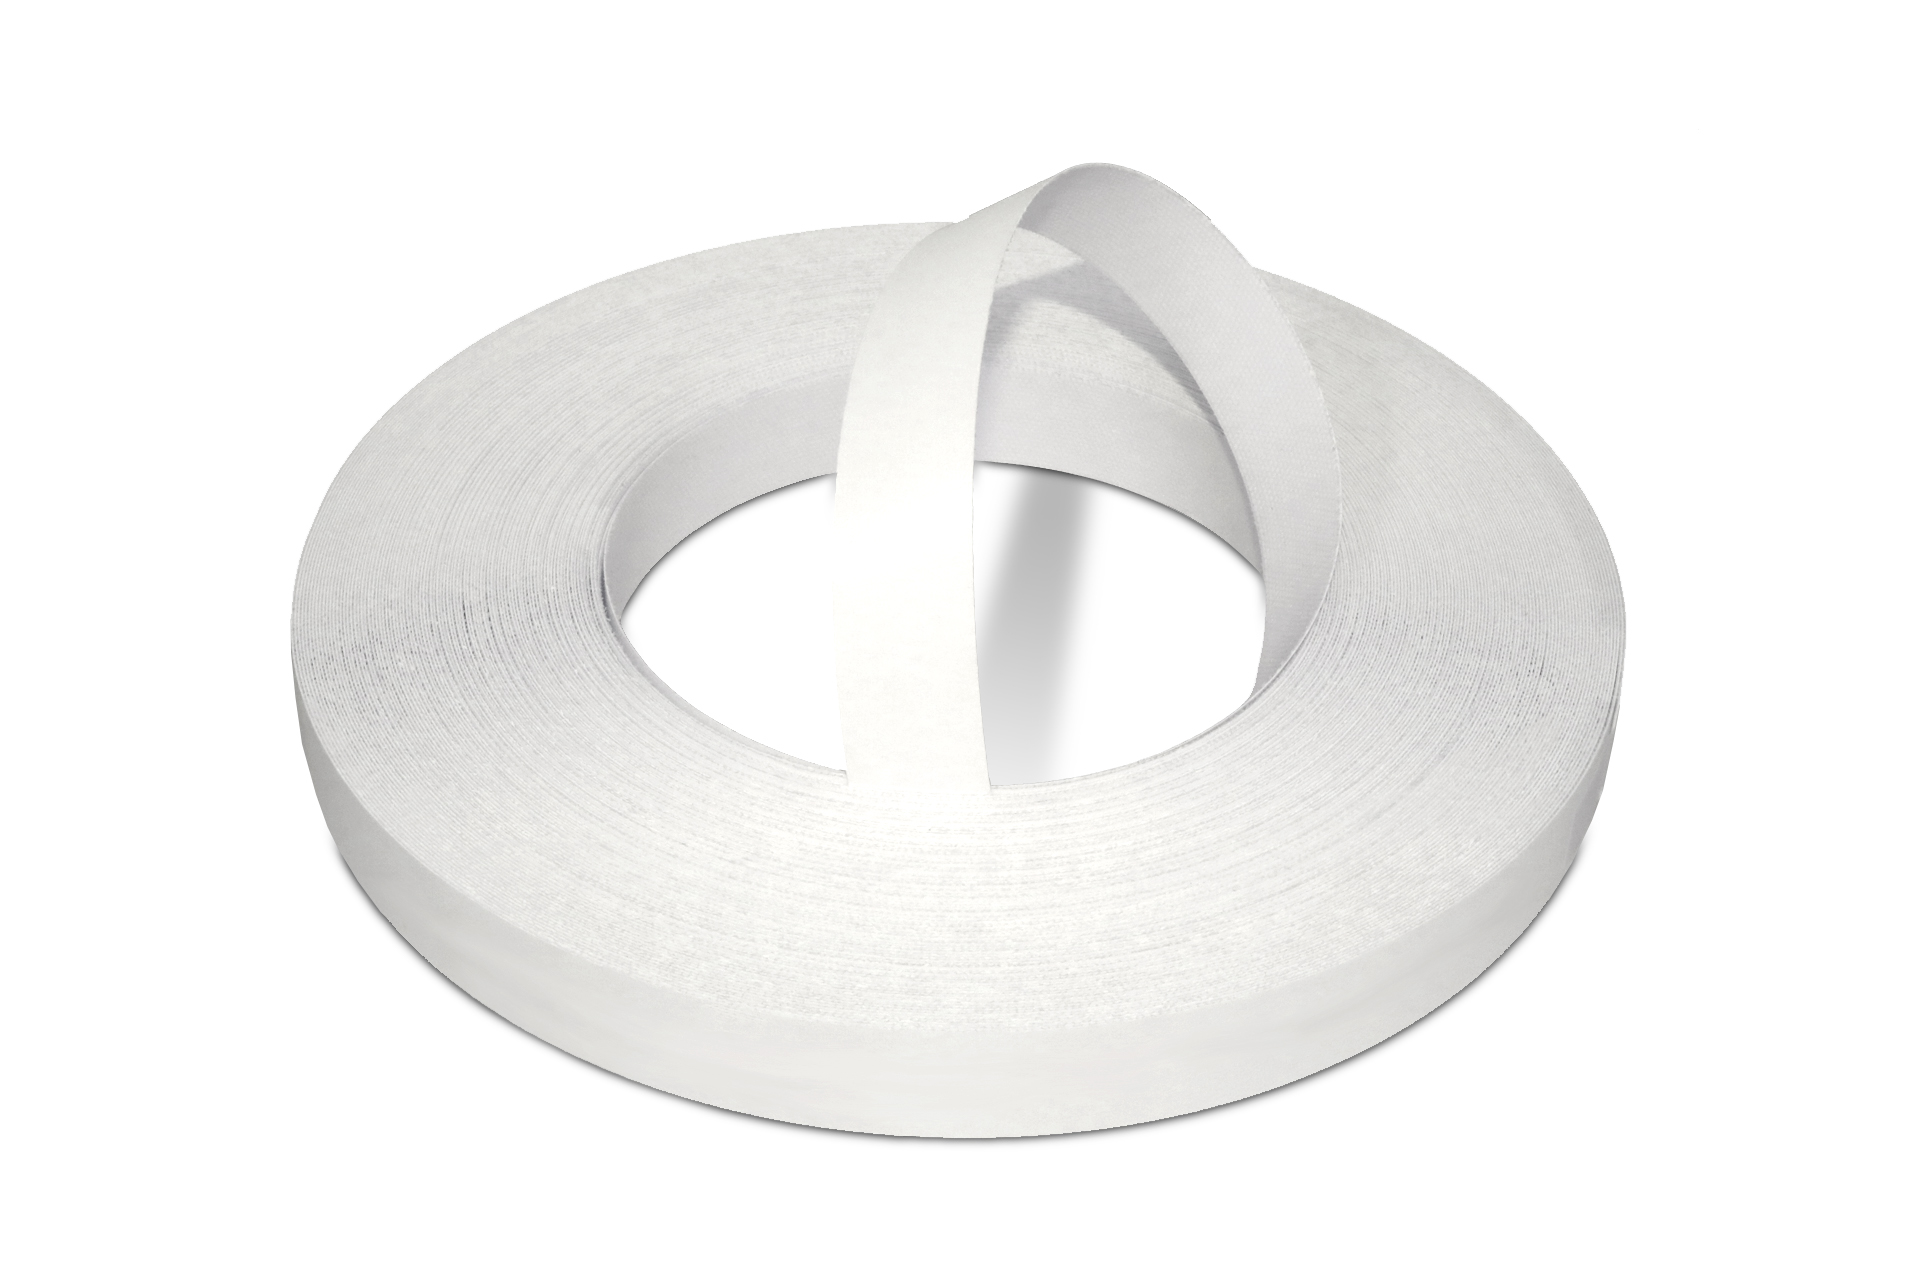
 WoodPress® White Matt Melamine Edge Banding - Pre-Glued Iron-On Tape - 50m Length Roll
£14.96 – £24.96 + VAT (£17.95 - £29.95 inc. VAT)
WoodPress® White Matt Melamine Edge Banding - Pre-Glued Iron-On Tape - 50m Length Roll
£14.96 – £24.96 + VAT (£17.95 - £29.95 inc. VAT) -
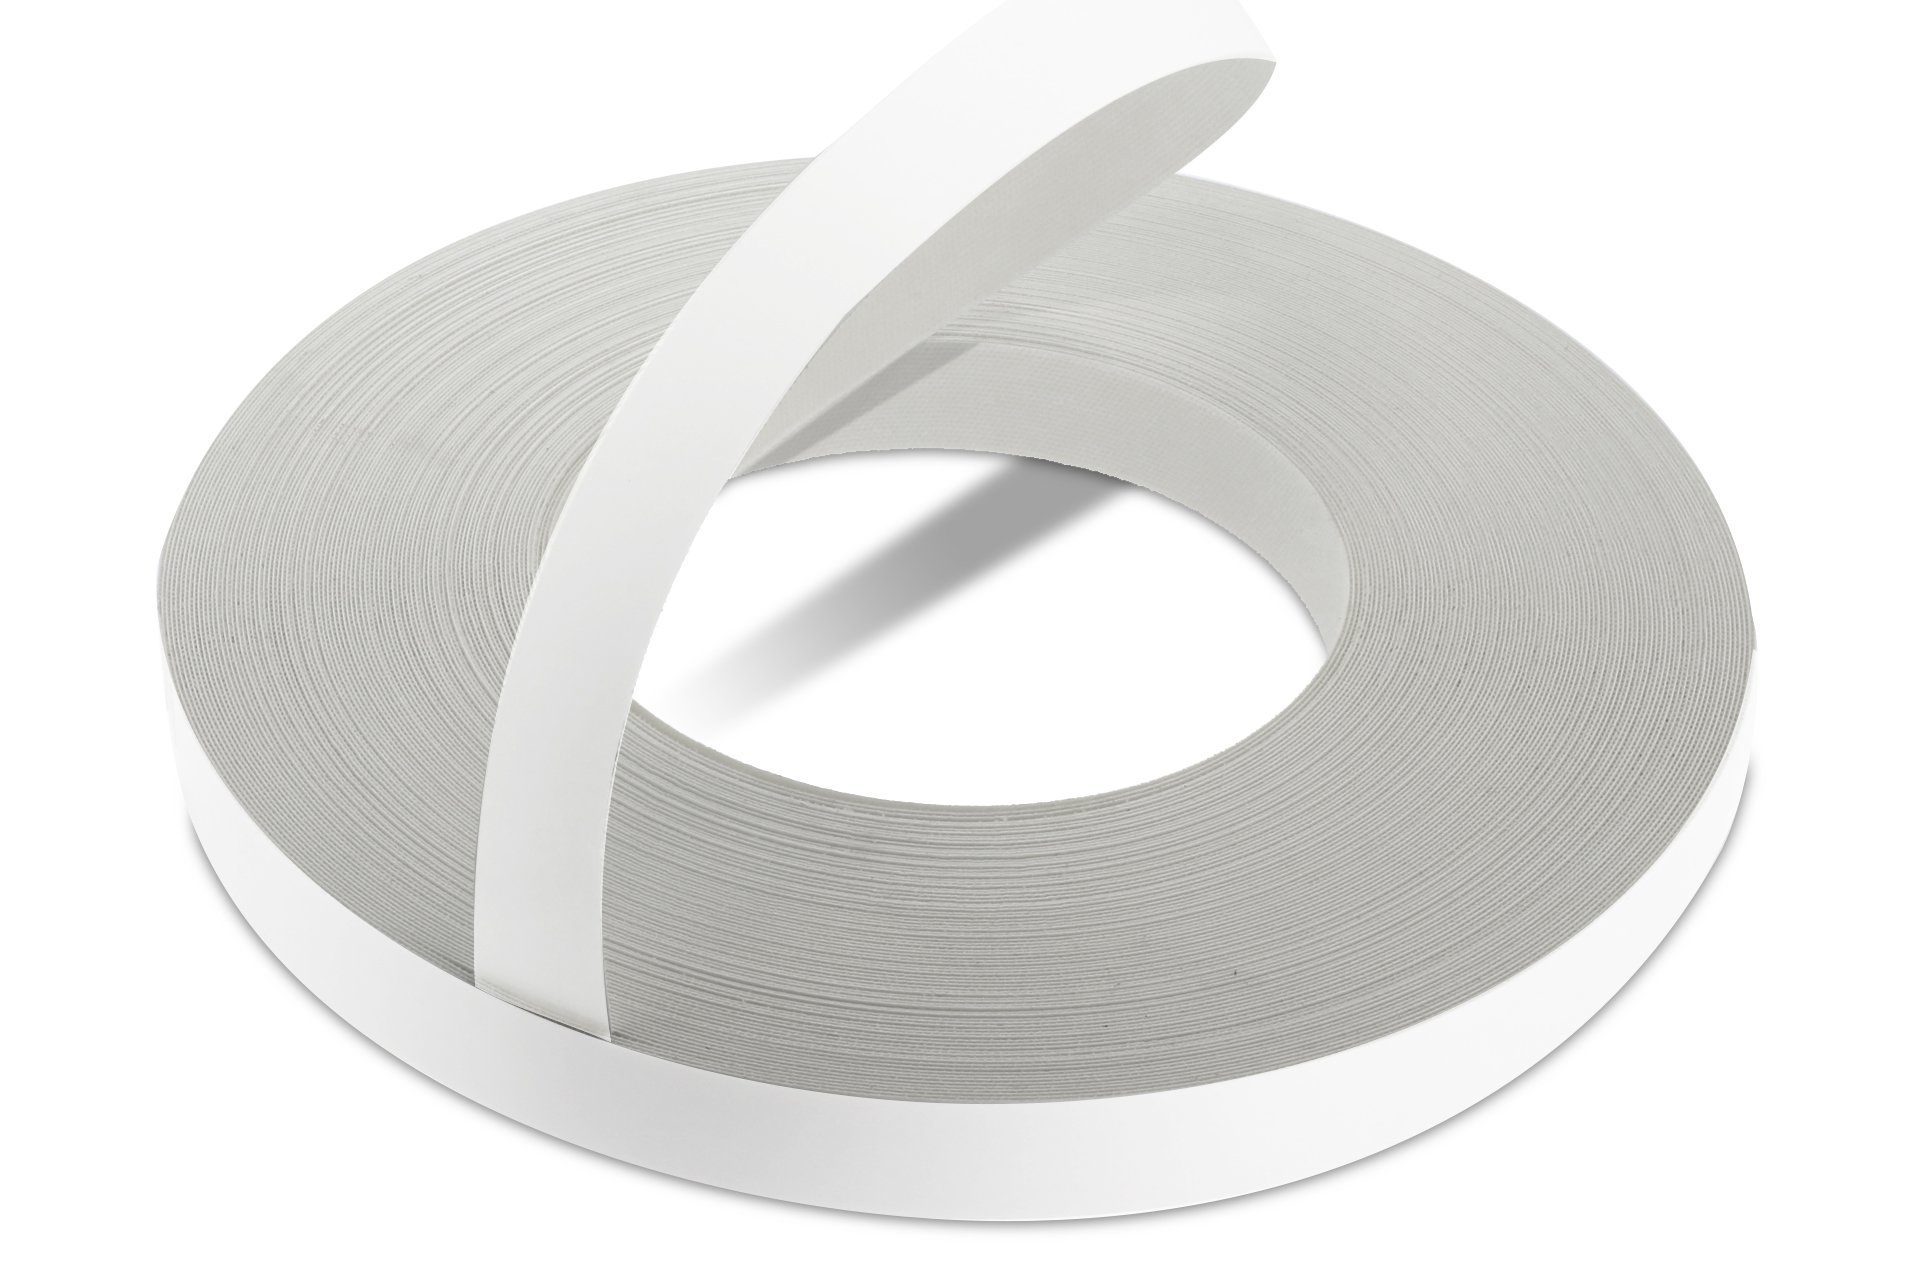
 WoodPress® White Pearl Melamine Edge Banding - Pre-Glued Iron-On Tape 50m Length Roll
£14.96 – £24.96 + VAT (£17.95 - £29.95 inc. VAT)
WoodPress® White Pearl Melamine Edge Banding - Pre-Glued Iron-On Tape 50m Length Roll
£14.96 – £24.96 + VAT (£17.95 - £29.95 inc. VAT) -
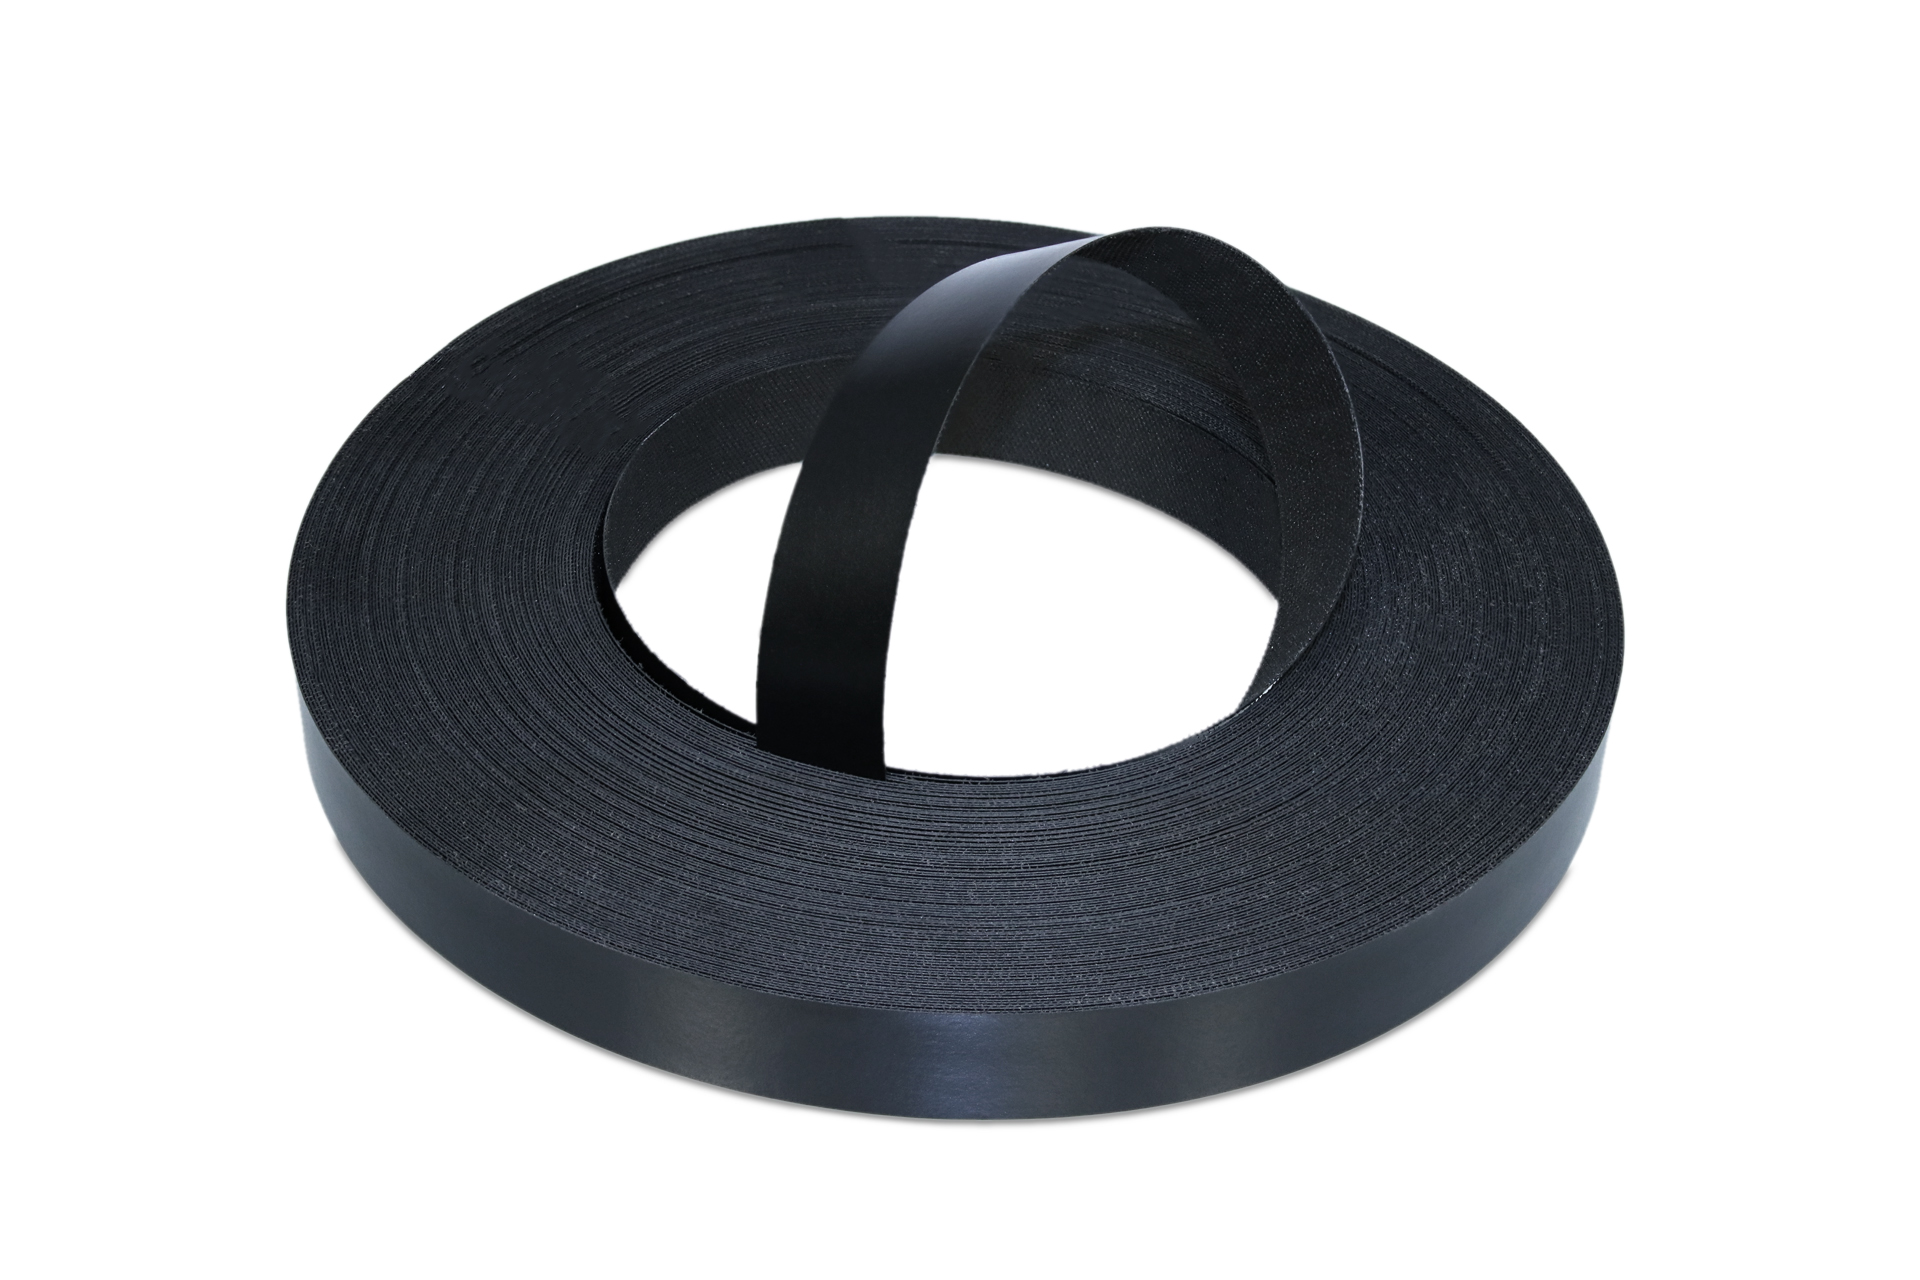 WoodPress® Black Matt Melamine Edge Banding - Pre-Glued Iron-On Tape - 50m Length Roll
£14.96 – £24.96 + VAT (£17.95 - £29.95 inc. VAT)
WoodPress® Black Matt Melamine Edge Banding - Pre-Glued Iron-On Tape - 50m Length Roll
£14.96 – £24.96 + VAT (£17.95 - £29.95 inc. VAT)
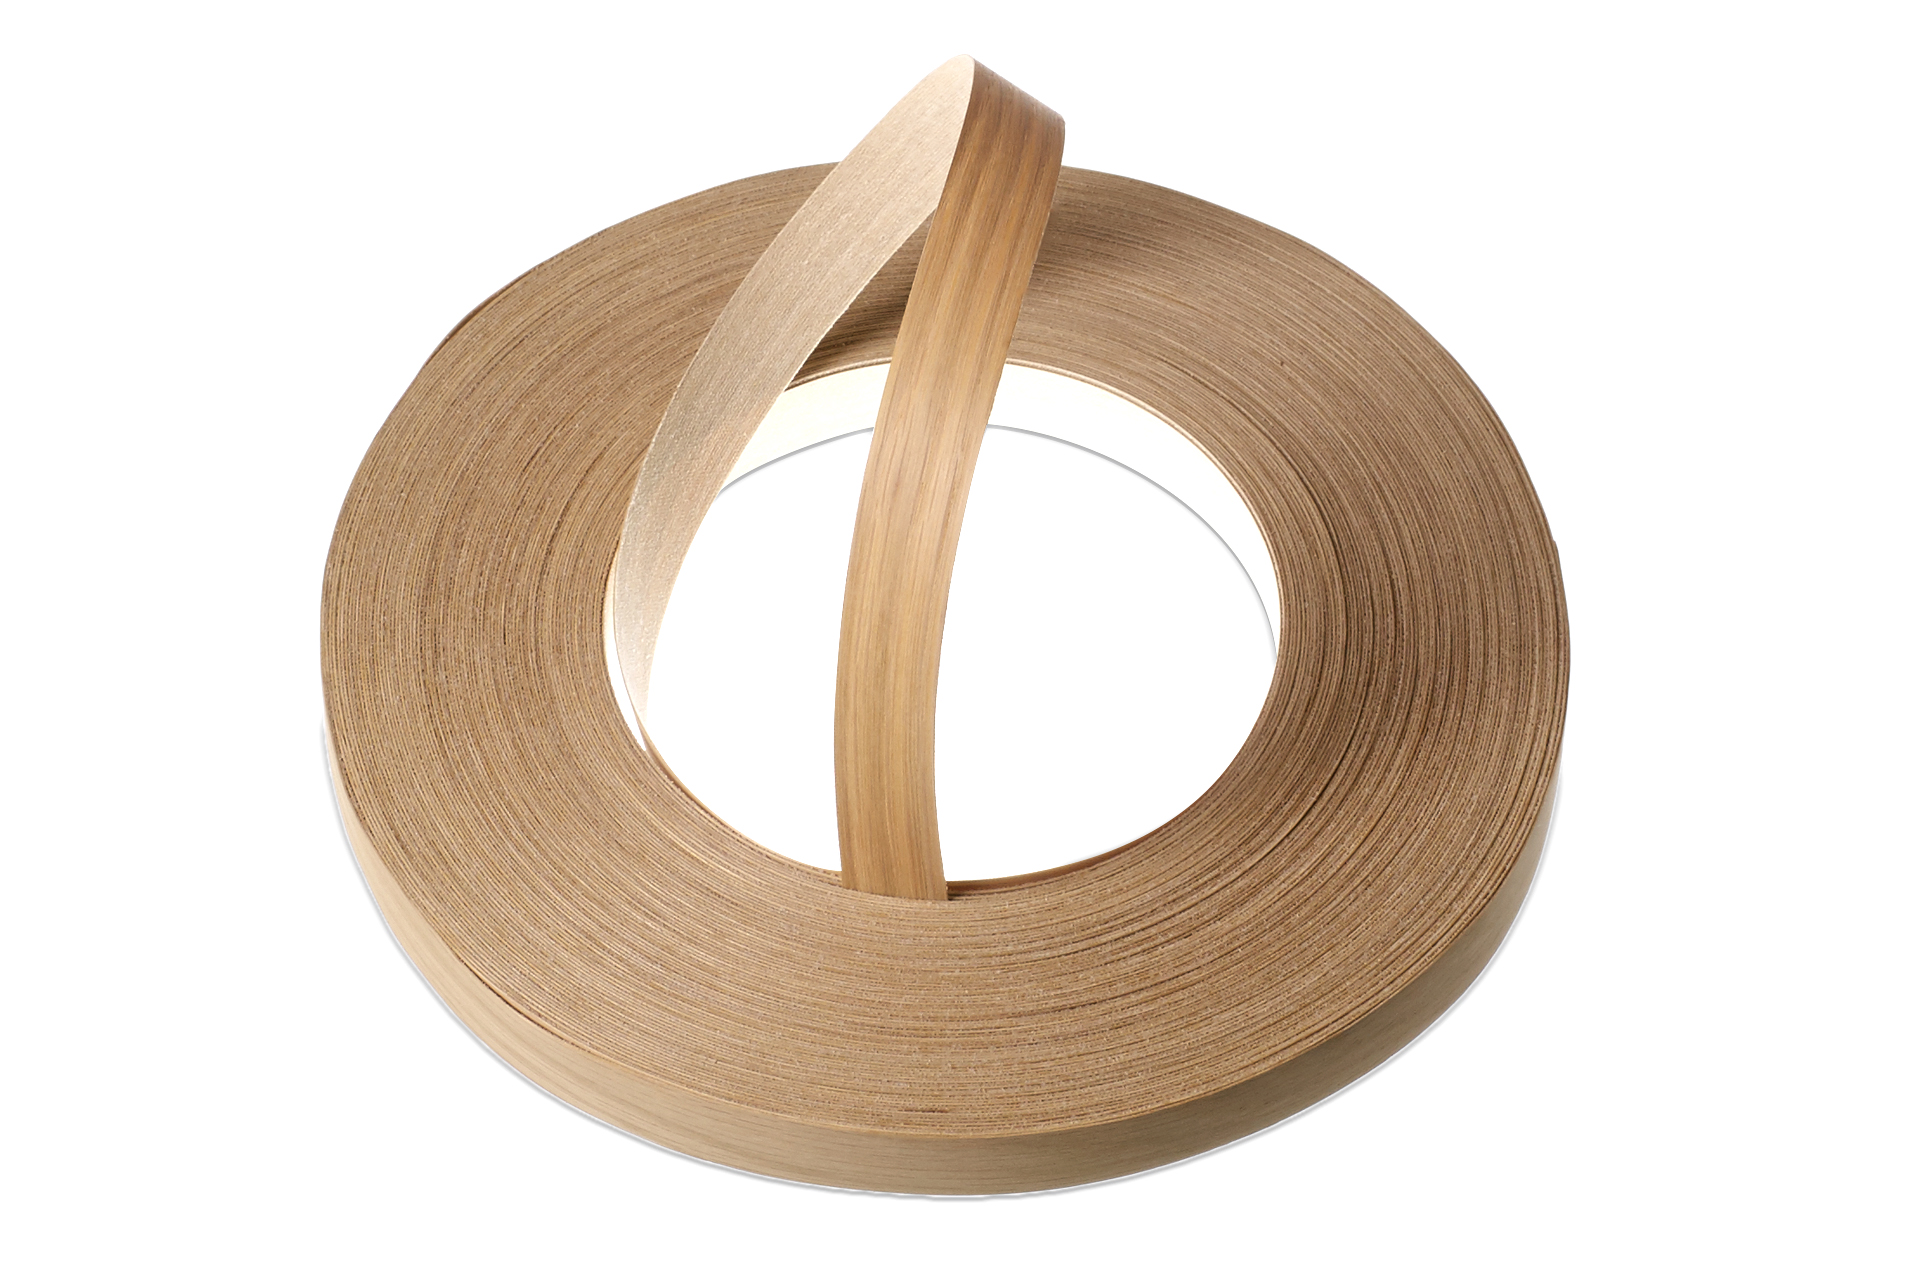
Veneer edge banding is a thin strip of wood veneer used to cover the exposed edges of plywood, particleboard, or MDF. It provides a finished look and protects the edges from damage. Here’s a detailed guide on how to apply veneer edge banding to plywood and other surfaces.

Materials and Tools Needed
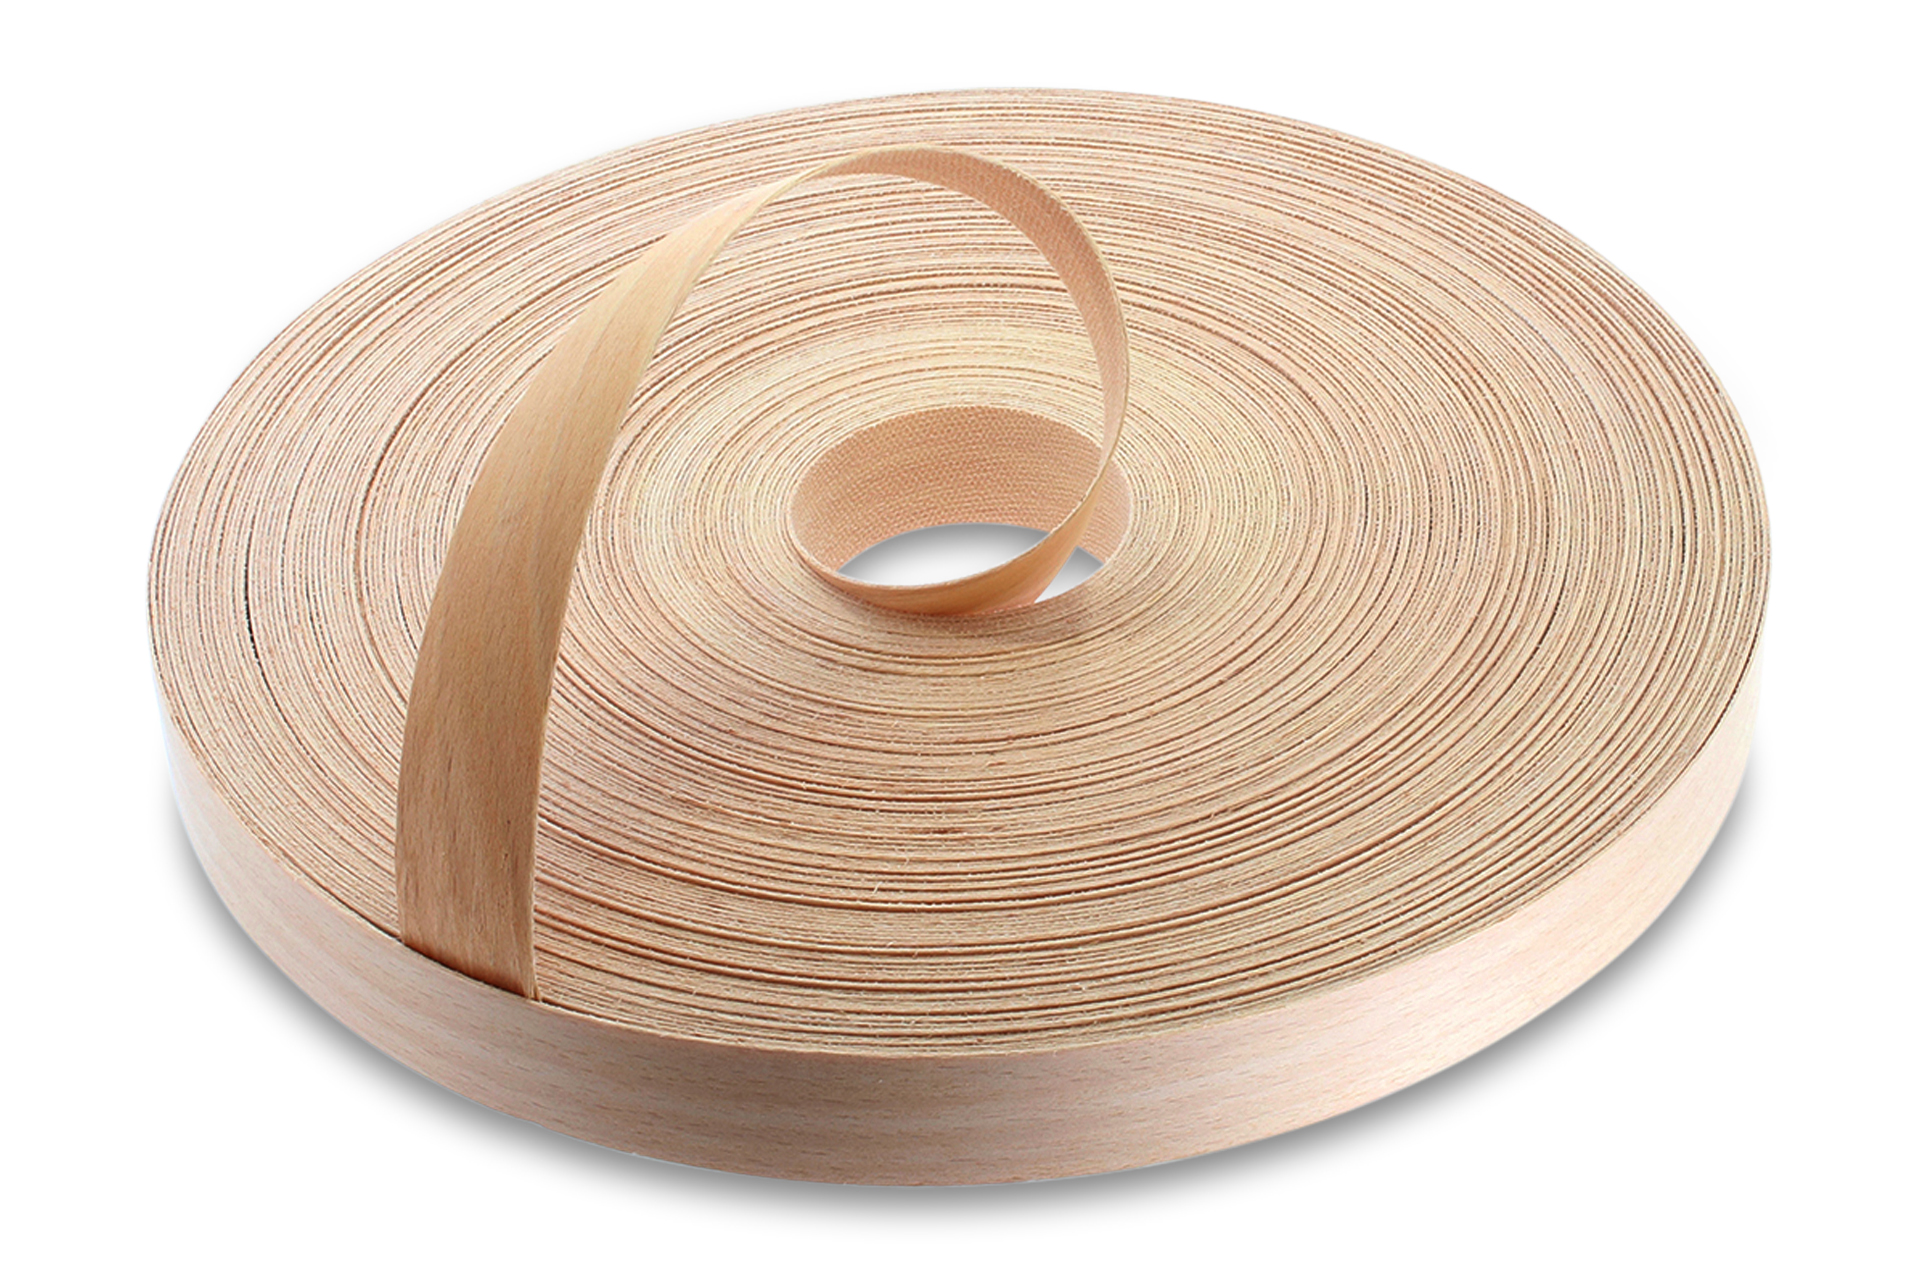
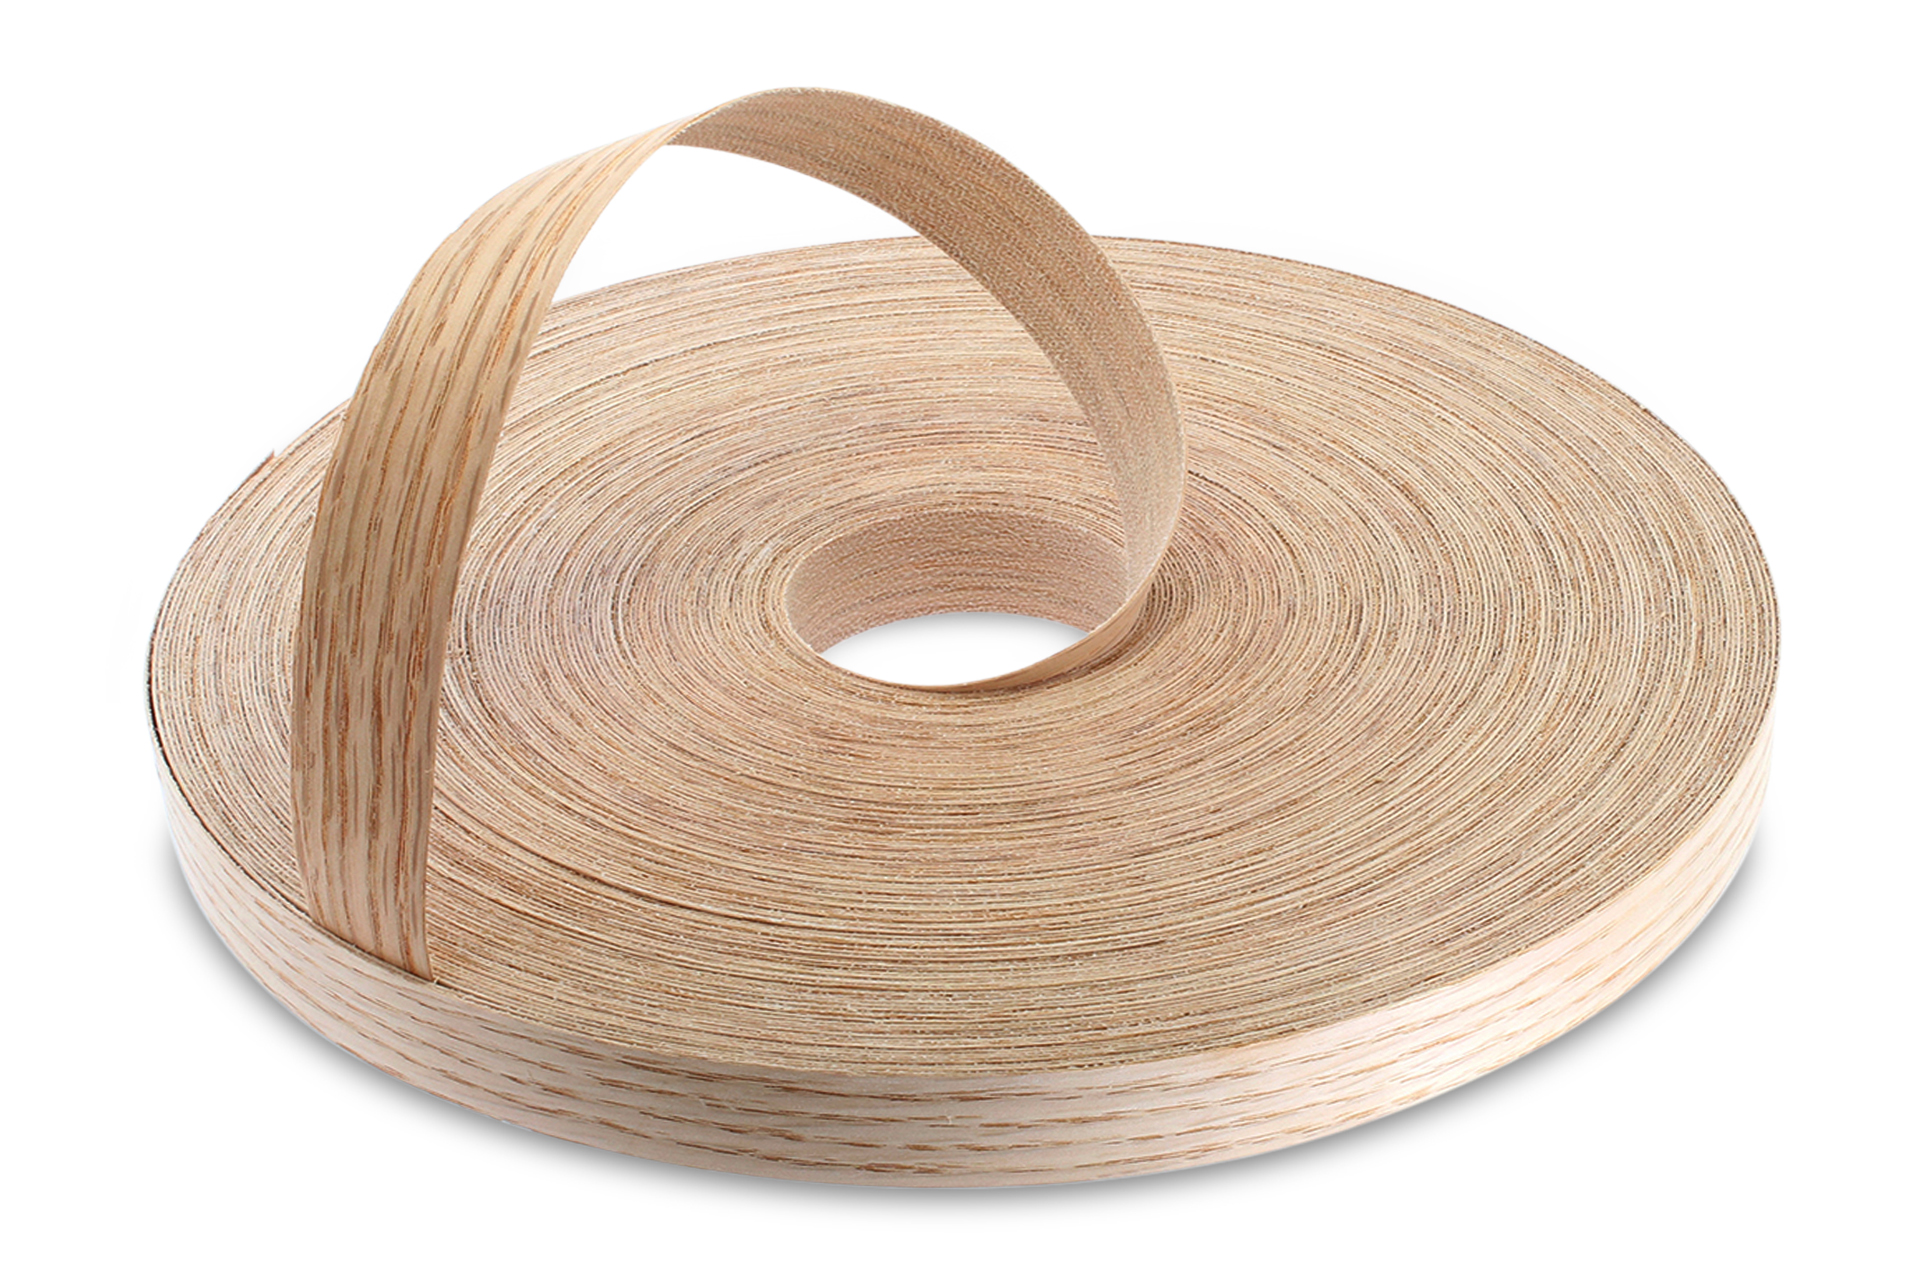
- WoodPress veneer edge banding (choose one that matches the color and grain pattern of your project surface) See our guide to identifying wood veneer species.
- Iron
- Scissors or utility knife
- Sanding block or fine-grit sandpaper
- Edge trimmer
- Cloth or rag
- Measuring tape
- Block of wood
Step-by-Step Guide

Step 1: Prepare the Surface
The veneer has heat-activated glue on the back, so it needs a flat surface to stick properly. Use fine-grit sandpaper to smooth out any rough spots or splinters. After sanding, wipe down the surface with a damp cloth to remove any leftover dust or dirt, and then let it dry completely.
Step 2: Measure and Cut the Banding
Measure the length of the edge you need to cover and mark it on the banding with a pencil. Leave an inch on either end so you can trim it to size later.
Once you have your measurements, cut the banding to size using a utility knife or scissors. Make sure the cuts are straight for a clean application. If you’re working with multiple pieces, label each cut piece to avoid any mix-ups.
Step 3: Iron On the Edge Banding
Now it’s time to iron on the edge banding. Heat your iron to a medium to high heat setting without steam. Position the banding on the edge of the surface with the adhesive side down, leaving the extra ends sticking out on both sides.
Starting at one end, press the iron onto the banding and move it slowly along the length of the edge. Apply firm, even pressure to ensure the adhesive melts and sticks to the surface. The glue will be hot so use cloth or gloves to protect your hands.
After heating, press down the edge banding firmly with a heavy object like a wooden block to ensure it sticks properly. If you notice bubbles or wrinkles under the edge banding, use a pin to puncture the bubble and release the trapped air. Reheat the area again and press it down firmly. Allow the edge band to cool for a few minutes before moving on to the next step.
Step 4: Trim the Excess Banding
After the banding has cooled, trim the excess material with a utility knife or an edge banding trimmer. Hold the knife or trimmer at a slight angle and make slow, deliberate cuts to avoid chipping the veneer. Start from one end and work your way to the other.
Step 5: Sand the Edges
Use fine-grit sandpaper to smooth out any rough spots and blend the banding with the surface. Wipe the edges with a damp cloth to remove any dust. Inspect the banding to ensure it’s completely adhered to the surface. If you notice any areas lifting up, run the iron over them again.
Once everything is securely attached, you can apply a finish like varnish, stain, or paint to match the surface. Allow it to dry completely before handling the piece.
How to Repair Damaged Edge Banding
Even the best-applied edge banding can get damaged over time. Here’s a simple guide on how to repair it:
- Slide a utility knife along the damaged section to cut the edge band away. Keep the blade as close to the surface as possible to avoid damaging the underlying wood. Once you’ve cut along the entire damaged area, peel it off. For stubborn spots, apply a little heat with an iron or heat gun to soften the adhesive, then peel it away
- Sand the exposed edge lightly with fine-grit sandpaper to remove any leftover adhesive.
- Measure the length of the damaged section you removed and cut a new piece of edge banding to fit.
- Place the new piece over the exposed edge with the adhesive side down. Heat your iron to a medium-high setting, and press it onto the banding. Move slowly along the length, applying firm pressure.
- Once the new banding is securely attached, trim the excess with a utility knife or edge trimmer.
- Lightly sand the edges to smooth them out, then wipe away any dust. You can finish the repaired section to match the rest of your project.
How to Clean Veneer Edge Banding
Dust the surface with a soft, dry cloth to remove any loose dirt or debris. If there’s any stubborn dirt or grime, mix a small amount of mild dish soap with water. Dip the cloth in the soapy water, wring it out well, and wipe the banding. Follow up by wiping the area with a clean, damp cloth to remove any soap residue.
Note: Avoid using abrasive cleaners or scrubbers, as they can scratch and damage the veneer. Also, steer clear of harsh chemicals or solvents.
Can You Apply Edge Banding to Curved Surfaces?
Yes, you can. The process is similar to applying it to straight edges, but you’ll need to use a thinner banding that’s flexible enough to conform to the curve. When ironing the banding onto the curved surface, go slowly and use a bit more heat to make the banding more pliable. Once attached, carefully trim the excess and sand the edges just like with straight surfaces.
How Durable Is Edge Banding Over Time?
High-quality edge banding, like WoodPress, can last for many years in a typical indoor setting if applied correctly and maintained properly. If your edge banding starts to peel or show signs of wear, you can reheat the adhesive with an iron to reattach it.
What Can You Use WoodPress Veneer Edge Banding On?
WoodPress veneer edge banding is incredibly versatile and can be used for a wide range of household projects. For instance, you can use it to cover the exposed edges of cabinets, tables, desks, drawers, shelves, internal doors, tables, and desks. It’s also perfect for kitchen countertops, islands, and other kitchen units. For more creative uses, you can apply it to wooden picture frames, pianos, and even wooden toys. Keep in mind that our product is designed for indoor use only.
Summary
Applying veneer edge banding is simple. By following these steps and tips, you can achieve a professional finish to your wood projects right at home.
Looking for high-quality veneer edge banding? At Real Wood Workshop, we offer high-quality real wood veneer edge banding tapes that are easy to use and provide a flawless finish. Shop with us today.


