-
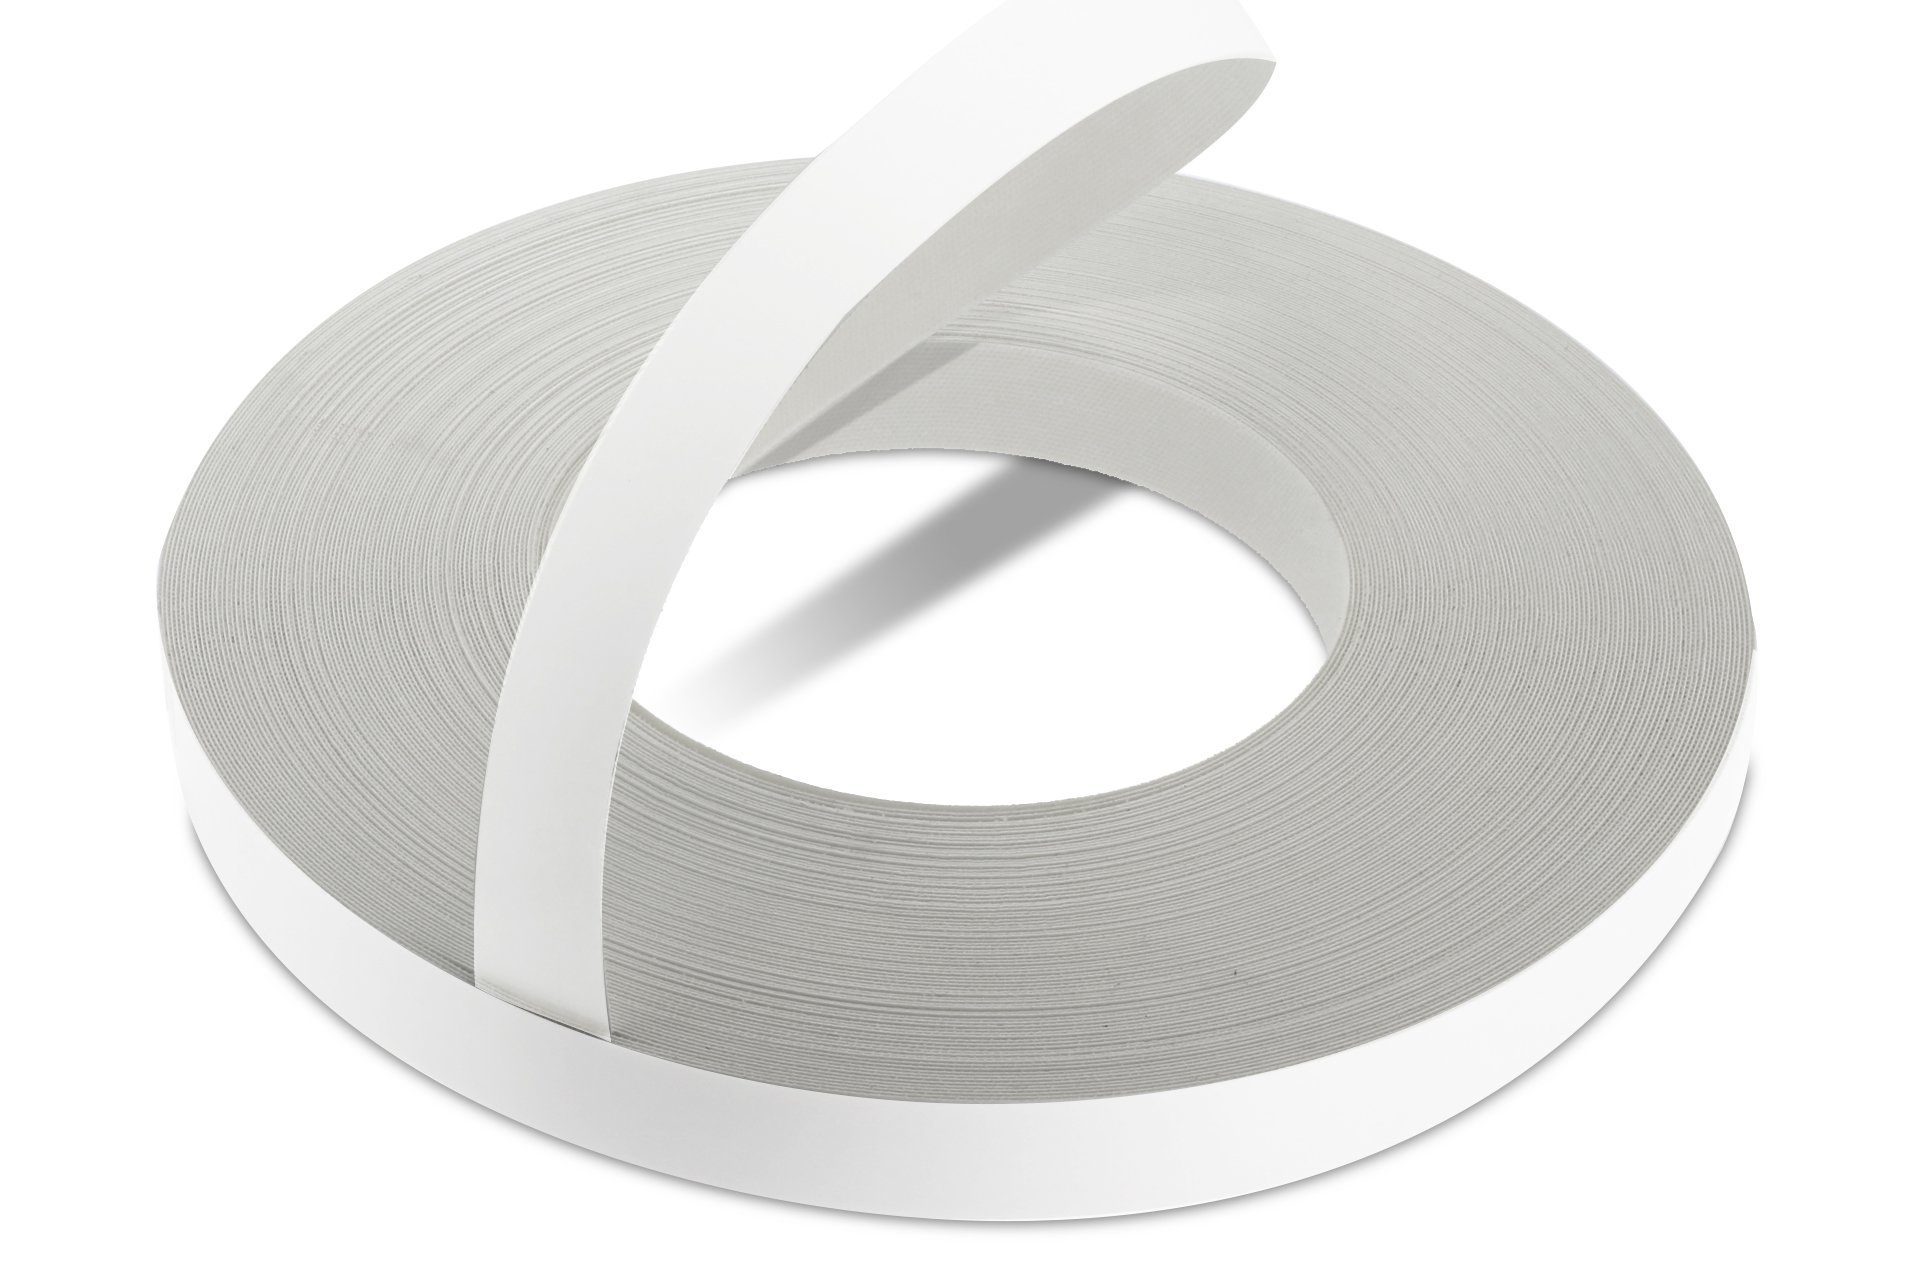 WoodPress® White Matt Melamine Edge Banding - Pre-Glued Iron-On Tape - 50m Length Roll
£14.96 – £24.96 + VAT (£17.95 - £29.95 inc. VAT)
 -
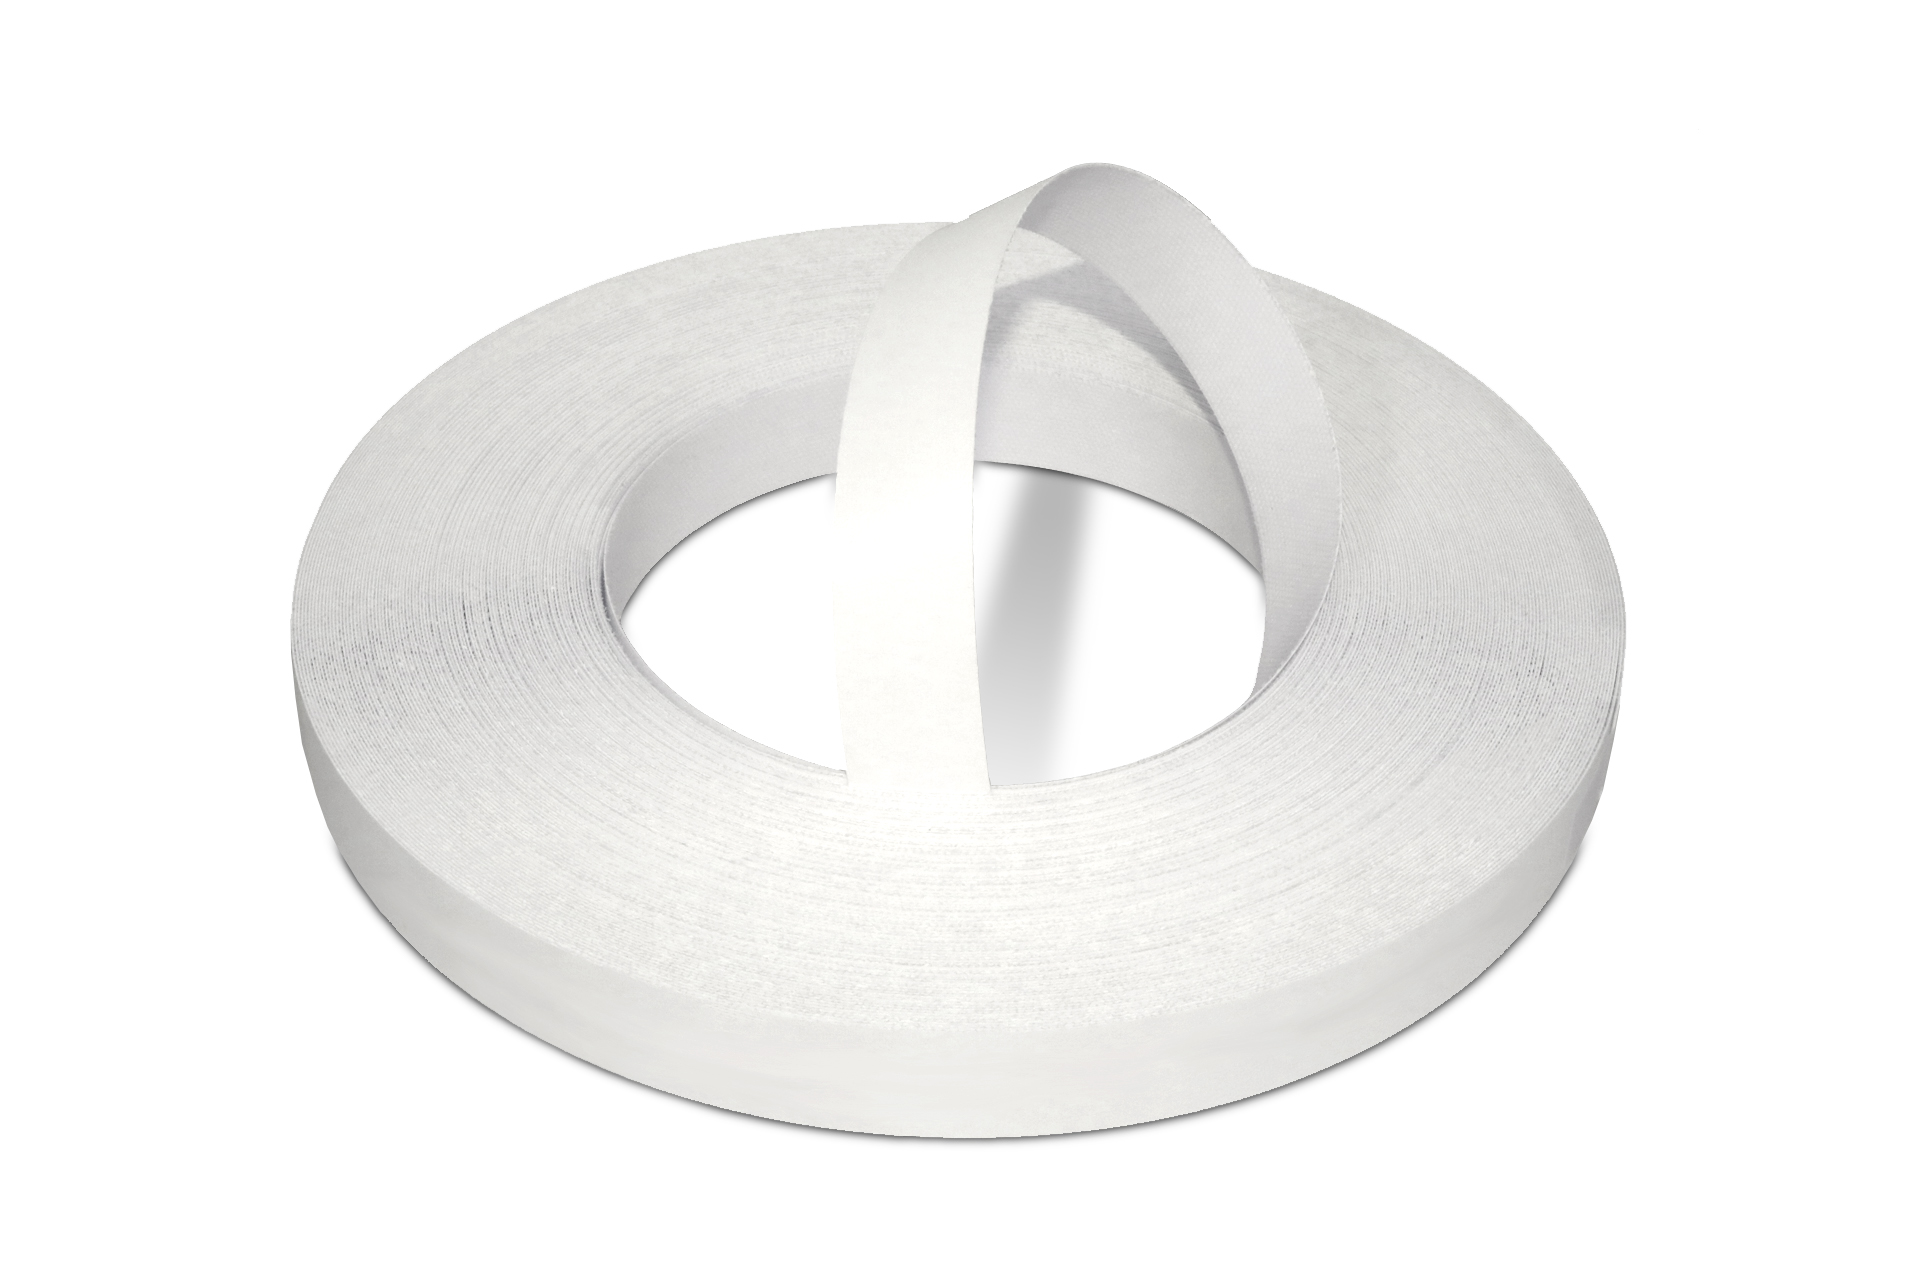 WoodPress® White Pearl Melamine Edge Banding - Pre-Glued Iron-On Tape 50m Length Roll
£14.96 – £24.96 + VAT (£17.95 - £29.95 inc. VAT)
 -
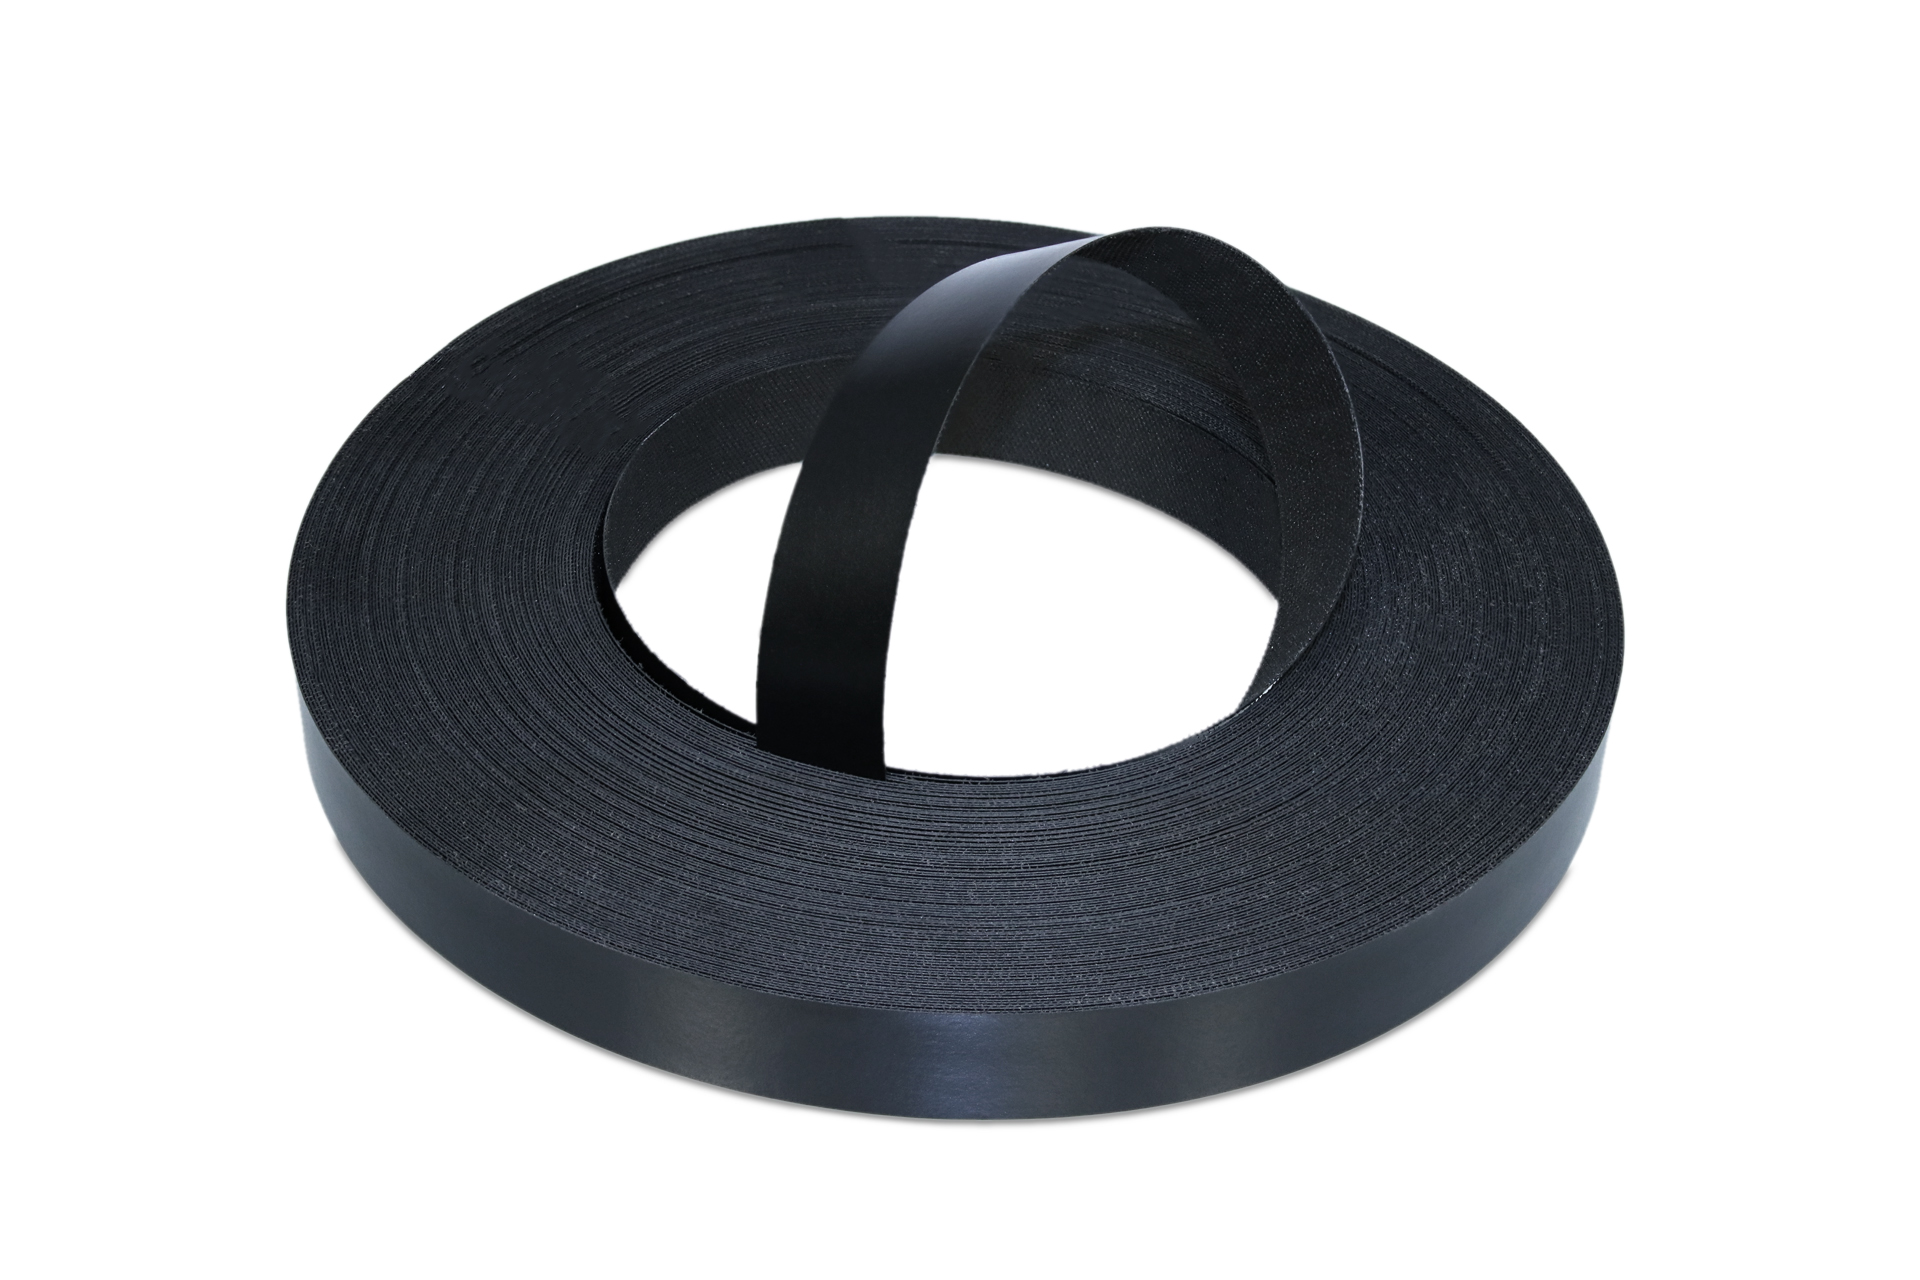 WoodPress® Black Matt Melamine Edge Banding - Pre-Glued Iron-On Tape - 50m Length Roll
£14.96 – £24.96 + VAT (£17.95 - £29.95 inc. VAT)
Guide to Applying Wood Cover Caps
WoodPress™ produce a unique range of self-adhesive, real wood veneer cover caps, designed for a joinery finish to countersunk screw holes…
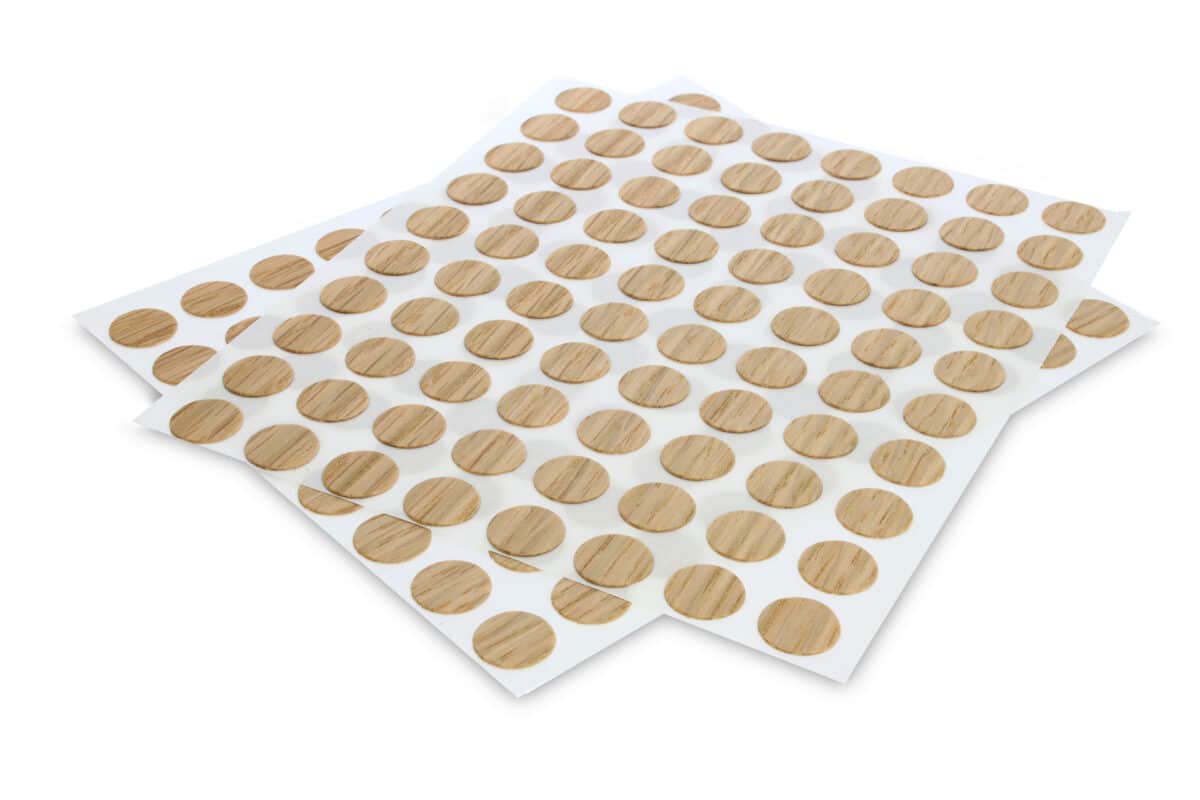
Introduction to wood cover caps
Most of us don’t think about wood cover caps till we need them; real wood varieties are quite obscure, with most being made of plastic. For this reason, many professional joiners or woodworking enthusiasts looking for a fine finish, will be stuck on what’s best to use. That is the purpose of this guide; we will take you along step by step in choosing the right cover caps, preparing your surface, and applying and finishing for a seamless look.
What are wood cover caps for?
Wood veneer cover caps are a simple solution for covering unsightly holes created by counter-sinking screws into wood panels. Once applied, they can give your project a cleaner look and can also protect the screws underneath from rust.
Pro Tip: You’ll want to be working with a flat screw head for best results with countersinking into a panel.
Should I use wood or plastic cover caps?
Cover caps generally come in either plastic or wood veneer. The plastic variety are usually made of PVC or melamine and are far more common, offering a bland, cheap solution to covering countersunk screw holes.
However, these cannot be finished and the self-adhesive variety often come unstuck. If you are looking to hide countersunk screws properly, wood veneer cover caps will do this. Once applied, they can be sanded, oiled and varnished along with the rest of the panel.
For absolute assurances, while the self-adhesive variety should hold, a dab of extra wood glue in the countersunk hole will ensure steadfast application for finishing.
How to choose the correct cover caps
Cover caps are generally available in common countersunk drill bits size. These will create a hole ever so slightly greater than the caps, so they should fit snugly inside. First, you will want to check what countersunk drill bit you have and then match the cover caps accordingly. Common cover cap sizes are 13mm, 18mm, 21mm, 25mm and 35mm.
Once you have your measurements, on the basis you don’t already know what species of wood or wood veneer panel you are working on (say for a repair job), you’ll need to check the grain and identify the species. To help, check our guide for identifying wood species:
Pro Tip: If you are planning to stain / varnish the panel, where viable, you might want to wait until you apply the cover caps so they will also match and won’t require a further overall coat.
Make your own?
Time permitting, it is possible to make your own wood screw hole cover caps, however, given the readily available items for purchase, this would only be advised when the requirement is very bespoke, such as for the restoration of antique furniture.
Dowel can you carefully sawed to create a fine rounded cap, and a lathe can turn an off-cut from the panel, thus ensuring an exact match.
Other techniques for making your own cover caps involve using sawdust and glue to create a wooden paste, which can be used to fill the hole, and thereafter finished (although we generally do not recommend this if the area will be visible).
How to apply wood cover caps
Surprisingly, this is the easiest part! Just peel and stick the cover cap in place, and press to bond. As mentioned earlier, use a dab of wood glue for extra fastening.
And there you have it; the final touch to your project with a seamless presentation!


