-
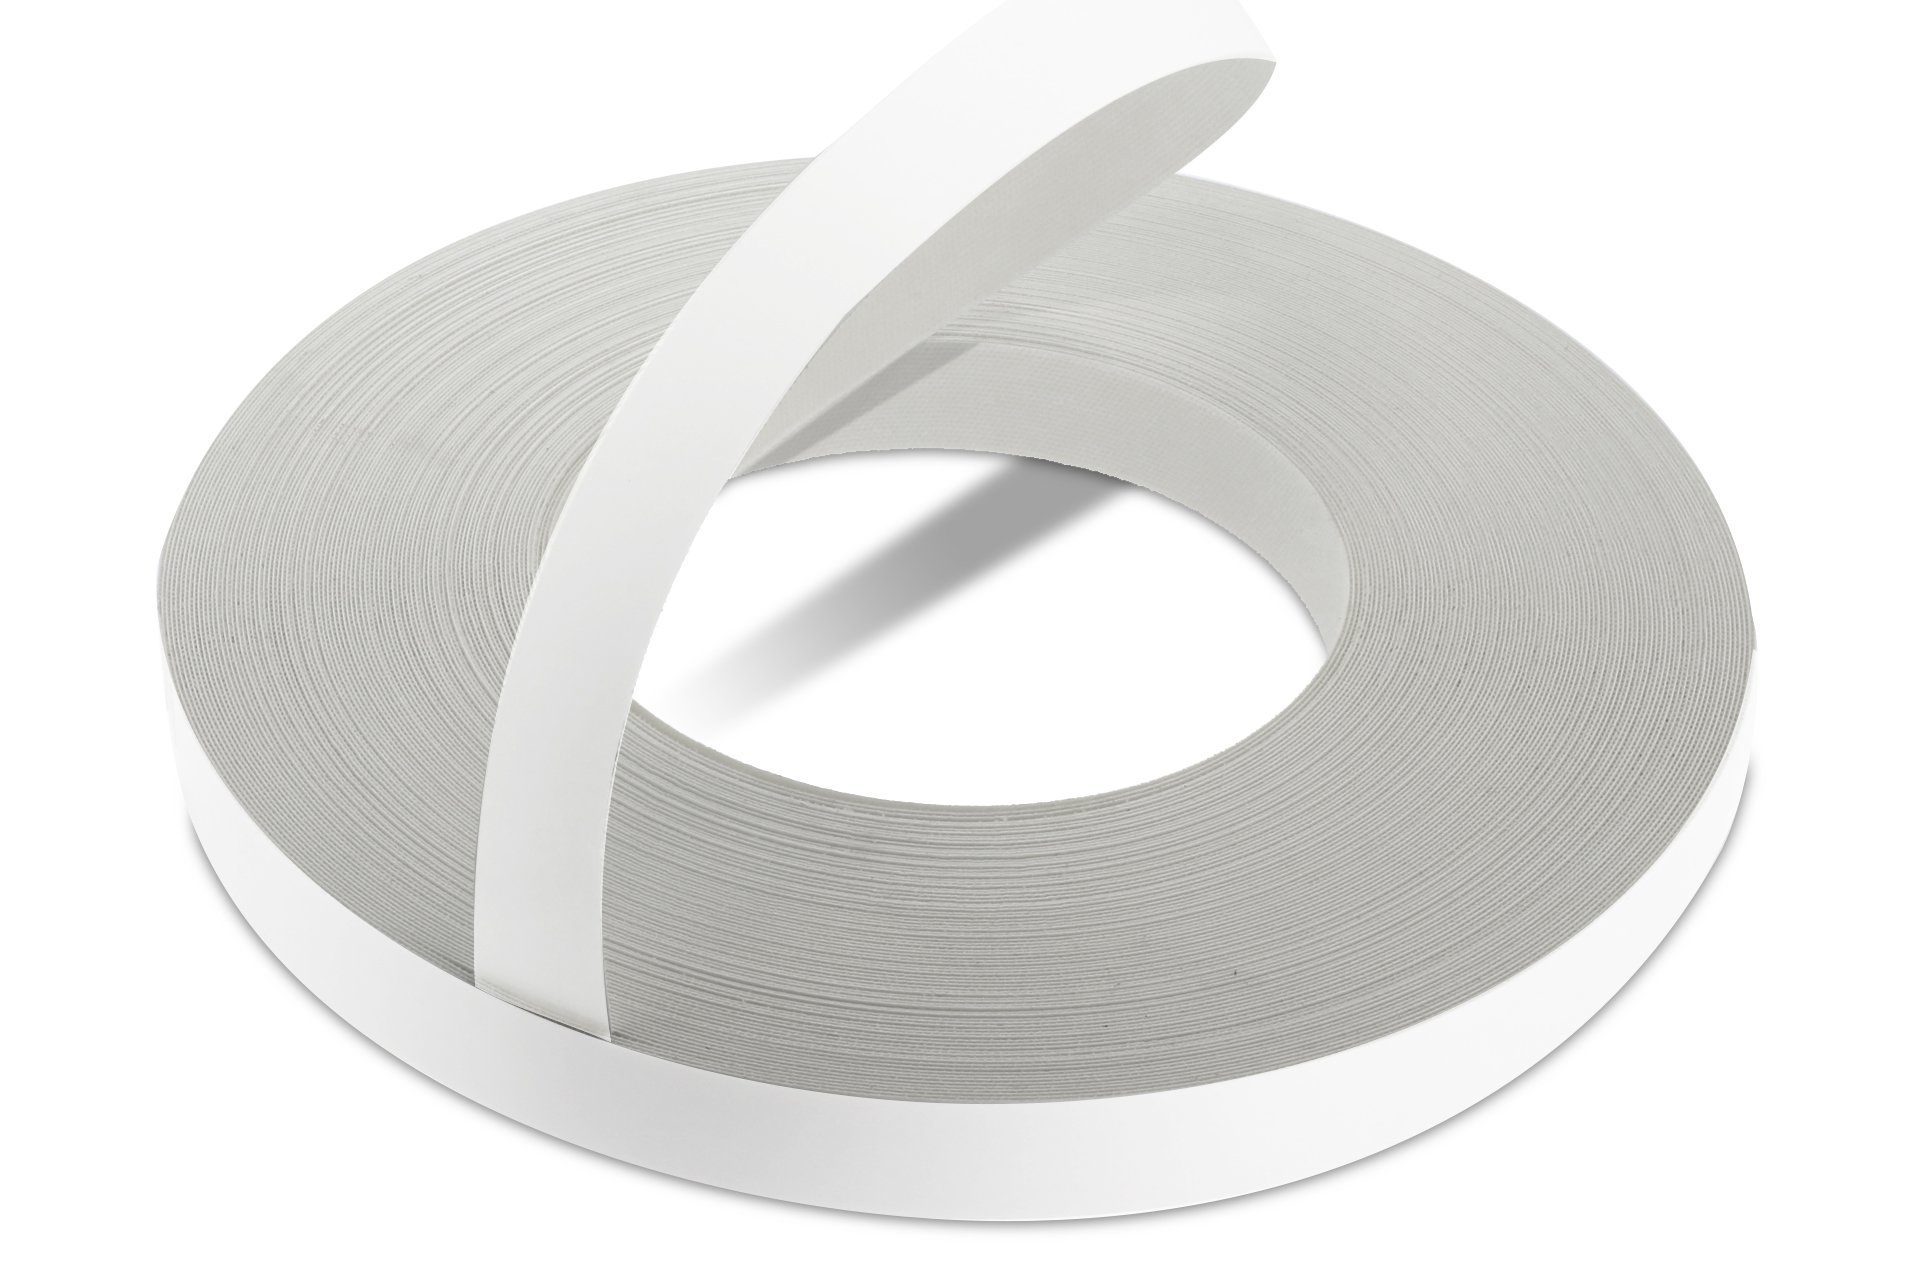 WoodPress® White Matt Melamine Edge Banding - Pre-Glued Iron-On Tape - 50m Length Roll
£14.96 – £24.96 + VAT (£17.95 - £29.95 inc. VAT)
WoodPress® White Matt Melamine Edge Banding - Pre-Glued Iron-On Tape - 50m Length Roll
£14.96 – £24.96 + VAT (£17.95 - £29.95 inc. VAT) -
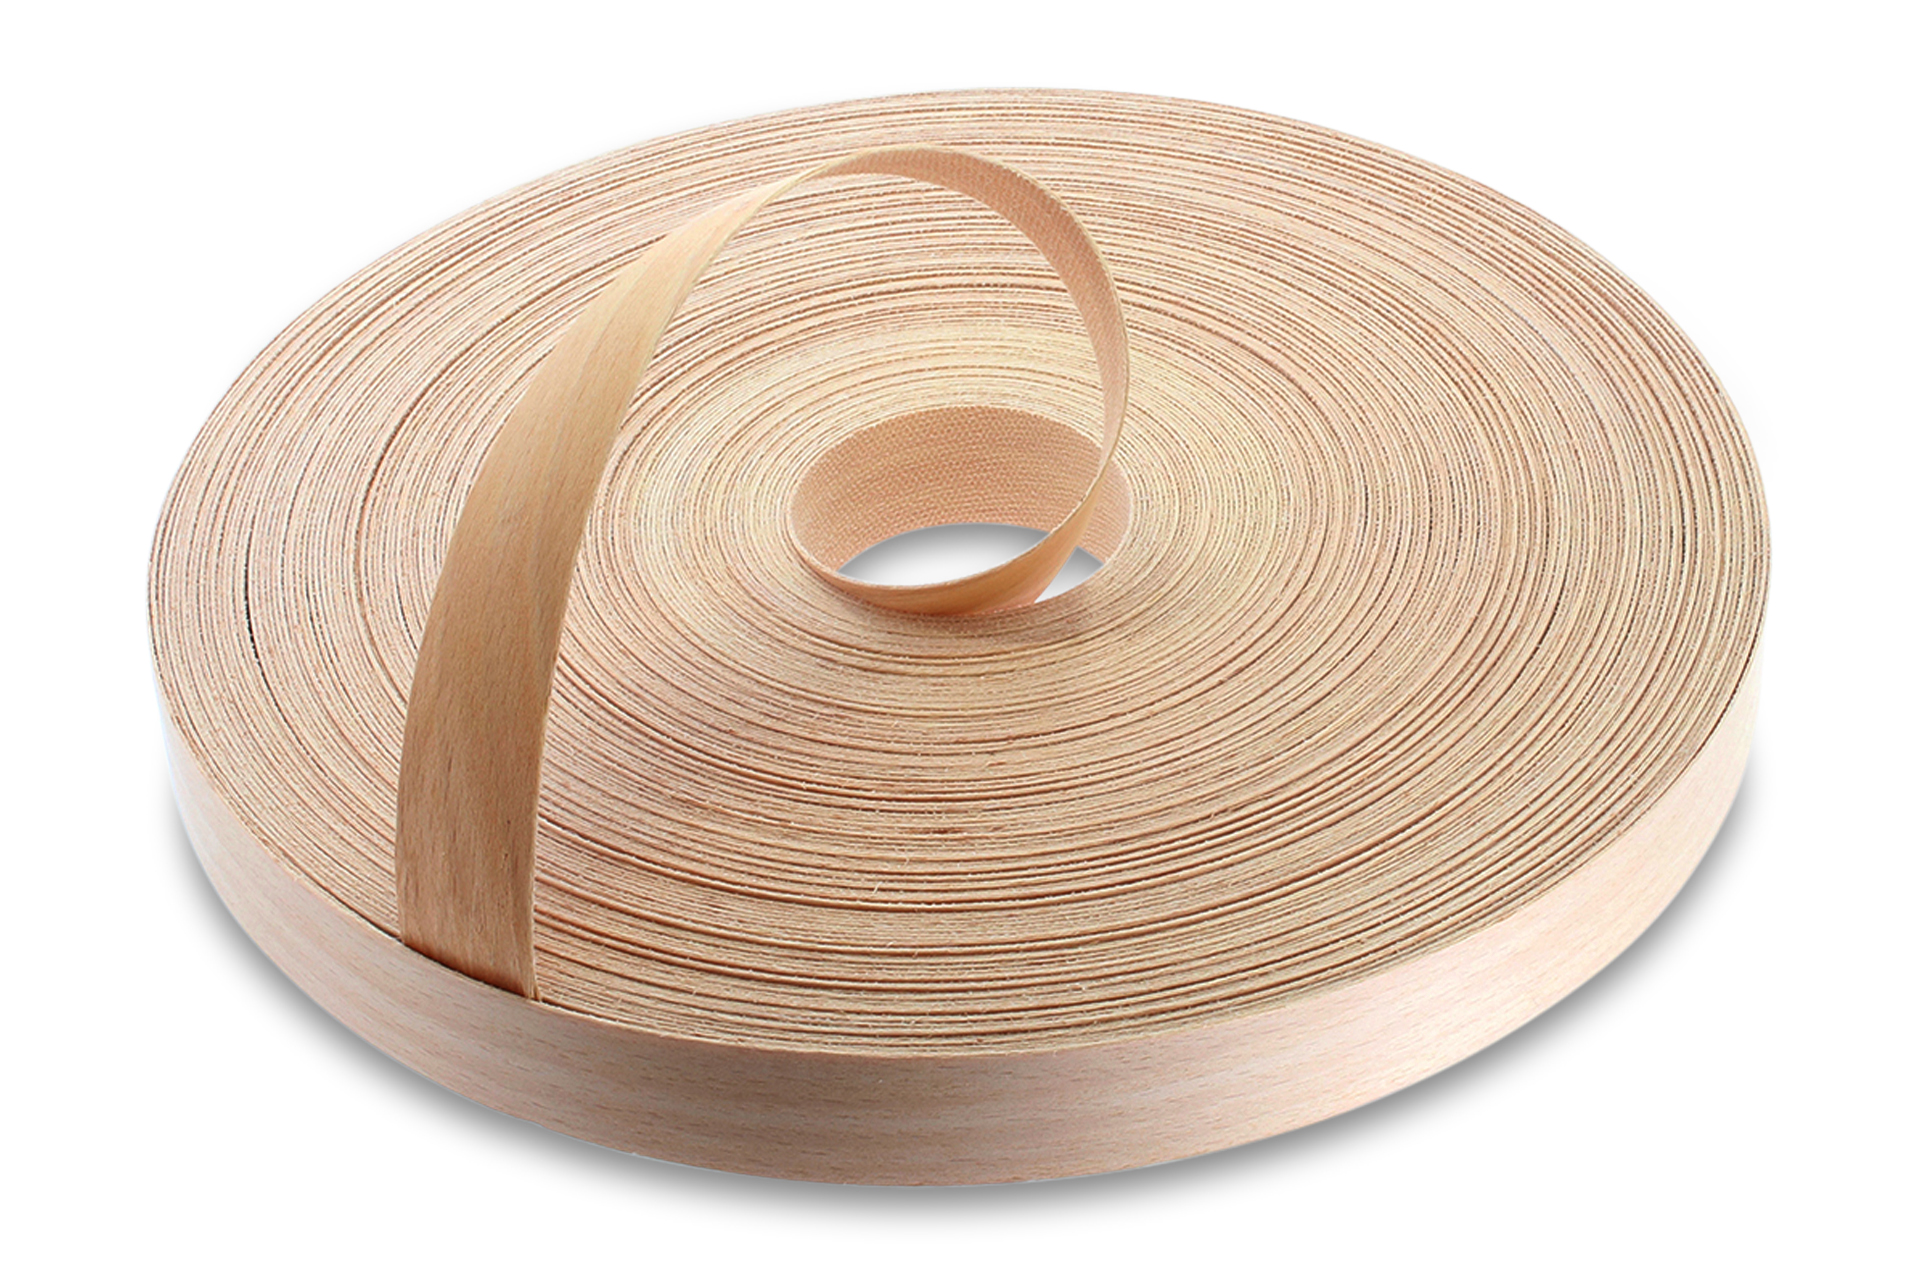
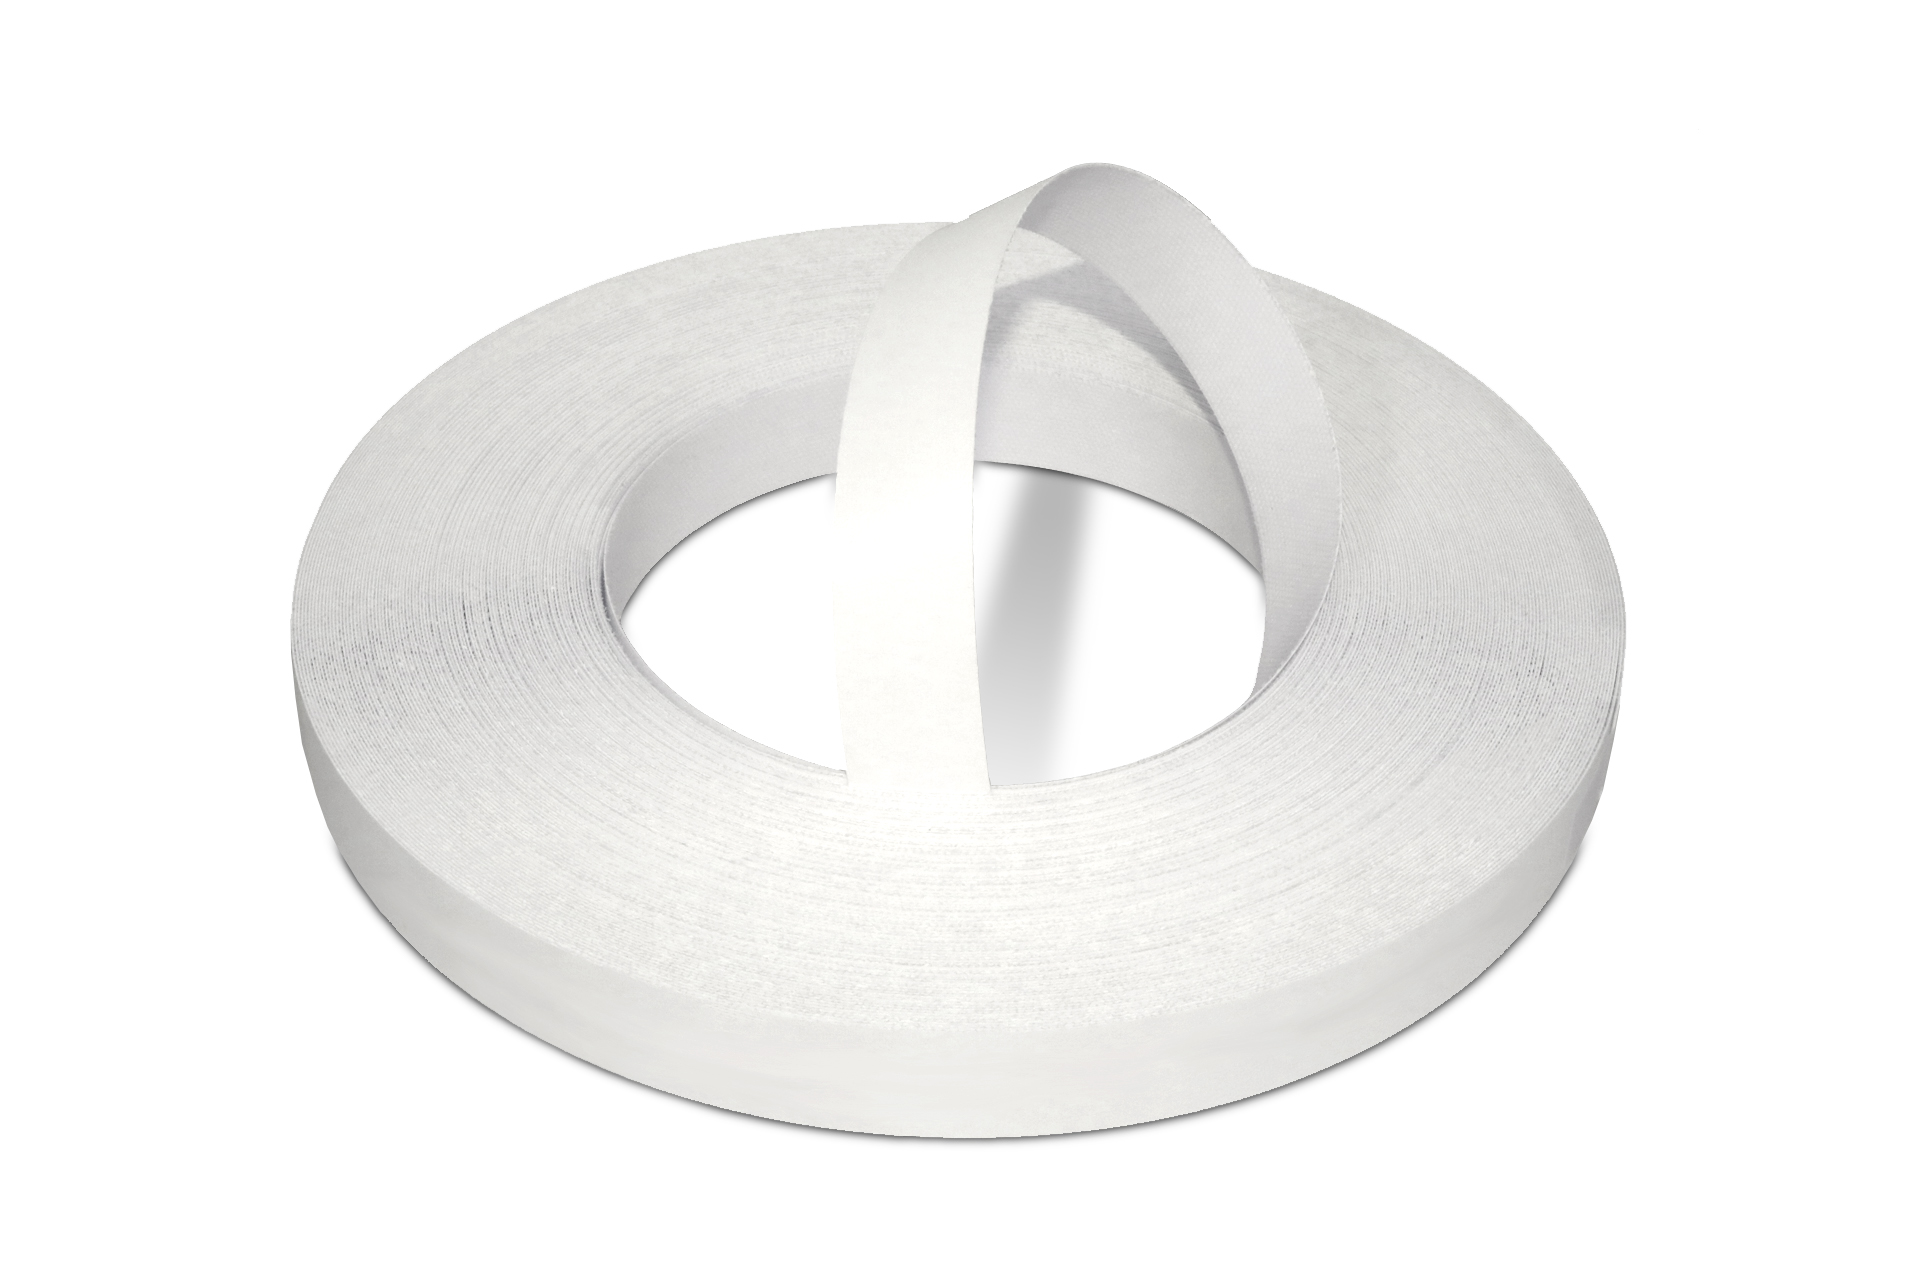 WoodPress® White Pearl Melamine Edge Banding - Pre-Glued Iron-On Tape 50m Length Roll
£14.96 – £24.96 + VAT (£17.95 - £29.95 inc. VAT)
WoodPress® White Pearl Melamine Edge Banding - Pre-Glued Iron-On Tape 50m Length Roll
£14.96 – £24.96 + VAT (£17.95 - £29.95 inc. VAT) -
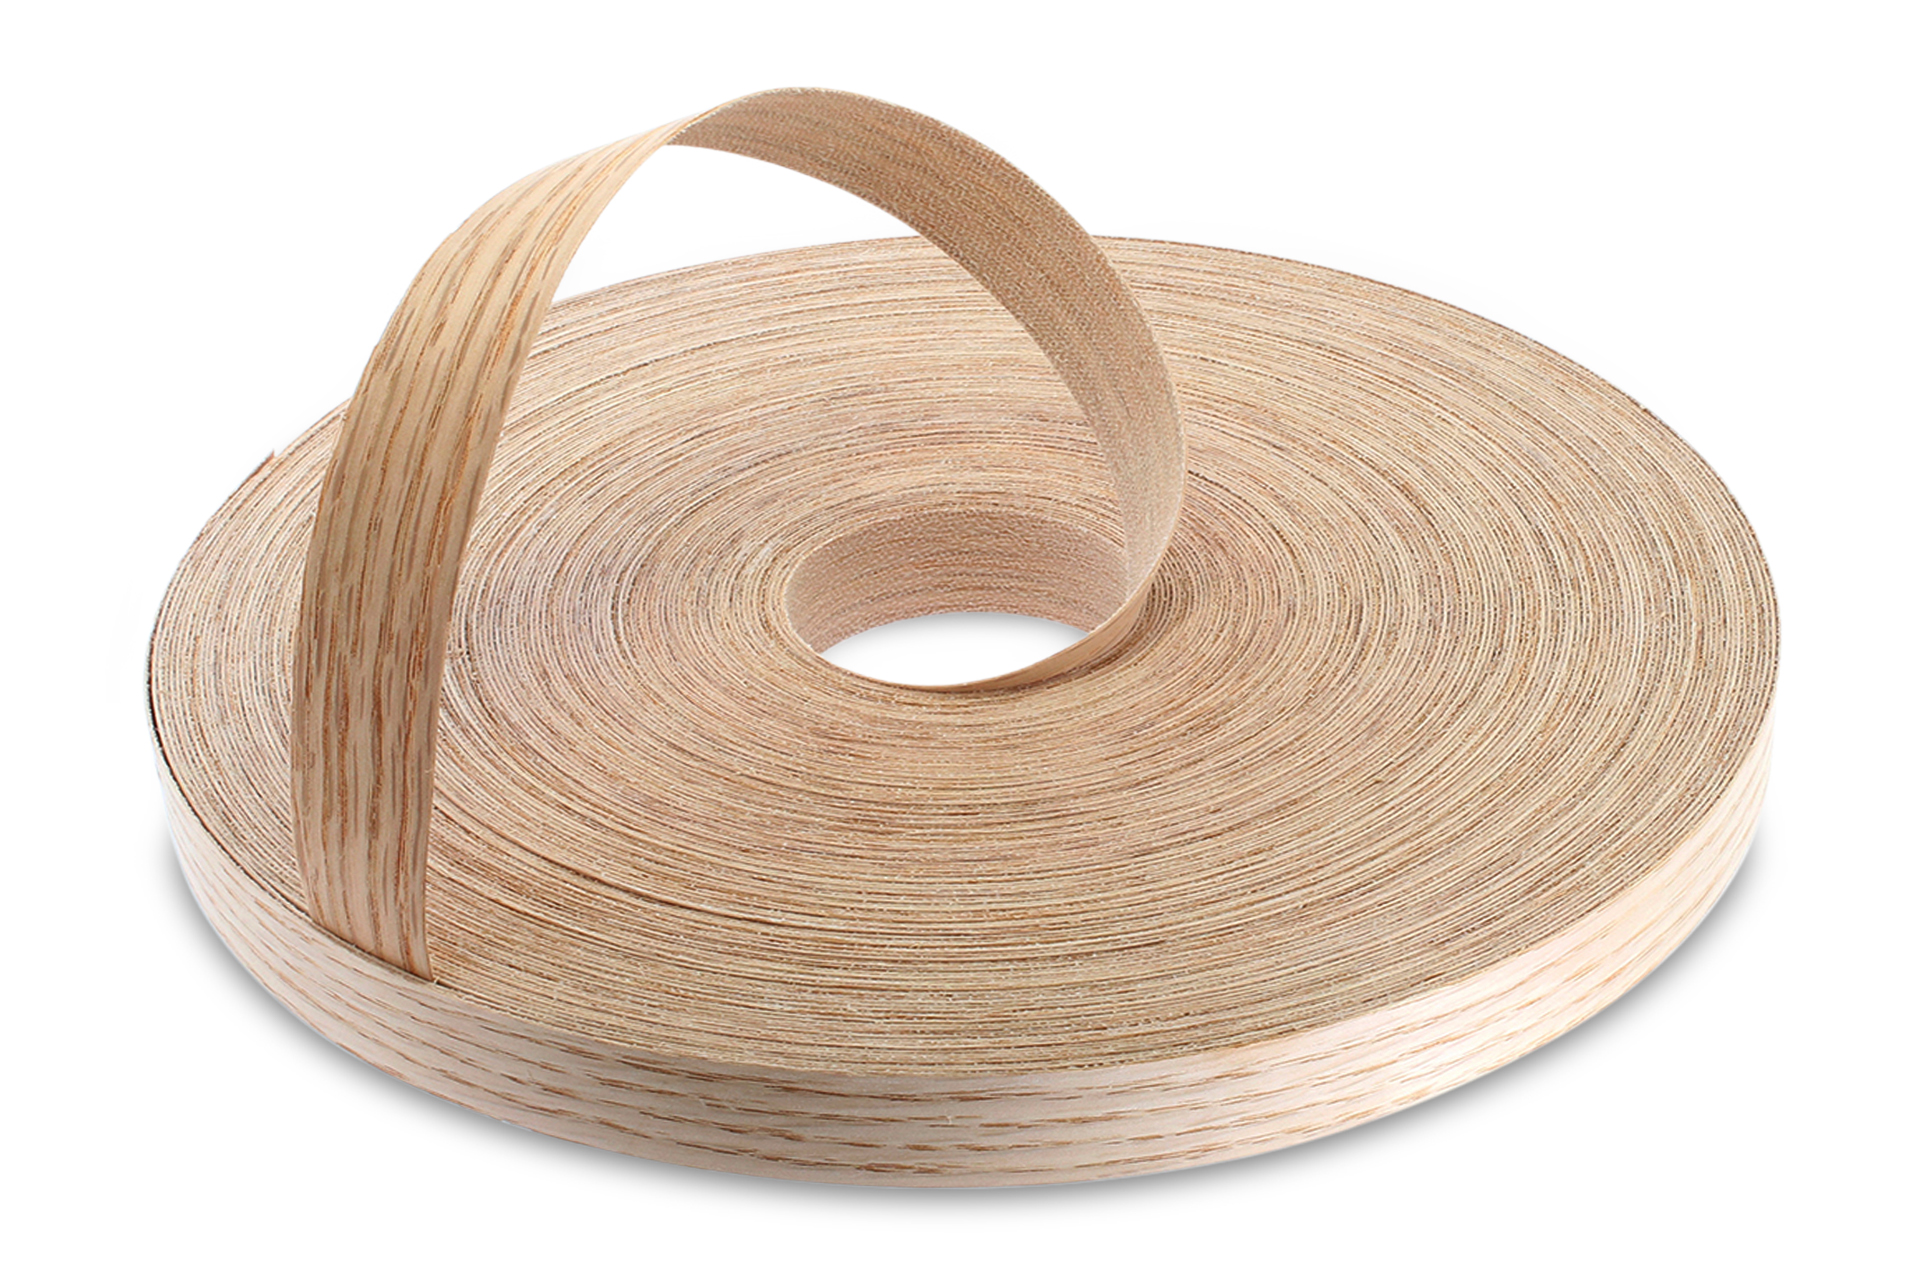
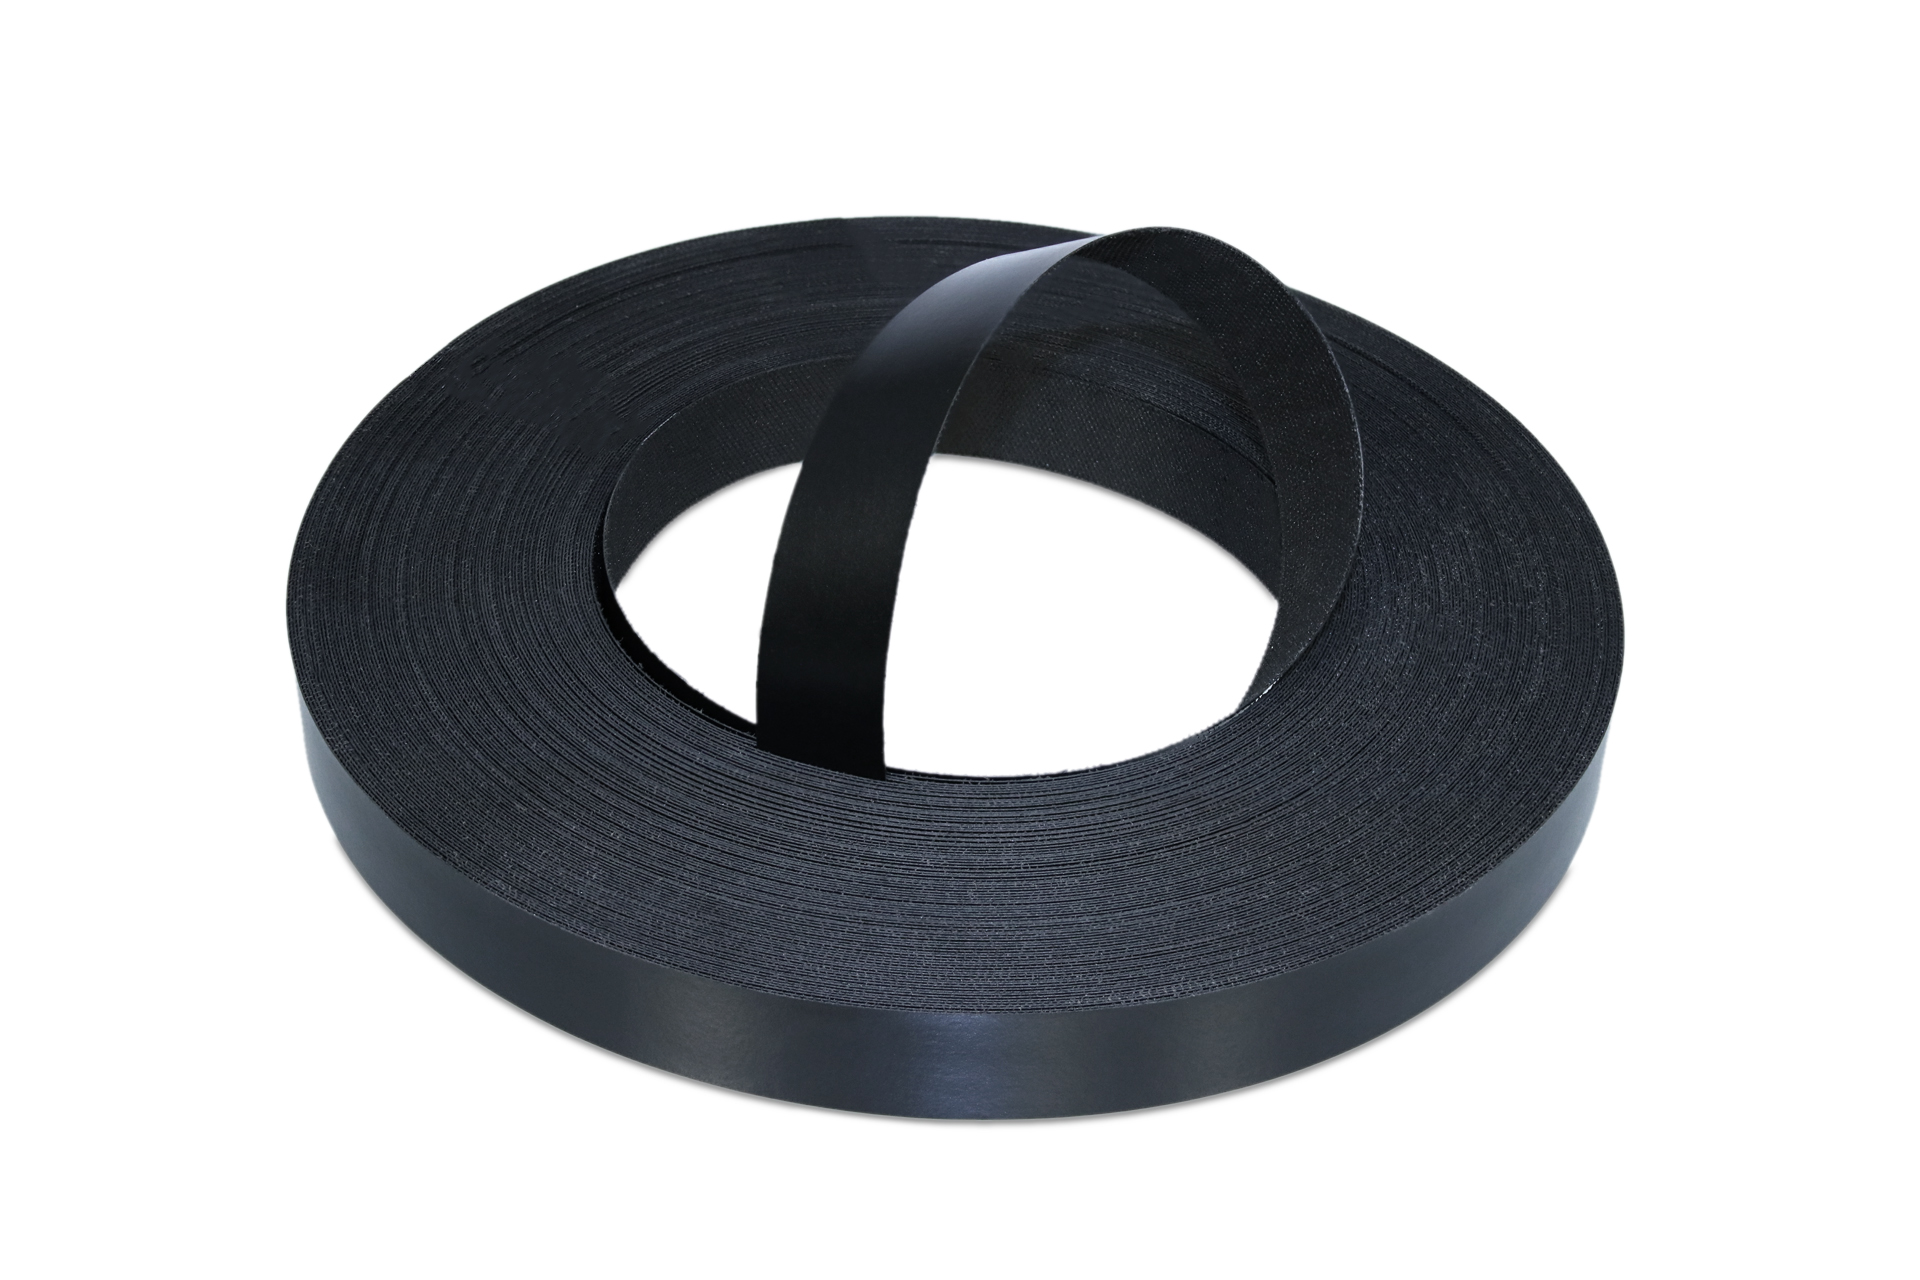 WoodPress® Black Matt Melamine Edge Banding - Pre-Glued Iron-On Tape - 50m Length Roll
£14.96 – £24.96 + VAT (£17.95 - £29.95 inc. VAT)
WoodPress® Black Matt Melamine Edge Banding - Pre-Glued Iron-On Tape - 50m Length Roll
£14.96 – £24.96 + VAT (£17.95 - £29.95 inc. VAT)
Small Veneered Coffee Table Project
Making a small veneered coffee table is a great way for intermediate woodworkers to refine their skills while creating something practical and stylish.,,
One of the best aspects of this project is that no matter what design you choose, the table is fully customizable to match your space and preferences. Whether you prefer a modern, minimalist look or a more traditional wooden aesthetic, this guide will walk you through the essential steps to build a sturdy and attractive coffee table.
Materials You Will Need
To build your coffee table, you’ll need the following materials:
- MDF or Plywood: This will serve as the tabletop. MDF is smooth and easy to work with, while plywood offers more durability and a natural wood grain pattern. Both are cost effective when compared with solid wood
- Wood Veneer and Matching Edge Banding: To veneer the tabletop surfaces to match the legs and frame
- Solid Wood Timber Slats / Dowels (for the frame & legs): The type of wood depends on your budget and style preference. Pine is an affordable option, while oak or maple provide a premium feel
- Pocket Hole Screws: Different to standard screws, these are used for assembling the frame securely while hiding the screw head
- Long Wood Screws: For securing the table top to the frame
- Wood Veneer Cover Caps: To seamlessly cover countersunk screws
- Wood Stain / Varnish: To enhance the table’s appearance and protect the wood from wear and tear
- Wood Glue: Used to further secure joints
Tools You Will Need
Having the right tools makes the process much easier and ensures professional-looking results. Here’s what you’ll need:
- Measuring Tools: A tape measure, ruler, and pencil to ensure accurate cuts
- Circular Saw: For cutting MDF, plywood, and wood pieces to the required dimensions
- Power Drill: Essential for drilling pilot holes and driving screws
- Countersinking Drill Bits: For creating countersunk screw holes
- Electric Sander: Helps smooth the surface and edges before finishing
- Clamps: Useful for holding pieces together while assembling and gluing
- Paintbrush: Needed for applying stain and varnish
- Pocket Hole Jig: A great tool for creating strong, hidden joints
Choosing Your Measurements
One of the best things about building a small veneered coffee table is that you can fully customize the size to suit your needs. While there are no strict rules, here are a few factors to consider when determining the dimensions:
- Table Height: Decide how tall you want the table to be. Standard coffee tables are typically between 40cm and 50cm high
- Tabletop Size: Choose the length and width of your tabletop based on your available space and style preference
- Leg Thickness: Thicker legs provide a sturdier, more traditional look, while thinner legs give a sleek, contemporary feel
- Surface Thickness: The thickness of the MDF or plywood board affects the table’s durability and weight
Do keep in mind, whatever dimensions you choose should be in proportion to ensure a sturdy table, which wont easily topple. If you do want to go for a thin legged, contemporary design, there are other ways to ensure stability, such as a wider base, or struts between the lower parts of the legs.
For this guide, we’ll assume a simple symmetrical coffee table design with the following dimensions:
- One 50cm x 50cm x 2.5cm MDF tabletop
- Two 6cm x 6cm x 34cm apron / frame pieces
- Two 6cm x 6cm x 46cm apron / frame pieces
- Four 6cm x 6cm x 40cm wooden legs
These dimensions create a compact and sturdy table suitable for most spaces.
Building the Frame
The frame is what gives the table its structure. To build it, you will need to cut 8 pieces of wood:
- 4 Legs: All cut to equal length i.e. 40cm
- 4 Apron Pieces: These connect the legs and support the tabletop. Based on the dimensions set, two of these will be shorted by 6cm to accommodate the thickness of the slats. If you want a rectangular table, you will need to amend the measurements of the two slats further (as will the tabletop need to be rectangular)
Veneering the Tabletop
Veneering the table top should be done before attaching it to the frame, this makes the process a lot less difficult and time consuming.
The tabletop surfaces will all require veneering to match the chosen wood species of the legs and frame (or another species for visual effect).
If you’re interested in veneering, we have a detailed guide on veneering surfaces, which you can check out here.
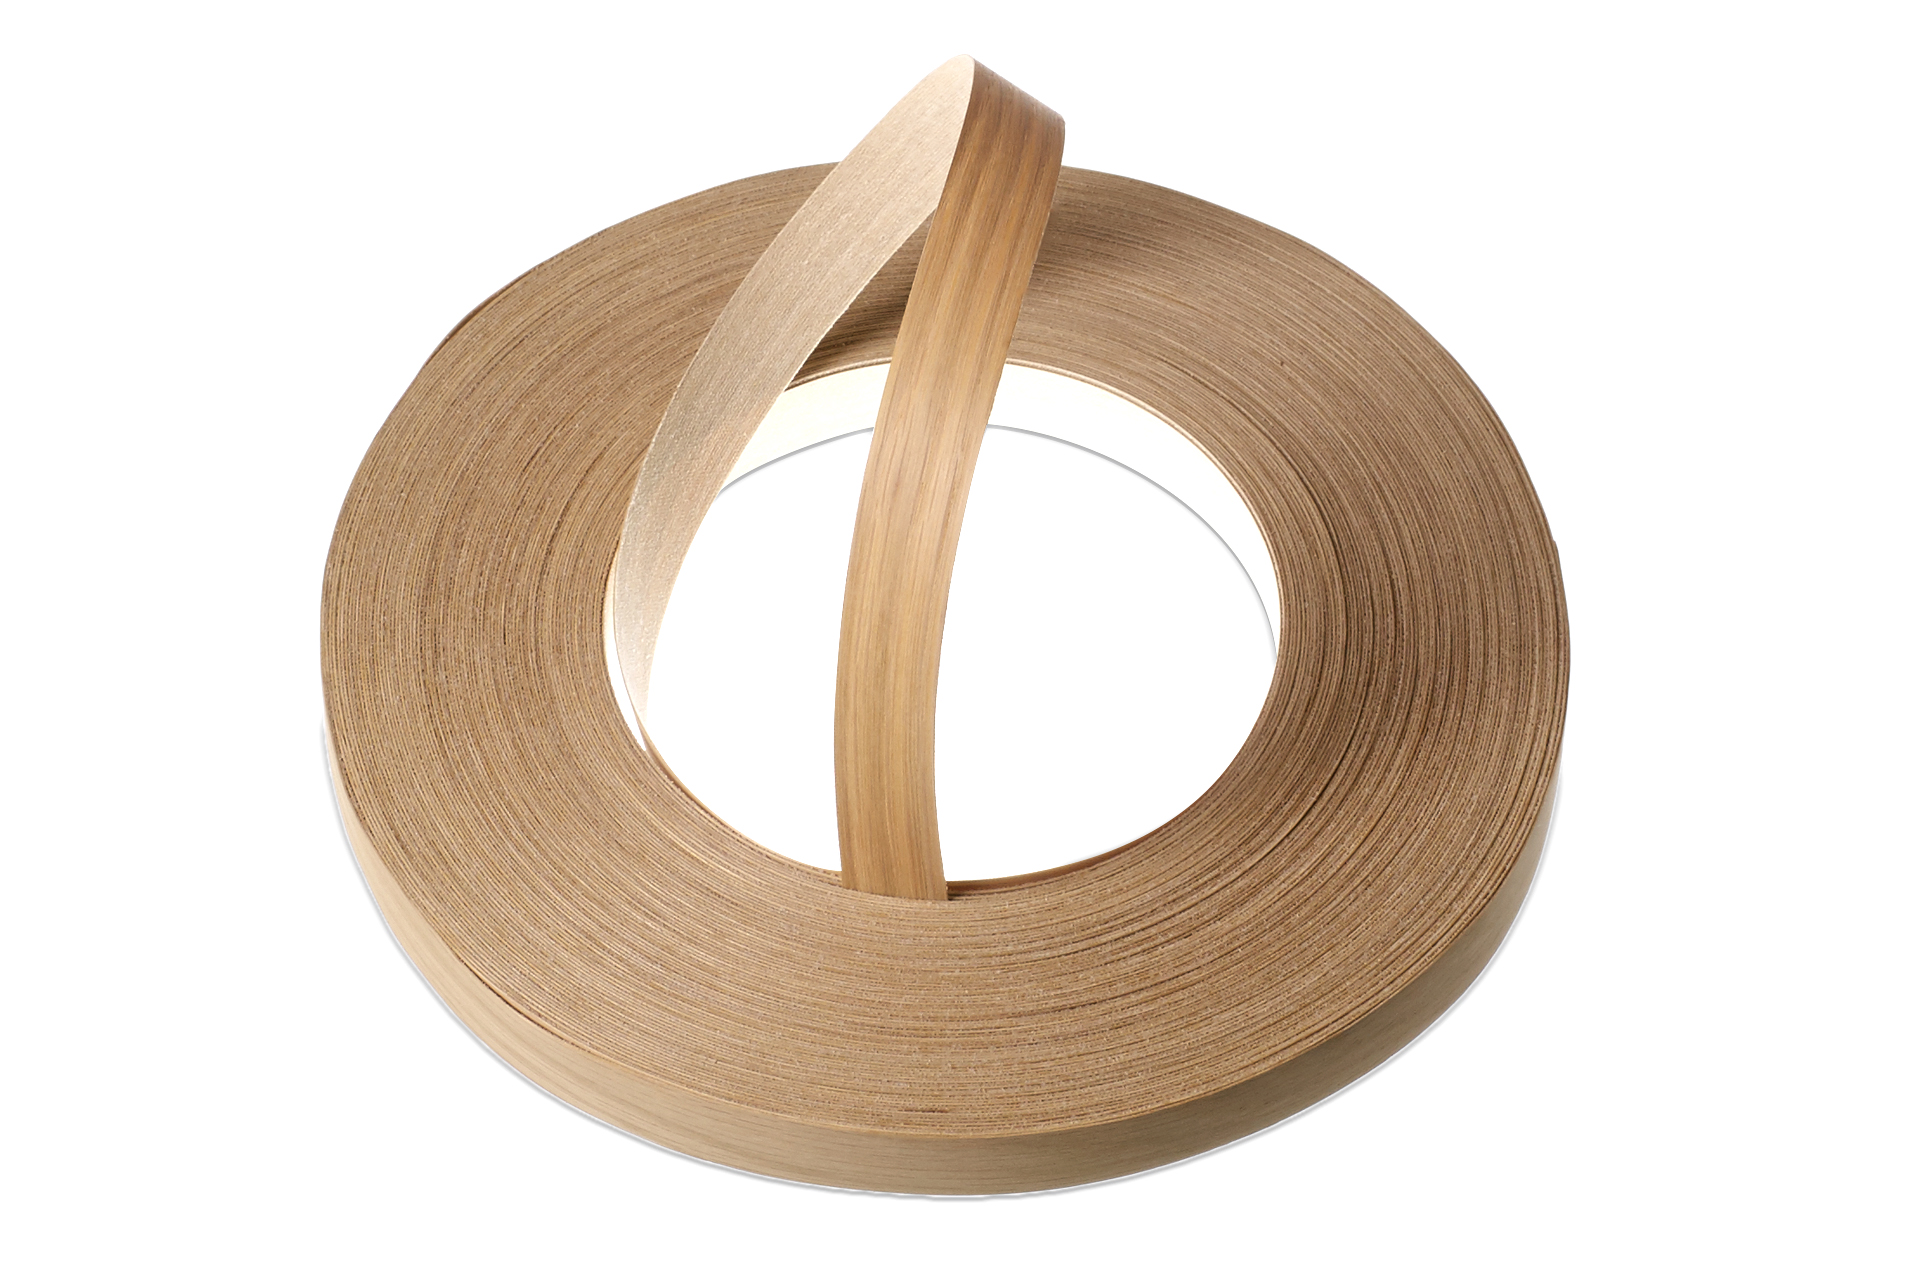
For the tabletop edges, use iron-on edge banding to match the veneer, which is quick and easy to apply, for great results. More information on how to apply edge banding to plywood or MDF can be found here.
Once the tabletop is veneered, sand all sides as necessary.
Assembling with Pocket Hole Screws
Pocket hole screws provide a simple and effective way to assemble the table frame; follow these steps:
- Drill pocket holes in two of the apron pieces using a pocket hole jig. These holes should be on the inside of the joint and will allow you to attach the aprons to create the tabletop frame (also known as a skirt)
- Using a little wood glue, position the aprons together, ensuring the joints are square and aligned.
- secure the frame with pocket hole screws and clamp as necessary for the glue to fully bond
- To secure the legs, drill a further four pocket holes on the outer surface of the frame, perpendicular to the frame’s pocket hole screws. Ensure these holes do not cross with the frame’s pocket hole screws.
- Secure the four legs with glue and pocket hole screws as above and clap
- Double-check the alignment and make sure all screws are securely tightened
- If inclined, you can further tidy your joints by filling the pocket holes with dowel or plugs and sanding down for a seamless cover
Attaching the Tabletop
As the frame and legs are now secured with pocket hole screws, its prudent to avoid further use of these at the corners, as this could weaken the wood slats. If you do want to use pocket hole screws to secure the tabletop, this should be done at intervals along the frame slats. Be sure to measure the distance necessary for the screw to enter the tabletop without breaking the surface.
Alternatively, you can secure via the tabletop surface, using countersunk long wood screws, which should be carefully drilled through the tabletop into the apron and table legs below. Again, care should be taken not to cross the already set pocket hole screws, but there should be ample space to accommodate these downward facing long screws.
Whichever method you chose, remember to use wood glue to position and clamps to secure, prior to placing the screws.
Thereafter, use real wood veneer cover caps to seal the countersunk holes.
Finishing the Coffee Table
Your table should now be fully assembled. it’s time to sand a little more if needed and then stain, and varnish for a professional finish.
- Sand all Surfaces & Edges: Use an electric sander or sandpaper (start with 120 grit, then move to 220 grit for a smooth finish).
- Apply Wood Stain: Use a paintbrush or cloth to apply stain in even strokes, wiping off excess. Allow it to dry fully.
- Seal with Varnish or Polyurethane: This protects the wood and gives it a polished look. Apply multiple thin coats, allowing each coat to dry before applying the next.
Conclusion
A simple coffee never goes amiss in the home. The additional satisfaction comes with having created it yourself. While the above guide is only an outline, there are so many more ways to improve on the concept and create unique designs. Consider marquetry for the surface for example.
Whatever you chose to do, we hope this guide has offered an excellent starting point.


